
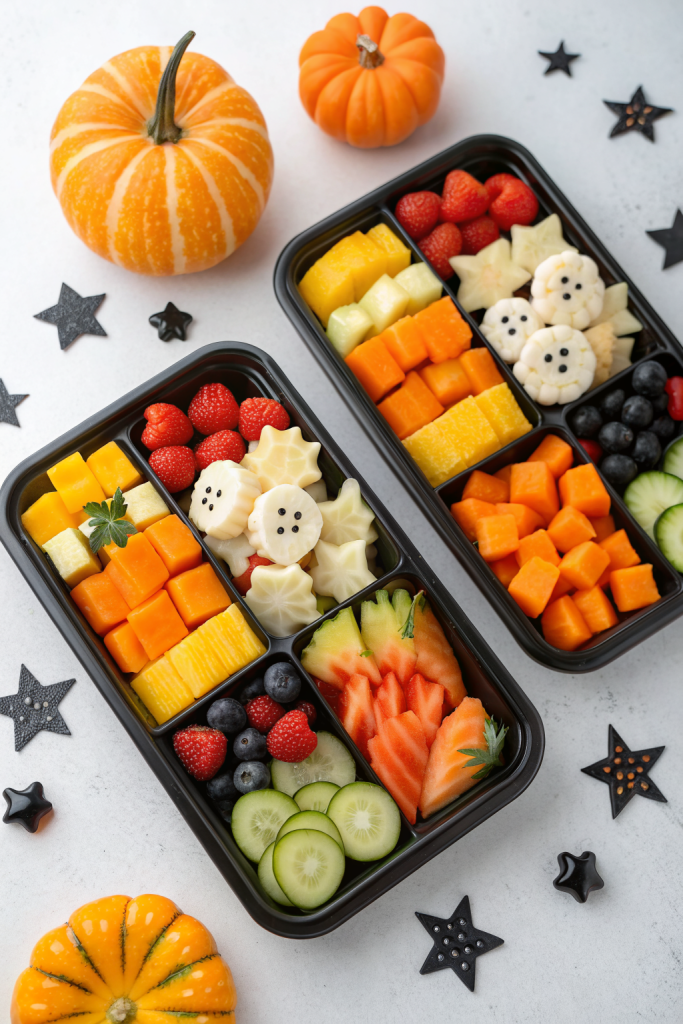
Halloween Fruit and Veggie Tray Idea checks every box: it tastes fresh and crunchy with little pops of sweetness, it works for kids and adults, and you can assemble it in about 25 to 30 minutes. This tray fits busy parents, party hosts, and anyone who wants a fun Halloween snack that still feels light. I tested versions of this for my own neighborhood party, and the veggie skeleton disappeared faster than the candy bowl.
Why Make This Halloween Fruit and Veggie Tray Idea at Home
You control the freshness, the shapes, and the sugar level, which helps when kids already swim in candy. A homemade Halloween fruit and veggie tray lets you shape pumpkins, ghosts, and a veggie skeleton that actually tastes good.
You also save money compared to store platters, and you skip the sad, dried-out carrots. Guests love a themed tray, and you can customize it for allergies, picky eaters, or whatever produce looks best that week.
“This Halloween fruit and veggie tray disappeared before the cupcakes, and even the ‘I hate veggies’ kids went back for seconds. ★★★★★”
Ingredients You Need
Think of this as a template. You can swap in whatever looks bright, crunchy, and easy to slice.
Vegetables
- Baby carrots
- Whole carrots (for carving fingers or skeleton legs)
- Celery sticks
- Cucumber, sliced into rounds and half moons
- Cherry or grape tomatoes
- Mini bell peppers, assorted colors
- Broccoli florets
- Cauliflower florets
- Sugar snap peas or green beans
Fruit
- Green grapes
- Red or black grapes
- Strawberries
- Blueberries
- Pineapple chunks or spears
- Cantaloupe or honeydew, sliced or cubed
- Apple slices (toss with a little lemon juice to slow browning)
- Orange slices or clementine segments
Fun “Face” Details
- Mini chocolate chips or mini dark chocolate pieces (for eyes on banana or apple ghosts, if you add them)
- Raisins or dried cranberries (eyes, mouths, buttons)
- Black olives (great for eyeballs or spider bodies)
Dips
- Ranch dip or your favorite store ranch (pantry shortcut: use a ranch seasoning packet with sour cream and Greek yogurt)
- Hummus, any flavor (roasted red pepper looks nice with Halloween colors)
- Greek yogurt fruit dip or vanilla yogurt
- Peanut butter or sunflower seed butter for fruit, if no nut allergies
Pantry Shortcuts & Brand Notes
- Pre-cut veggie trays from the store: buy one and rearrange into Halloween shapes.
- Pre-cut pineapple and melon from the produce section: saves a lot of knife time.
- Bottled ranch and hummus: I like brands that list simple ingredients and taste tangy and salty, not sweet.
- Pre-washed salad greens: handy if you want a green “background” under your skeleton or pumpkin shape.
Equipment
- Large platter, cutting board, or sheet pan lined with parchment
- Small bowls or ramekins for dips
- Sharp chef’s knife
- Small paring knife for details and shapes
- Small cookie cutters (pumpkin, bat, ghost) if you have them
- Paper towels to pat veggies and fruit dry so they do not water down the dips
Tips & Mistakes
- Slice everything to kid-friendly, bite-size pieces so guests do not juggle knives at the snack table.
- Pat fruit and veggies dry so they do not drip into the dips and make them watery.
- Group colors together for a bold look, or use one color to outline shapes like pumpkins or skulls.
- Keep wet fruits like pineapple and melon in their own corner or bowl so they do not soak crunchy veggies.
- Avoid strong-smelling items like raw onion on the same tray, since they can perfume the fruit in a weird way.
- Use a photo reference for skeletons or pumpkins so the design comes together quickly.
- Add dips last so you do not bump them while you arrange the shapes.
- Keep toothpicks handy, but do not rely on them to hold big pieces, since kids can yank them out and break the design.
- Chill the tray before serving, but do not refrigerate uncovered for hours or the veggies can dry out.
- Taste a piece of each veggie and fruit before you build the tray so you catch any bland or mushy items.
How to Make Halloween Fruit and Veggie Tray Idea
Step 1: Plan the Design
Decide on one main shape: veggie skeleton, jack-o-lantern face, or spooky graveyard. Sketch a quick layout on paper or in your head so you know where dips and colors go. Plan at least one dip near each side of the tray so guests do not reach across everything.
Step 2: Wash and Prep Produce
Rinse all fruit and veggies under cool water and dry them well with clean towels. Trim stems, remove seeds from peppers, and cut off any bruised spots. Slice carrots, celery, cucumber, and peppers into sticks or rounds that feel easy to grab.
Step 3: Cut Fun Shapes
Use a small paring knife or cookie cutters to cut pumpkin or ghost shapes from melon or cucumber slices. Slice mini bell peppers into rings that look like pumpkin outlines. Cut a few carrot or celery “fingers” by trimming knuckles and a flat nail area, then add a sliver of red pepper or almond slice as the nail if you like.
Step 4: Arrange the Dips First
Place small bowls of ranch, hummus, and fruit dip on the tray. Space them so they anchor the design, like eyes in a skull or bowls at the top and bottom of a skeleton. This step helps you see how much room you have left for the fruit and veggies.
Step 5: Build a Veggie Skeleton (Option 1)
Use a small bowl of ranch as the head and surround it with cauliflower or cucumber rounds to outline a skull. Line up celery sticks or carrot sticks for the spine, and use more sticks as arms and legs. Add cherry tomato joints and broccoli “hair,” then use olives or raisins as eyes and a mouth.
Step 6: Build a Pumpkin Face (Option 2)
Fill the center of the tray with baby carrots or orange bell pepper strips in a big round pumpkin shape. Use cucumber slices or green grapes for eyes and a nose, and a row of black olives or grapes for the mouth. Add a celery stick or green pepper strip at the top as the stem.
Step 7: Add a Fruit Graveyard (Option 3)
Line the back of the tray with pineapple spears or melon slices as “tombstones.” Scatter blueberries and grapes in front as the “ground.” Add a few strawberry halves as spooky hearts and use raisins to dot in eyes on some pieces.
Step 8: Fill Gaps With Color
Tuck broccoli, cauliflower, and snap peas into any open spaces so the tray looks full and abundant. Keep similar colors together so the design reads clearly from across the room. Use extra grapes or berries to border the tray and give it a finished edge.
Step 9: Add Final Details
Press mini chocolate chips or raisins into a few banana or apple slices to make quick ghosts if you include them on the side. Add a few olive “spiders” by cutting olive slices as legs around a whole olive body. Step back, snap a photo, and adjust any crooked eyes or sliding veggies.
Step 10: Chill Until Serving
Cover the tray loosely with plastic wrap or a large clean kitchen towel. Chill it in the fridge for up to a couple of hours before the party. Pull it out about 10 minutes before serving so the dips soften slightly and taste their best.
Variations I've Tried
I like a “monster face” version with green grapes and cucumber slices as skin, cherry tomato eyes, and shredded carrot hair. A black and orange tray looks cool with black grapes, black olives, cheddar cubes, carrots, and orange peppers. A kid-focused tray works well with mostly fruit, a few mild veggies like cucumbers and carrots, and extra yogurt dip.
You can also build individual mini Halloween fruit and veggie cups with clear plastic cups layered like candy corn colors: pineapple, orange slices, then white melon or banana on top. Another fun twist uses only local seasonal produce, so apples, pears, carrots, and broccoli take center stage with a maple yogurt dip.
How to Serve Halloween Fruit and Veggie Tray Idea
Set the Halloween fruit and veggie tray in a bright spot where kids can reach it easily, not hidden behind the desserts. Place small plates, napkins, and tongs or small spoons nearby so guests do not dig in with fingers. Offer extra bowls of ranch, hummus, and yogurt dip on the side for refills. Pair the tray with simple drinks like water, sparkling water, apple cider, or hot chocolate for a cozy spread.
How to store
- Store leftovers in airtight containers in the fridge for up to 2 to 3 days, keeping fruit and veggies in separate containers when possible.
- Keep dips in their own sealed containers in the fridge and use them within 3 to 4 days.
- Avoid freezing fresh fruit and veggies from the tray, since they thaw with a mushy texture that does not work for snacking.
- If you want to refresh the tray later, pull out the crispest pieces, add a fresh batch of sliced veggies or fruit, and top with a new bowl of dip.
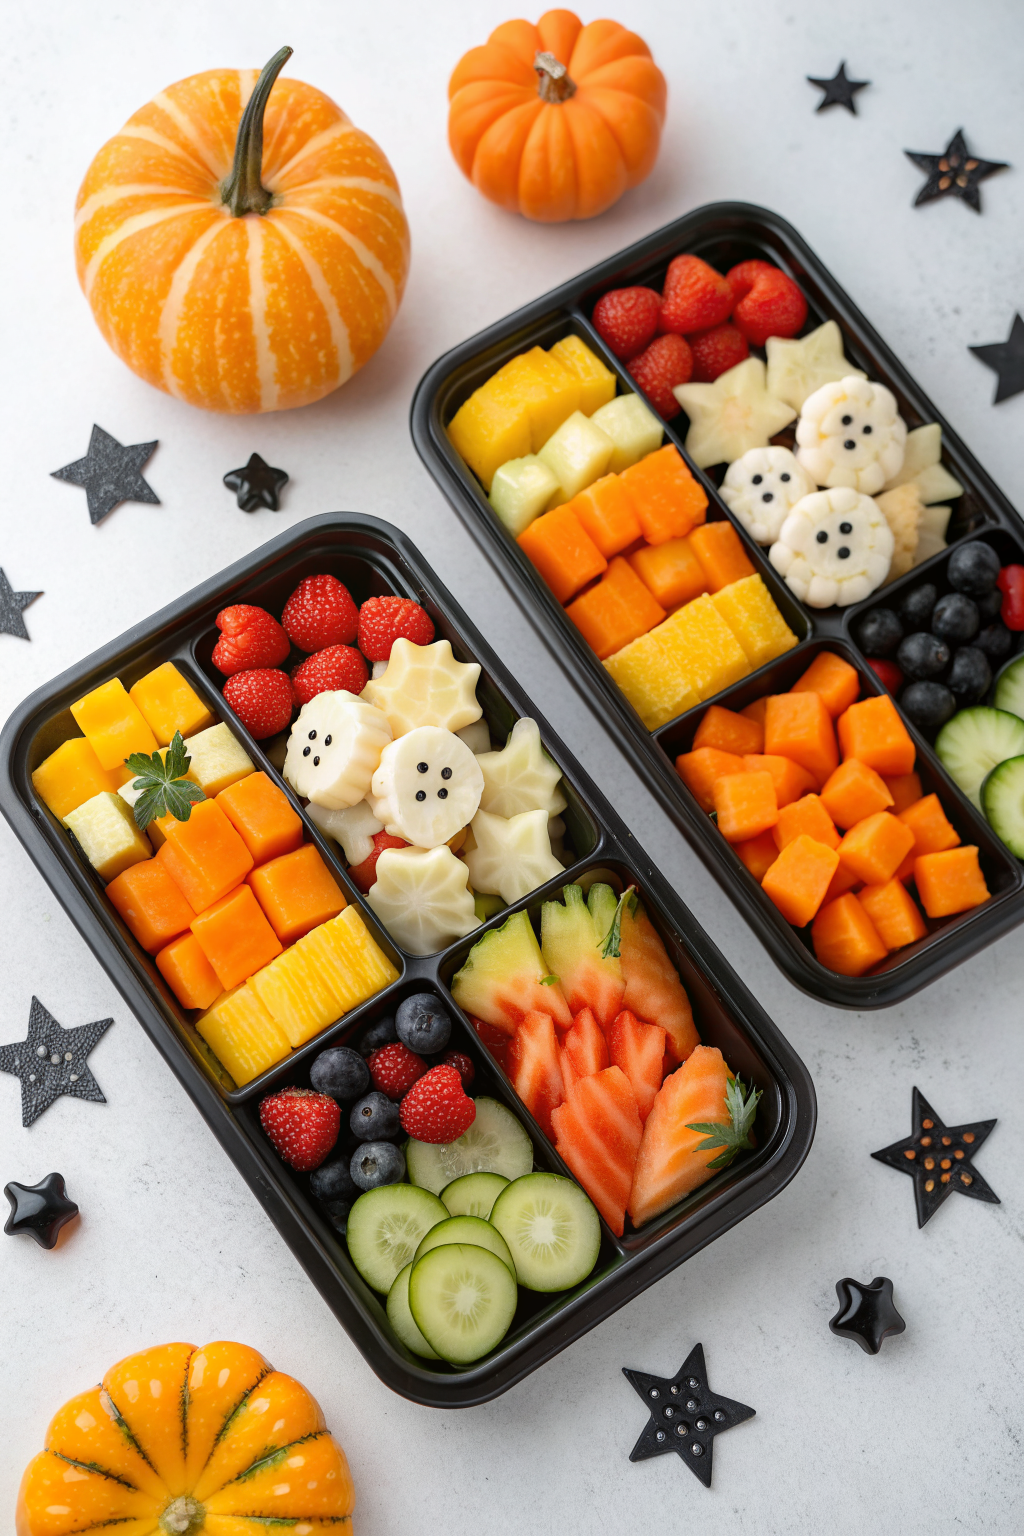
Halloween Fruit and Veggie Tray Idea
Ingredients
Instructions
- Plan your design by choosing one main theme such as a veggie skeleton, jack-o-lantern face, or spooky graveyard, and decide where the dips and main shapes will sit on your platter.
- Wash all fruits and vegetables under cool water and dry well with clean towels. Trim stems, remove pepper seeds, cut off any bruised spots, and slice carrots, celery, cucumber, and peppers into easy-to-grab sticks or rounds.
- Use a small paring knife or cookie cutters to cut pumpkin or ghost shapes from melon or cucumber slices. Slice mini bell peppers into rings that resemble pumpkin outlines. Carve a few carrot or celery fingers by trimming knuckles and a flat nail area, adding a tiny piece of red pepper or almond slice as a nail if desired.
- Arrange small bowls of ranch, hummus, and fruit or yogurt dip on the tray first. Space them so they anchor the design and make it easy for guests to reach a dip from different sides of the tray.
- For a veggie skeleton, use a dip bowl as the head. Outline it with cauliflower or cucumber rounds for a skull shape, line up celery or carrot sticks as the spine, and add more sticks as arms and legs. Use cherry tomatoes as joints and broccoli for hair, then add olive or raisin eyes and a mouth.
- For a pumpkin face, fill the center of the tray with baby carrots or orange bell pepper strips in a round pumpkin shape. Use cucumber slices or green grapes for eyes and a nose, and black olives or dark grapes for the mouth. Add a celery stick or green pepper strip at the top as the stem.
- For a fruit graveyard, line the back of the tray with pineapple spears or melon slices as tombstones. Scatter blueberries and grapes in front as the ground, add strawberry halves as spooky hearts, and use raisins to dot eyes on a few pieces if you like.
- Fill in any open gaps with broccoli, cauliflower, snap peas, and extra fruit so the tray looks full and colorful. Keep similar colors grouped so the shapes read clearly from across the room, and use grapes or berries to create a border around the edge.
- Add final details by pressing mini chocolate chips or raisins into a few banana or apple slices to make ghost faces if using them, and create simple olive spiders by placing olive slices as legs around a whole olive body. Adjust any pieces so eyes and shapes look even.
- Cover the tray loosely with plastic wrap or a clean kitchen towel and chill for up to a couple of hours before serving. Remove from the refrigerator about 10 minutes before serving so the dips soften slightly. Serve with small plates, napkins, and tongs or spoons for the dips.
Notes
Approximate per serving (1/12 of tray, including veggies, fruit, and a modest amount of dip): 160 calories; fat 6 g; saturated fat 2 g; carbohydrates 26 g; fiber 5 g; sugars 17 g; protein 4 g; sodium 260 mg. Values will vary based on exact amounts, dip types, and portion size. Storage: Store leftover fruit and veggies in separate airtight containers in the refrigerator for 2 to 3 days. Keep dips in their own sealed containers and use within 3 to 4 days. Do not freeze the fresh produce, as the texture becomes mushy. To refresh the tray later, use the crispest leftover pieces, add some freshly sliced produce, and serve with a fresh bowl of dip.