
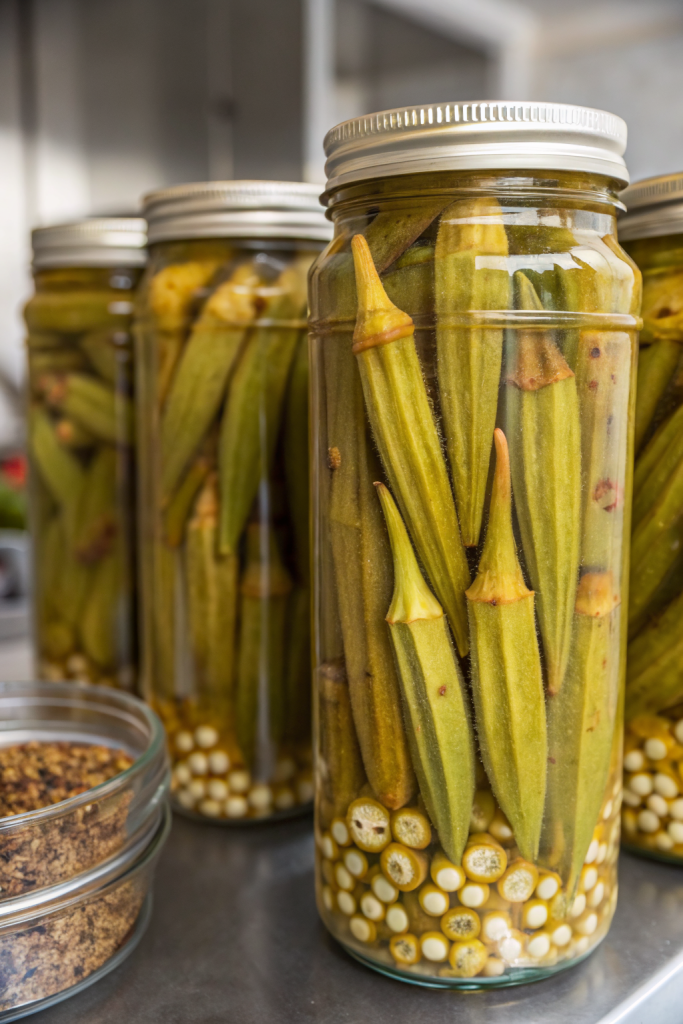
Best Pickled Okra Recipe hits that perfect balance of tangy, garlicky, and slightly spicy crunch that turns okra skeptics into jar-raiders. It works for busy home cooks who want a quick small-batch pickle in under 30 minutes of hands-on time, plus a short wait while the brine works its magic. I grew up in the South with a grandma who measured vinegar with her heart, and this version comes straight from years of tweaking her method in my own kitchen.
Why Make This Best Pickled Okra Recipe at Home
Homemade pickled okra tastes brighter, crunchier, and more customizable than anything on a store shelf. You control the heat level, the garlic, and the salt, so the flavor hits exactly how you like it.
You also save money when you pickle okra at home, especially in peak season when farmers practically beg you to take it. Quick pickling keeps the pods crisp and slime-free, so you enjoy all the flavor without any texture drama.
“This Best Pickled Okra Recipe turned my snack board into the star of the party and vanished in one evening. ★★★★★”
Ingredients You Need
You can scale this recipe up or down, but this version fills about 3 pint jars.
Fresh produce
- 1 ½ pounds small fresh okra pods
- Choose pods no longer than your index finger, firm, and bright green.
- Avoid limp, bruised, or oversized pods, since they turn tough.
- 6 garlic cloves, peeled and lightly smashed
- 3–4 small fresh hot peppers, whole or sliced
- Jalapeño, serrano, or Fresno peppers all work.
- Use fewer peppers if you want mild pickled okra.
Brine
- 2 cups distilled white vinegar (5% acidity)
- You can use apple cider vinegar for a softer tang, but keep the same acidity.
- 2 cups water (filtered if your tap water tastes strong)
- 3 tablespoons kosher salt
- Use a brand like Diamond Crystal or Morton and measure by tablespoons, not by weight.
- Do not use iodized table salt, since it can turn the brine cloudy and taste harsh.
- 2 tablespoons sugar
- This does not make the pickles sweet; it just rounds the acidity.
Flavor boosters
Divide these between the jars:
- 3 teaspoons mustard seeds
- 3 teaspoons black peppercorns
- 3 teaspoons dill seeds or 6 fresh dill sprigs
- 3 bay leaves
- ½ teaspoon crushed red pepper flakes (optional, for extra heat)
Pantry shortcuts and substitutions
- Use pre-peeled garlic from the refrigerated section if you want to save time.
- Swap dill seeds with celery seeds if you run out of dill.
- Use pickling spice blend from the store and skip the mustard seeds, peppercorns, and bay leaves.
- If you avoid sugar, use a pinch of granulated sweetener or skip it entirely, though the flavor tastes sharper.
Equipment list
- 3 clean pint jars with tight-fitting lids (no need to can for shelf storage in this recipe)
- Small saucepan for the brine
- Small pot or kettle for boiling water to rinse jars
- Tongs or jar lifter
- Funnel (optional, but it keeps the brine off your counter)
- Clean towel or paper towels
Tips & Mistakes
- Pack the okra tightly in the jars so they stand upright and stay submerged in brine.
- Trim only the stem tips and keep the pod intact so the okra stays crisp and does not leak seeds into the brine.
- Use small, young pods since large pods turn woody and stringy.
- Wash and dry the okra completely so extra water does not dilute the brine.
- Heat the brine until the salt and sugar dissolve, but do not boil it for a long time or the flavor turns harsh.
- Pour hot, not boiling, brine over the okra so the pods stay crisp and do not soften.
- Cool the jars to room temperature before you chill them so the glass does not crack.
- Chill the pickled okra at least 24 hours before you eat it so the flavor develops fully.
- Label the jars with the date so you track freshness and rotation.
- Keep the okra submerged under the brine; use a small piece of onion or pepper as a weight if needed.
How to Make Best Pickled Okra Recipe
Step 1: Prep the jars and okra
Rinse the jars with hot water and let them air dry on a clean towel. Wash the okra under cool running water and pat the pods very dry. Trim only the tough stem tips without cutting into the pod, and leave the pointed ends intact.
Step 2: Pack the jars
Place 2 garlic cloves, 1 teaspoon mustard seeds, 1 teaspoon peppercorns, 1 teaspoon dill seeds or 2 dill sprigs, 1 bay leaf, and a pinch of red pepper flakes in each jar. Add 1 hot pepper to each jar, either whole or sliced. Stand the okra pods upright in the jars, tips up, and pack them snugly without crushing them.
Step 3: Make the brine
Add vinegar, water, kosher salt, and sugar to a small saucepan. Set the pan over medium heat and stir until the salt and sugar dissolve and the brine just starts to steam. Turn off the heat and let the brine sit for 2 to 3 minutes so it stops bubbling.
Step 4: Fill the jars
Place the jars on a towel to protect your counter from heat. Use a funnel if you have one and pour the hot brine over the okra in each jar, leaving about ½ inch of space at the top. Tap the jars gently on the counter or slide a clean butter knife down the sides to release any air bubbles, then top off with more brine if needed.
Step 5: Seal and cool
Wipe the rims of the jars with a clean damp towel so no brine or seeds sit on the edges. Screw on the lids until they feel snug. Let the jars cool at room temperature until they no longer feel warm to the touch.
Step 6: Chill and wait
Place the cooled jars in the refrigerator. Chill them at least 24 hours before you open them, though 48 to 72 hours gives the best flavor. Taste a pod, then adjust future batches with more garlic, more heat, or extra dill based on what you like.
Variations I've Tried
I swap half the white vinegar with apple cider vinegar and add a slice of lemon to each jar for a slightly fruity, softer tang. I also love a smoky version with a pinch of smoked paprika and a slice of fresh jalapeño in each jar. When I want a more savory snack, I add a few slices of onion and a small strip of carrot to each jar for extra crunch and sweetness.
If you enjoy bold spice, toss in a clove or two and a few coriander seeds for a more complex flavor. I even tried a curry-style batch with a pinch of curry powder and turmeric, which turned the okra a gorgeous golden color and tasted amazing with rice bowls.
How to Serve Best Pickled Okra Recipe
Serve pickled okra straight from the jar as a crunchy snack, or pile it onto a snack board with cheese, crackers, and fresh veggies. Chop it and mix it into tuna salad, chicken salad, or egg salad for a tangy kick. Slice it and scatter over grain bowls, tacos, or simple green salads for extra texture. I also love it as a side with fried chicken, grilled fish, or a simple pot of beans and rice.
How to store
- Store the jars in the refrigerator and keep the okra submerged in brine; it stays at peak quality for 3 to 4 weeks.
- Keep the lid tightly closed and always use a clean fork or tongs to remove okra so no stray crumbs enter the jar.
- Skip the freezer, since freezing softens the texture and ruins the crunch.
- Eat the okra straight from the fridge or let it sit at room temperature for 5 to 10 minutes if you prefer a slightly less chilly bite.
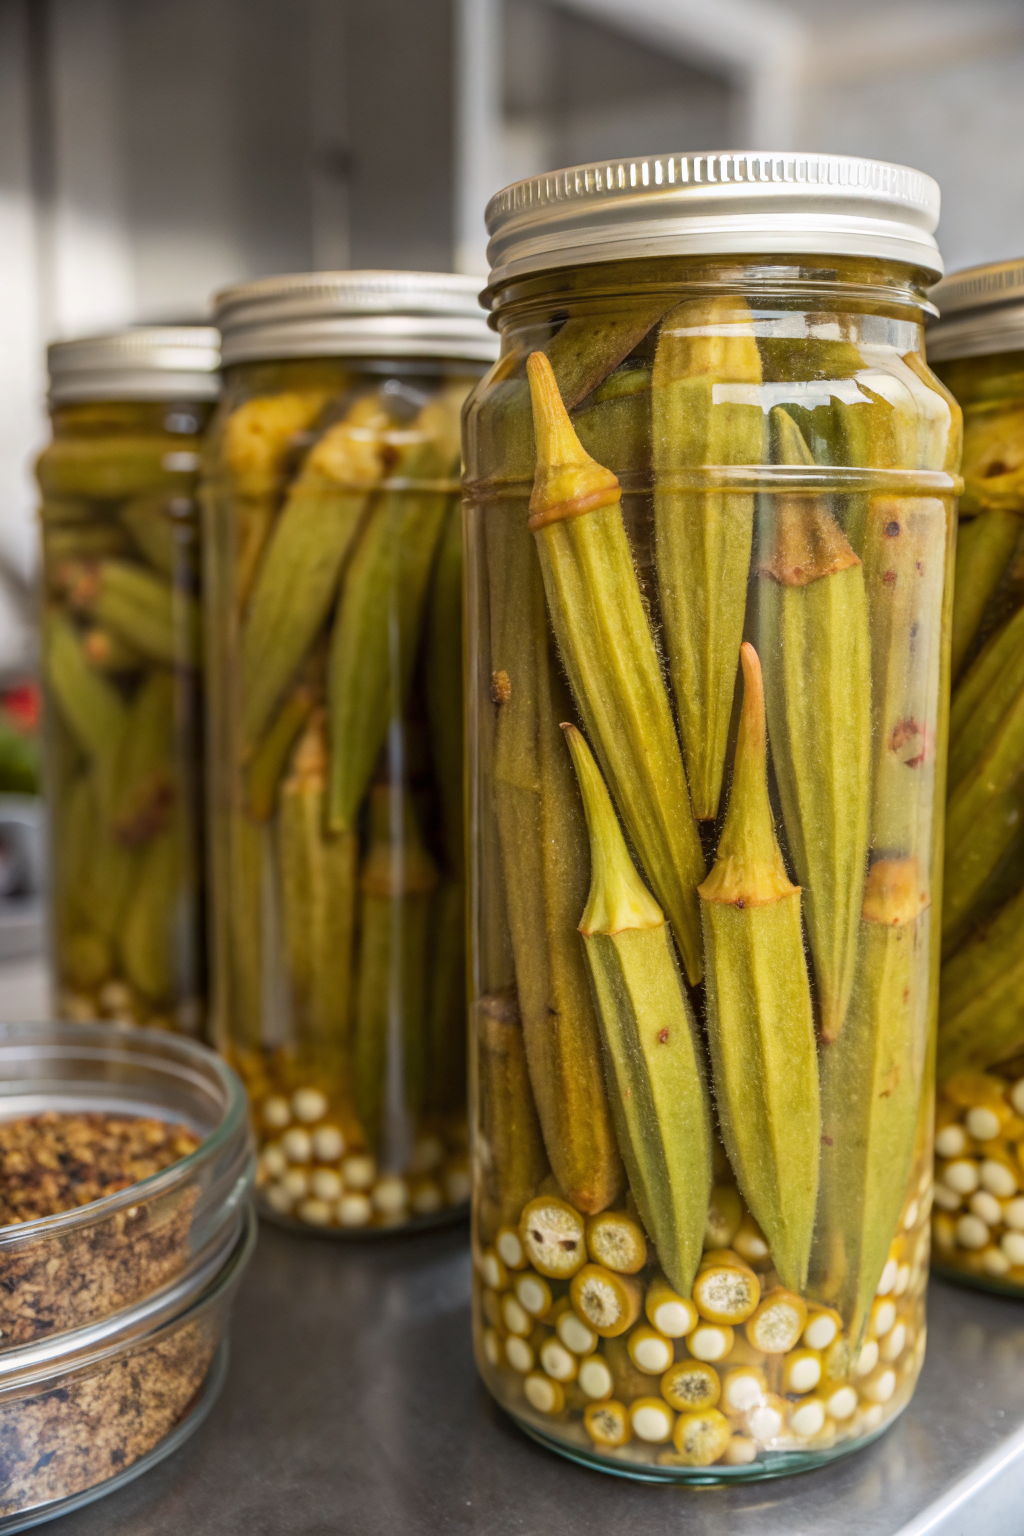
Best Pickled Okra Recipe
Ingredients
Instructions
- Rinse the pint jars with hot water and let them air dry on a clean towel.
- Wash the okra under cool running water and pat the pods very dry so extra water does not dilute the brine.
- Trim only the tough stem tips without cutting into the pod and leave the pointed ends intact to help keep the okra crisp.
- Place 2 garlic cloves, 1 teaspoon mustard seeds, 1 teaspoon black peppercorns, 1 teaspoon dill seeds or 2 dill sprigs, 1 bay leaf, and a pinch of crushed red pepper flakes (if using) in each of the 3 jars.
- Add 1 hot pepper to each jar, either whole or sliced, depending on how much heat you want.
- Stand the okra pods upright in the jars, tips up, and pack them snugly without crushing them so they stay submerged in brine later.
- Add the vinegar, water, kosher salt, and sugar to a small saucepan.
- Set the pan over medium heat and stir until the salt and sugar dissolve and the brine just starts to steam.
- Turn off the heat and let the brine sit for 2 to 3 minutes so it stops bubbling but is still hot.
- Place the packed jars on a towel to protect your counter from heat.
- Pour the hot brine over the okra in each jar, leaving about 1/2 inch of headspace at the top. A funnel helps keep the brine off the rims.
- Tap the jars gently on the counter or slide a clean butter knife down the sides to release any air bubbles, then top off with more brine if needed to keep the okra covered.
- Wipe the jar rims with a clean damp towel so no brine or seeds remain, then screw on the lids until snug.
- Let the sealed jars cool at room temperature until they no longer feel warm to the touch.
- Refrigerate the cooled jars and chill at least 24 hours before opening, though 48 to 72 hours gives the best flavor.
- Serve the pickled okra straight from the jar as a snack, on a snack board, chopped into salads, or as a tangy side with mains like fried chicken, grilled fish, or beans and rice.
Notes
Approximate per serving (about 2–3 pods): 20 calories; fat 0 g; saturated fat 0 g; carbohydrates 4 g; fiber 1 g; sugars 2 g; protein 1 g; sodium 260 mg. Values will vary based on exact jar fill, brine amount consumed, and ingredient brands.
Leave a Reply