
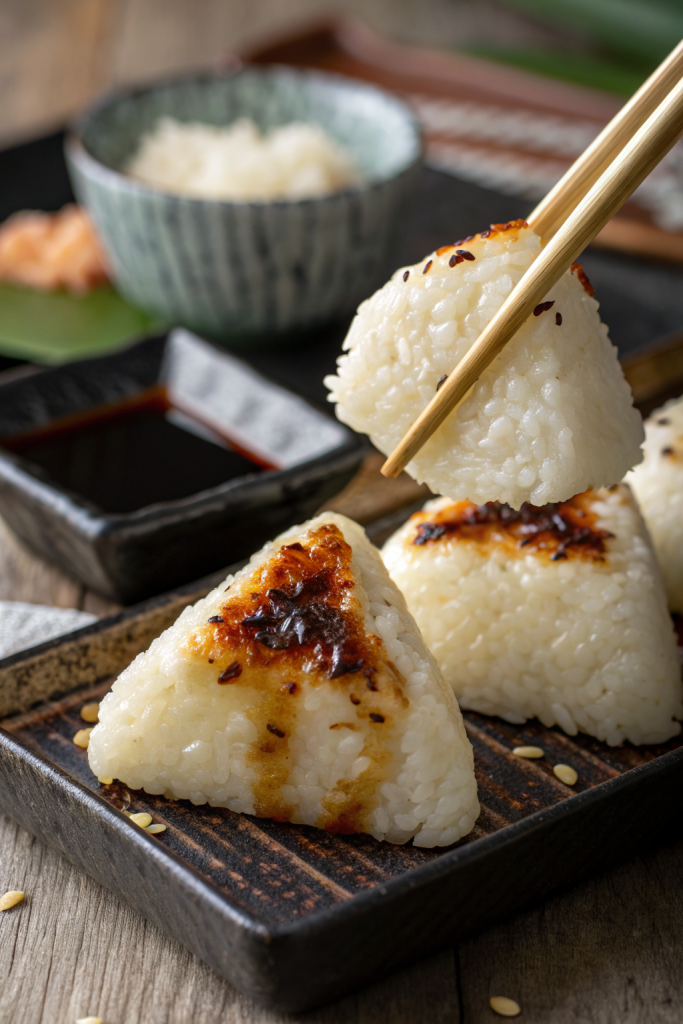
Yaki Onigiri Japanese Grilled Rice Balls Recipe tastes smoky, savory, a little crispy on the outside, and soft and chewy inside. It works perfectly for busy weeknights or snack attacks and takes about 35 minutes from start to finish. I still burn my fingers every time I eat the first one too fast, so you’re in good company.
Why You Should Try This Yaki Onigiri Japanese Grilled Rice Balls Recipe
Yaki onigiri packs huge flavor from very simple ingredients. You get toasty rice, salty soy glaze, and that addictive crunchy crust that feels like the best part of the rice at the bottom of the pot.
This recipe suits beginners who want an easy Japanese snack and experienced cooks who love playing with textures. It also works great as a make-ahead lunch box item or a fun party snack that kids and adults both attack.
“Perfectly crisp, salty, and comforting, this Yaki Onigiri Japanese Grilled Rice Balls Recipe became my new favorite snack after one bite. ★★★★★”
Ingredients You’ll Need
Rice
- 2 cups Japanese short-grain rice (sushi rice or Calrose style)
- Short-grain rice gives the right stickiness. Long-grain rice like basmati or jasmine will not hold shape well.
- 2 1/4 cups water, plus extra for wetting hands
- 1/2 teaspoon fine sea salt
Soy glaze
- 2 tablespoons soy sauce
- Use regular Japanese-style soy sauce; low sodium works if you prefer a milder salt level.
- 1 tablespoon mirin
- Mirin adds sweetness and shine; if you do not have it, use 2 teaspoons sugar plus 1 teaspoon water.
- 1 teaspoon sugar (adjust to taste)
- 1 teaspoon toasted sesame oil
- Optional: 1 teaspoon sake (skip if you do not cook with alcohol; the recipe still tastes great)
Optional fillings
Pick one or mix and match. Keep fillings dry so the rice balls hold shape.
- 2 tablespoons cooked salmon flakes (salted salmon works best)
- 2 tablespoons tuna mixed with a little Japanese mayo and soy sauce
- 2 tablespoons chopped pickled plum (umeboshi)
- 2 tablespoons chopped pickled vegetables (takuan, kimchi, or other crunchy pickles)
- 1 tablespoon furikake rice seasoning
Toppings & garnish
- 1–2 sheets nori (roasted seaweed), cut into strips or rectangles
- 1 teaspoon toasted sesame seeds
- Thinly sliced green onion or chives
- Shichimi togarashi (Japanese chili seasoning), optional for heat
Pantry shortcuts & notes
- Use bottled teriyaki sauce in place of the soy glaze if you feel lazy; just brush lightly so it does not burn.
- Frozen cooked rice works if you thaw and reheat it until hot and fluffy before shaping.
- Pre-cut onigiri nori sleeves save time and keep fingers clean.
Equipment
- Rice cooker or medium saucepan with lid
- Large bowl
- Small bowl of water with a pinch of salt (for wetting hands)
- Grill pan, cast iron skillet, or outdoor grill grate
- Silicone brush or spoon for glazing
- Spatula or tongs
Tips & Tricks
- Rinse the rice 3 to 4 times until the water looks mostly clear to get clean flavor and better texture.
- Cook the rice slightly firm so it holds shape; avoid mushy rice or the onigiri will fall apart.
- Shape the rice while still warm but not scorching hot; warm rice sticks together better.
- Wet your hands with salted water before shaping to prevent sticking and to season the surface.
- Pack the rice firmly but gently; squeeze enough to hold shape without crushing the grains.
- Keep fillings in the center and avoid overfilling so the rice does not crack on the grill.
- Brush the soy glaze lightly at first, then add more after the first sear to avoid burning.
- Use medium heat; high heat will char the outside before the inside warms through.
- Do not move the rice balls too soon; let a crust form so they release from the pan easily.
- If you use an outdoor grill, oil the grates well and use a fine mesh grill topper to keep them safe.
How to Make Yaki Onigiri Japanese Grilled Rice Balls Recipe
Cook the rice
- Rinse the short-grain rice in a bowl with cold water, swishing gently, then drain. Repeat until the water looks mostly clear.
- Add the rinsed rice and 2 1/4 cups water to a rice cooker or saucepan. Cook according to your rice cooker instructions or bring to a boil on the stove, then cover, lower heat, and simmer 12 to 15 minutes until the water absorbs.
- Turn off the heat and let the rice sit covered for 10 minutes. Fluff gently with a rice paddle or spatula, then sprinkle in 1/2 teaspoon salt and mix lightly.
Mix the glaze
- In a small bowl, combine soy sauce, mirin, sugar, toasted sesame oil, and sake if you use it. Stir until the sugar dissolves. Taste and adjust sweetness or salt level.
Shape the rice balls
- Prepare a small bowl of water with a pinch of salt near your work area. Set a plate or tray nearby.
- Wet your hands lightly with the salted water. Scoop about 1/3 to 1/2 cup of warm rice into your hand.
- If you use a filling, press a small indentation in the center of the rice, add about 1 teaspoon of filling, then cover with a bit more rice.
- Shape the rice into a triangle or round: press with your palms and fingers, turning as you go, until the onigiri feels compact and sturdy.
- Place each finished rice ball on the plate or tray. Repeat until you use all the rice.
Grill the onigiri
- Heat a grill pan, cast iron skillet, or nonstick pan over medium heat. Lightly oil the surface with a neutral oil.
- Place the rice balls in the pan with a little space between them. Let them cook 3 to 4 minutes on the first side without moving until the bottom turns golden and crisp.
- Flip gently with a spatula or tongs. Cook the second side 3 to 4 minutes until it also turns golden and firm.
Glaze and finish
- Lower the heat slightly. Brush a thin layer of soy glaze on the top side of each rice ball.
- Flip and cook 1 to 2 minutes so the glaze sizzles and sets, then brush the second side and repeat.
- Add a light second coat of glaze if you want a deeper color and flavor, but watch closely so the sugar does not scorch.
- Remove the yaki onigiri to a plate. Wrap each with a strip of nori, sprinkle with sesame seeds, green onion, and a pinch of shichimi togarashi if you like heat.
What to Serve with Yaki Onigiri Japanese Grilled Rice Balls Recipe
Yaki onigiri pairs beautifully with a simple bowl of miso soup and a small salad with sesame dressing. You can serve it alongside grilled chicken skewers, teriyaki tofu, or pan-fried fish for a full meal. Kids love it with sliced cucumbers, cherry tomatoes, and a little soy sauce on the side. Add green tea, iced barley tea, or sparkling water with lemon to round out the meal.
Storage Options
- Cool leftover yaki onigiri completely, then wrap each rice ball tightly in plastic wrap and place them in an airtight container in the fridge for up to 2 days.
- For longer storage, wrap each piece, place them in a freezer bag, press out extra air, and freeze for up to 1 month.
- Reheat refrigerated onigiri in a covered skillet with a splash of water, or microwave covered with a damp paper towel until hot, then crisp in a lightly oiled pan if you want the crust back.
- Reheat frozen onigiri directly from the freezer in the microwave until hot in the center, then finish in a pan or air fryer to restore the grilled texture.
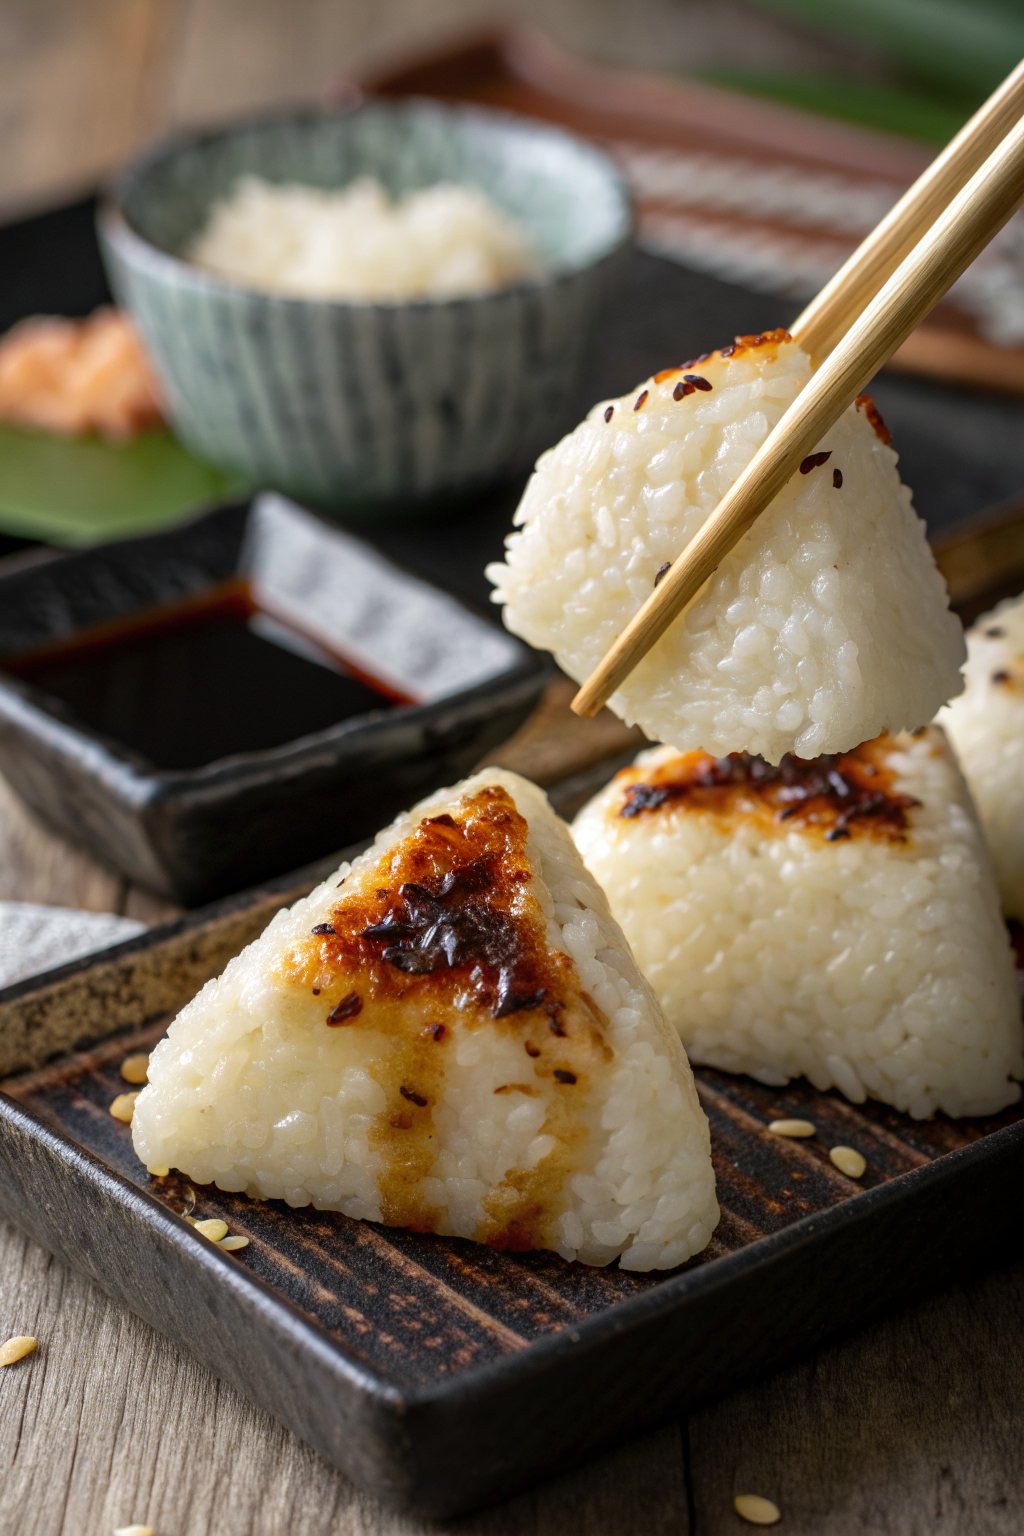
Yaki Onigiri Japanese Grilled Rice Balls Recipe
Ingredients
Instructions
- Rinse the short-grain rice in a bowl with cold water, swishing gently, then drain. Repeat 3 to 4 times until the water looks mostly clear.
- Add the rinsed rice and 2 1/4 cups water to a rice cooker or medium saucepan. Cook according to your rice cooker instructions, or bring to a boil on the stove, then cover, lower the heat, and simmer for 12 to 15 minutes until the water is absorbed.
- Turn off the heat and let the rice sit covered for 10 minutes. Fluff gently with a rice paddle or spatula, then sprinkle in the sea salt and mix lightly.
- In a small bowl, combine the soy sauce, mirin, sugar, toasted sesame oil, and sake if using. Stir until the sugar dissolves, then taste and adjust sweetness or salt level as desired.
- Prepare a small bowl of water with a pinch of salt near your work area and set a plate or tray nearby.
- Wet your hands lightly with the salted water. Scoop about 1/3 to 1/2 cup of warm rice into your hand.
- If using a filling, press a small indentation in the center of the rice, add about 1 teaspoon of filling, then cover with a bit more rice to enclose it.
- Shape the rice into a triangle or round, pressing with your palms and fingers and turning as you go, until the onigiri feels compact and sturdy but not crushed.
- Place each finished rice ball on the plate or tray and repeat with the remaining rice.
- Heat a grill pan, cast iron skillet, or nonstick pan over medium heat. Lightly oil the surface with a neutral oil.
- Place the rice balls in the pan with a little space between them. Cook for 3 to 4 minutes on the first side without moving them until the bottom turns golden and crisp.
- Flip gently with a spatula or tongs and cook the second side for 3 to 4 minutes, until golden and firm.
- Lower the heat slightly. Brush a thin layer of soy glaze on the top side of each rice ball.
- Flip and cook for 1 to 2 minutes so the glaze sizzles and sets, then brush the second side and cook for another 1 to 2 minutes.
- If desired, add a light second coat of glaze for deeper color and flavor, watching closely so the sugar does not scorch.
- Transfer the yaki onigiri to a serving plate. Wrap each with a strip of nori and sprinkle with toasted sesame seeds, green onion, and a pinch of shichimi togarashi if you like heat. Serve hot or warm.
Notes
Approximate per 1 onigiri (8 servings total, without optional fillings or toppings): 165 calories; fat 2 g; saturated fat 0 g; carbohydrates 33 g; fiber 1 g; sugars 2 g; protein 4 g; sodium 320 mg. Values will vary based on brands, optional fillings, toppings, and portion size.