

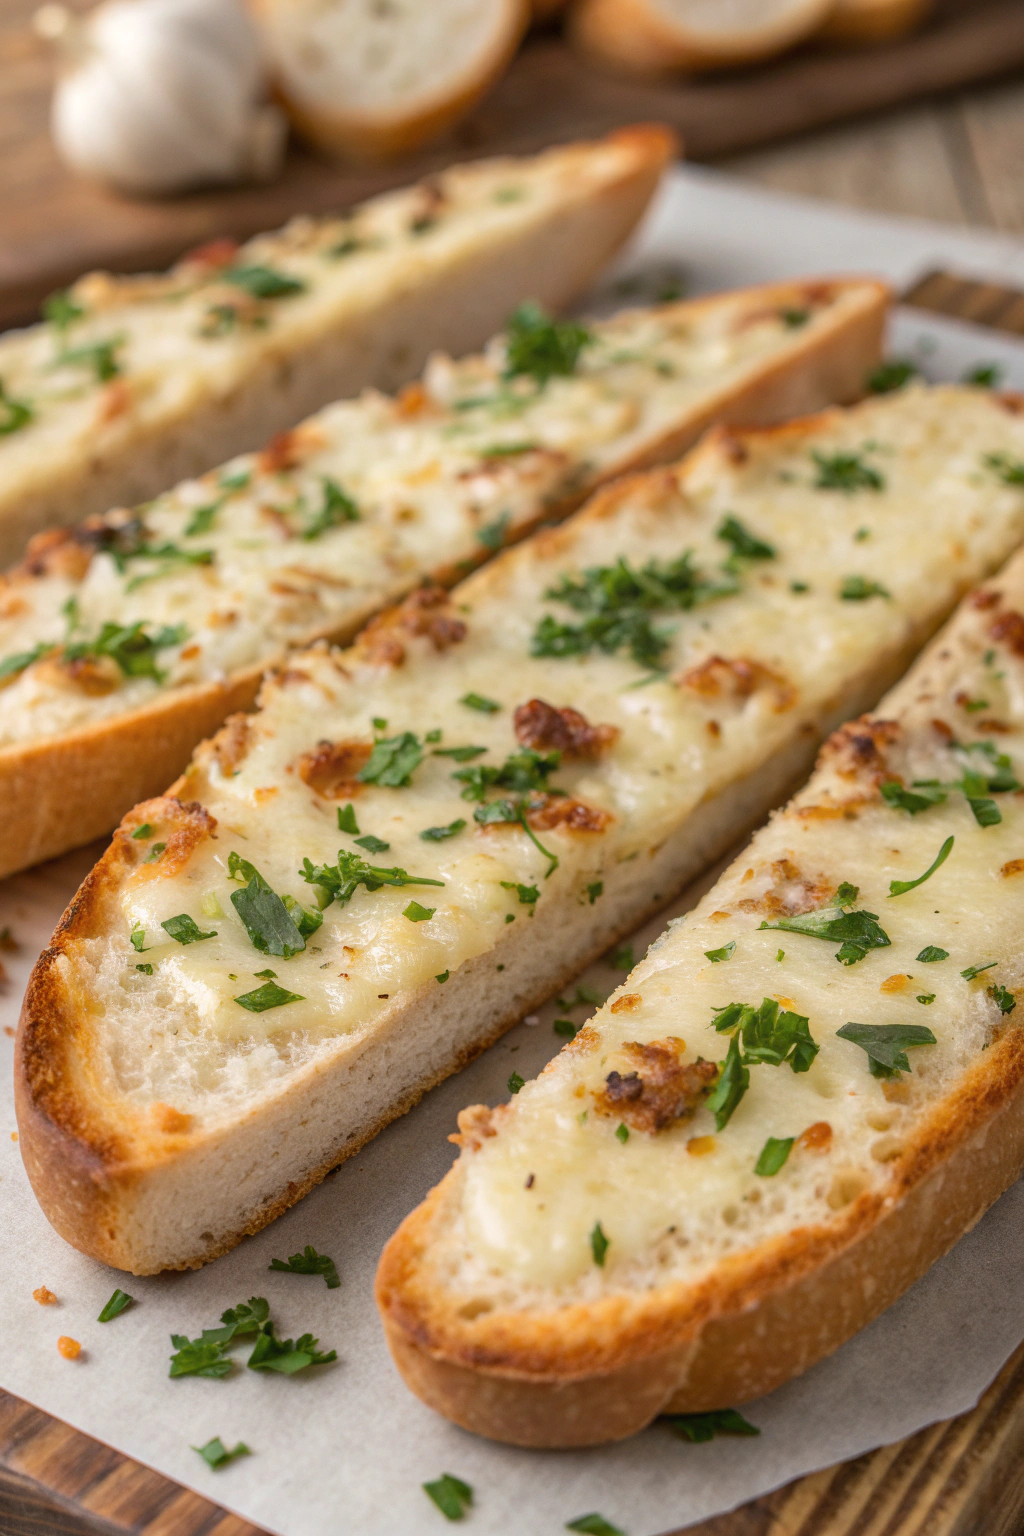
Quick Garlic Breadsticks Recipe tastes buttery, garlicky, and a little cheesy, with a soft, fluffy center and lightly crisp edges. It works perfectly for busy weeknights, game nights, or last‑minute guests, and you can finish the whole thing in about 30 minutes. I tested this version on my own carb-loving family, and the basket vanished before the pasta hit the table.
Why You Should Try This Garlic Breadsticks Recipe
This Quick Garlic Breadsticks Recipe gives you pizza-parlor style breadsticks without kneading for ages or waiting on long rises. The dough stays soft, the crust browns nicely, and the garlic butter soaks into every bite.
You mix simple pantry ingredients, shape, bake, and brush with garlic butter while they stay hot. The whole process fits into a tight schedule, so you can pull off warm breadsticks even when dinner already sits on the stove.
“These quick garlic breadsticks tasted like something from our favorite pizza place, but fresher and hotter. The inside stayed fluffy, the outside had a light chew, and the garlic butter made everyone lick their fingers. My kids asked if we could skip the main dish and just eat these.”
Ingredients You’ll Need
Dough
- 1 cup warm water, about 110°F (comfortably warm, not hot)
- 2 ¼ teaspoons instant or rapid-rise yeast (1 standard packet)
- 2 teaspoons granulated sugar
- 2 tablespoons olive oil or neutral oil
- 1 teaspoon fine sea salt or table salt
- 2 ½ to 3 cups all-purpose flour
- Start with 2 ½ cups and add more a tablespoon at a time until the dough feels soft and slightly tacky but not sticky
- You can swap in up to 1 cup bread flour for extra chew
Garlic butter topping
- 4 tablespoons unsalted butter, melted
- Use salted butter and reduce the added salt slightly if that sits in your fridge
- 2 to 3 cloves garlic, very finely minced or grated
- Garlic powder works in a pinch: use ½ teaspoon and add more to taste
- 2 tablespoons grated Parmesan cheese
- Shelf-stable grated Parmesan works fine for this recipe
- 1 tablespoon chopped fresh parsley or 1 teaspoon dried parsley
- ¼ teaspoon salt, or to taste
- ¼ teaspoon black pepper
- ¼ teaspoon Italian seasoning or dried oregano (optional)
- Pinch of red pepper flakes, if you like a little heat
Optional finishing
- Extra grated Parmesan for sprinkling
- Extra garlic powder for a stronger garlic flavor
Equipment
- Large mixing bowl
- Measuring cups and spoons
- Wooden spoon or sturdy spatula
- Kitchen scale (optional, but it helps if you like precision)
- Baking sheet (light-colored works best to avoid over-browning)
- Parchment paper or a light coating of oil for the pan
- Pastry brush or spoon for the garlic butter
- Clean kitchen towel or plastic wrap to cover the dough
Tips & Tricks
- Use warm water that feels like a hot bath, not scalding, so the yeast stays active and happy.
- Choose instant or rapid-rise yeast if you want the fastest rise and the fluffiest texture.
- Add flour gradually so the dough stays soft; a slightly tacky dough bakes into lighter breadsticks.
- Oil your hands lightly when you shape the dough to keep it from sticking and to avoid adding extra flour.
- Cut the dough with a bench scraper or sharp knife so you avoid squishing the edges.
- Let the shaped breadsticks rest 10 to 15 minutes before baking so they puff slightly and bake tender.
- Mix the garlic butter while the breadsticks bake so you can brush it on immediately while they stay hot.
- Taste the garlic butter and adjust salt, garlic, and Parmesan to match your crew’s preferences.
- Bake on the middle rack so the bottoms brown without burning.
- Serve right away, but keep leftovers wrapped in foil so they stay soft.
How to Make Garlic Breadsticks Recipe
Step 1: Mix the dough
Pour the warm water into a large mixing bowl and stir in the sugar and yeast. Let it sit for about 3 to 5 minutes until the yeast dissolves and the surface looks a little foamy. Add the oil and salt, then stir again.
Add 2 ½ cups of flour to the bowl and stir with a wooden spoon until a shaggy dough forms. If the dough looks very wet and sticky, sprinkle in more flour a tablespoon at a time. Stop when the dough feels soft, slightly tacky, and pulls away from the sides of the bowl.
Step 2: Knead briefly
Turn the dough onto a lightly floured surface. Knead for about 3 to 5 minutes, just until the dough feels smooth and elastic. If it sticks to your hands or the counter, dust with a tiny bit more flour.
Shape the dough into a ball and place it back in the bowl. Cover the bowl with a clean kitchen towel or plastic wrap. Let the dough rest for about 10 minutes while you prepare the baking sheet.
Step 3: Prep the pan and preheat the oven
Line a baking sheet with parchment paper or lightly grease it with oil. Spread a thin, even layer so the breadsticks release easily after baking. Set the pan aside.
Preheat your oven to 400°F. This temperature gives you a quick bake and a nice golden color. While the oven heats, the dough relaxes and becomes easier to roll.
Step 4: Shape the breadsticks
Transfer the rested dough to a lightly floured surface. Roll it into a rectangle about 9 by 12 inches and about ½ inch thick. If the dough springs back, let it rest a couple of minutes, then roll again.
Use a sharp knife or bench scraper to cut the dough into 10 to 12 strips. Twist each strip gently or leave them straight, depending on the look you prefer. Place the strips on the prepared baking sheet, leaving a little space between each one.
Step 5: Let them puff briefly
Cover the shaped breadsticks loosely with a kitchen towel. Let them sit at room temperature for about 10 to 15 minutes. They will puff slightly, which gives a softer, fluffier texture.
During this time, the oven finishes heating and you can clean up the counter. This short rest also relaxes the dough so it bakes more evenly. You already move toward hot breadsticks at this point, which feels pretty satisfying.
Step 6: Mix the garlic butter
In a small bowl, combine the melted butter, minced garlic, Parmesan, parsley, salt, pepper, Italian seasoning, and red pepper flakes if you use them. Stir until everything mixes evenly. Taste a tiny bit and adjust the seasoning.
If you prefer a stronger garlic flavor, add a little more minced garlic or a pinch of garlic powder. If you want a cheesier finish, increase the Parmesan. Keep the garlic butter nearby so you can brush it on the breadsticks as soon as they come out of the oven.
Step 7: Bake the breadsticks
Place the baking sheet on the middle rack of the oven. Bake for 12 to 15 minutes, until the breadsticks look lightly golden on top and slightly deeper golden at the edges. The bottoms should feel firm but not hard.
If your oven runs hot, start checking around the 10-minute mark. Rotate the pan if you notice uneven browning. Pull the breadsticks when they look puffed and lightly browned, not dark.
Step 8: Brush with garlic butter and serve
Brush the hot breadsticks generously with the garlic butter mixture. The heat helps the butter soak into the crust and carry the garlic flavor through every bite. Sprinkle extra Parmesan or garlic powder on top if you like.
Serve the breadsticks warm, ideally within 10 to 15 minutes of brushing. They taste soft, buttery, and full of garlic flavor, with just enough cheese to keep things interesting. Watch them vanish faster than you expect.
What to Serve with Garlic Breadsticks
This Quick Garlic Breadsticks Recipe pairs beautifully with big bowls of pasta and marinara, creamy Alfredo, or simple tomato basil sauce. You can serve them with hearty soups like tomato soup, minestrone, or chicken noodle for a cozy meal. They also taste great alongside salads, such as Caesar salad, chopped salad, or a basic green salad with Italian dressing.
Kids love to dip these breadsticks in warm pizza sauce or ranch dressing. You can even set them out with a platter of fresh veggies and hummus for a fun, snacky dinner. If you host a game night, stack a basket of these breadsticks next to your favorite dips and watch them disappear.
Storage Options
- Cool leftover breadsticks completely, then store them in an airtight container or zip-top bag at room temperature for up to 2 days.
- Keep them in the fridge for up to 4 days if your kitchen runs warm or you used lots of fresh garlic and cheese.
- Freeze cooled breadsticks in a single layer on a baking sheet, then transfer them to a freezer bag and store for up to 2 months.
- Reheat at 325°F in the oven for 8 to 10 minutes, or in an air fryer for 3 to 5 minutes, until warm and soft; brush with a little extra melted butter if they feel dry.
Quick Garlic Breadsticks Recipe
Ingredients
Instructions
- Preheat the oven to 400°F (200°C). Line a baking sheet with parchment paper.
- Unroll or stretch the refrigerated pizza dough into a rectangle, about 9x13 inches, on a lightly floured surface.
- In a small bowl, mix together the melted butter, olive oil, minced garlic, garlic powder, salt, Italian seasoning, and black pepper.
- Brush about half of the garlic butter mixture evenly over the surface of the dough.
- Cut the dough into strips (about 1 inch wide) and twist or leave them flat as desired. Arrange the strips on the prepared baking sheet, leaving a little space between each.
- Brush the remaining garlic butter mixture over the tops of the breadsticks and sprinkle with grated Parmesan cheese.
- Bake for 12–15 minutes, or until the breadsticks are golden brown and cooked through.
- Remove from the oven and sprinkle with chopped fresh parsley if using. Serve warm.
Notes
Approximate per serving (1 of 8 breadsticks): 210 calories; fat 11 g; saturated fat 4 g; carbohydrates 22 g; fiber 1 g; sugars 1 g; protein 5 g; sodium 430 mg. Values will vary based on brands, add-ins, and portion size.
Leave a Reply