
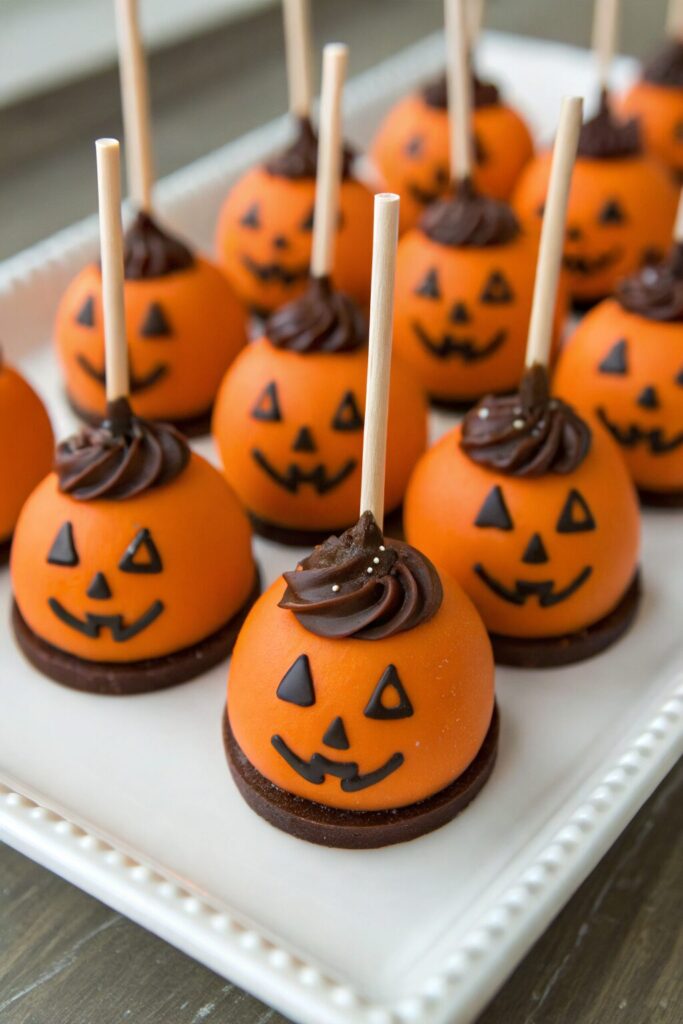
Pumpkin Marshmallow Lollipops Recipe tastes like a pumpkin pie latte met a gooey campfire marshmallow and decided to run away together on a stick, and I mean that in the best way. This fall treat works perfectly for kids’ parties, bake sales, Halloween dessert tables, or any time you want a no-bake pumpkin dessert in under 30 minutes. I tested these while my dog judged me for “just one more taste,” so you can trust that every detail went through serious snack-level research.
Why Pumpkin Marshmallow Lollipops Recipe Is Worth It
You get all the cozy pumpkin spice flavor without turning on the oven or fussing with pie crust. The marshmallows stay soft and pillowy inside, while the pumpkin candy coating sets with a gentle snap on the outside.
These pumpkin marshmallow pops also travel well and hold up on party trays. Kids love the cute pumpkin look, and adults appreciate that they can eat dessert with one hand while holding coffee in the other.
“These Pumpkin Marshmallow Lollipops disappeared from the dessert table in under ten minutes and guests asked for the recipe before they finished chewing. ★★★★★”
Ingredients You Need
For the pumpkin marshmallow lollipops:
- 24 large marshmallows (standard size, not jumbo; Jet-Puffed or store brand both work great)
- 24 lollipop sticks or sturdy paper straws, cut in half
- 12 oz orange candy melts or vanilla almond bark tinted with orange gel food coloring
- 1–2 tsp refined coconut oil or vegetable shortening (thins the candy coating for smoother dipping)
- 1–2 tsp pumpkin puree (optional, for flavor; use canned pure pumpkin, not pie filling)
- 1/2 tsp pumpkin pie spice
- 1/2 tsp vanilla extract
- Pinch of fine sea salt
For pumpkin “stems” and decorations:
- Green candy melts or green icing (for stems and vines)
- Brown mini M&M’s, chocolate chips, or chocolate-covered sunflower seeds (stem option)
- Black food-safe marker or melted chocolate in a piping bag (for jack-o’-lantern faces, optional)
- Orange sanding sugar or sprinkles (optional, for sparkle and crunch)
Pantry shortcuts and notes:
- Use pre-colored orange candy melts to skip food coloring.
- Stir pumpkin pie spice straight into the melted candy instead of mixing separate spices.
- Use store-bought green frosting in a small piping bag if you do not want to melt green candy.
Equipment:
- Microwave-safe bowl or heatproof bowl and small saucepan (double boiler setup)
- Silicone spatula
- Baking sheet lined with parchment paper or a silicone mat
- Styrofoam block, cardboard box with holes, or tall glass with rice to hold pops upright
- Toothpicks for small details
- Piping bag or zip-top bag for decorating
Quick Tips & substitutions
- Use fresh, soft marshmallows so the sticks slide in easily and the texture stays fluffy.
- Chill the marshmallows on sticks for 5–10 minutes before dipping to help the coating set faster.
- Add 1 teaspoon coconut oil or shortening at a time to thin thick candy melts until they flow smoothly.
- Skip pumpkin puree if you want a firmer coating or live in a very warm climate.
- Swap pumpkin pie spice with 1/4 tsp cinnamon + 1/8 tsp nutmeg + 1/8 tsp ginger.
- Use dairy-free candy melts and vegan marshmallows for a vegan-friendly version.
- Use gluten-free marshmallows and candy melts if you need a gluten-free pumpkin marshmallow lollipop recipe.
- Draw faces after the coating sets so the marker or chocolate lines stay crisp.
How to Make Pumpkin Marshmallow Lollipops Recipe
Step 1: Prep the marshmallows and sticks
Line a baking sheet with parchment paper or a silicone mat.
Push one lollipop stick about halfway into each marshmallow, twisting gently so the marshmallow does not split.
Set the marshmallows upright on the tray or in a glass so they stand straight.
Chill them in the fridge for 5–10 minutes while you melt the candy.
Step 2: Melt and flavor the pumpkin coating
Place the orange candy melts in a microwave-safe bowl.
Microwave in 20–30 second bursts, stirring well between each burst, until the candy melts almost completely.
Stir until smooth and glossy, then add 1 teaspoon coconut oil or shortening and mix until the coating flows easily from the spoon.
Stir in pumpkin pie spice, vanilla extract, and a tiny pinch of salt.
If you want real pumpkin flavor, whisk in 1 teaspoon pumpkin puree very well.
Check the texture; if it thickens, add a little more melted candy or a touch more coconut oil until it coats a spoon in a smooth, even layer.
Step 3: Dip the marshmallows
Take a chilled marshmallow pop and tilt the bowl of melted candy slightly.
Dip the marshmallow in and rotate it so the coating covers the entire marshmallow and reaches the base where it meets the stick.
Lift it out and gently tap the stick on the edge of the bowl while you rotate the pop so excess coating drips back into the bowl.
Hold the pop upside down for a few seconds so the coating smooths out and does not pool at the base.
Set the pop upright in a Styrofoam block or a box with holes, or stand it in a tall glass filled with rice or sugar.
Repeat with the rest of the marshmallows, reheating the candy coating in short bursts if it thickens.
Step 4: Add sparkle or texture
While the coating still feels wet, sprinkle orange sanding sugar or sprinkles over the pops if you want extra crunch.
Work over a baking sheet or a large plate so the extra sugar falls somewhere you can reuse it.
If you prefer a smooth pumpkin marshmallow lollipop, skip this step and move straight to stems and faces.
Step 5: Add pumpkin stems
Once the coating starts to set but still feels slightly tacky, press a mini M&M, chocolate chip, or chocolate-covered sunflower seed on top of each pop as a stem.
Place the narrow end down so it looks like a little pumpkin stem.
If the coating already set, dab a tiny bit of melted candy on the “stem” and stick it on like glue.
Melt a small amount of green candy melts and transfer it to a piping bag or zip-top bag with a tiny corner snipped off.
Pipe a small line around the base of the stem and add a little curly vine down the side of the pumpkin.
Set the pops back in the stand and let the green candy firm up.
Step 6: Draw faces (optional but fun)
Wait until the pumpkin coating sets completely and feels firm to the touch.
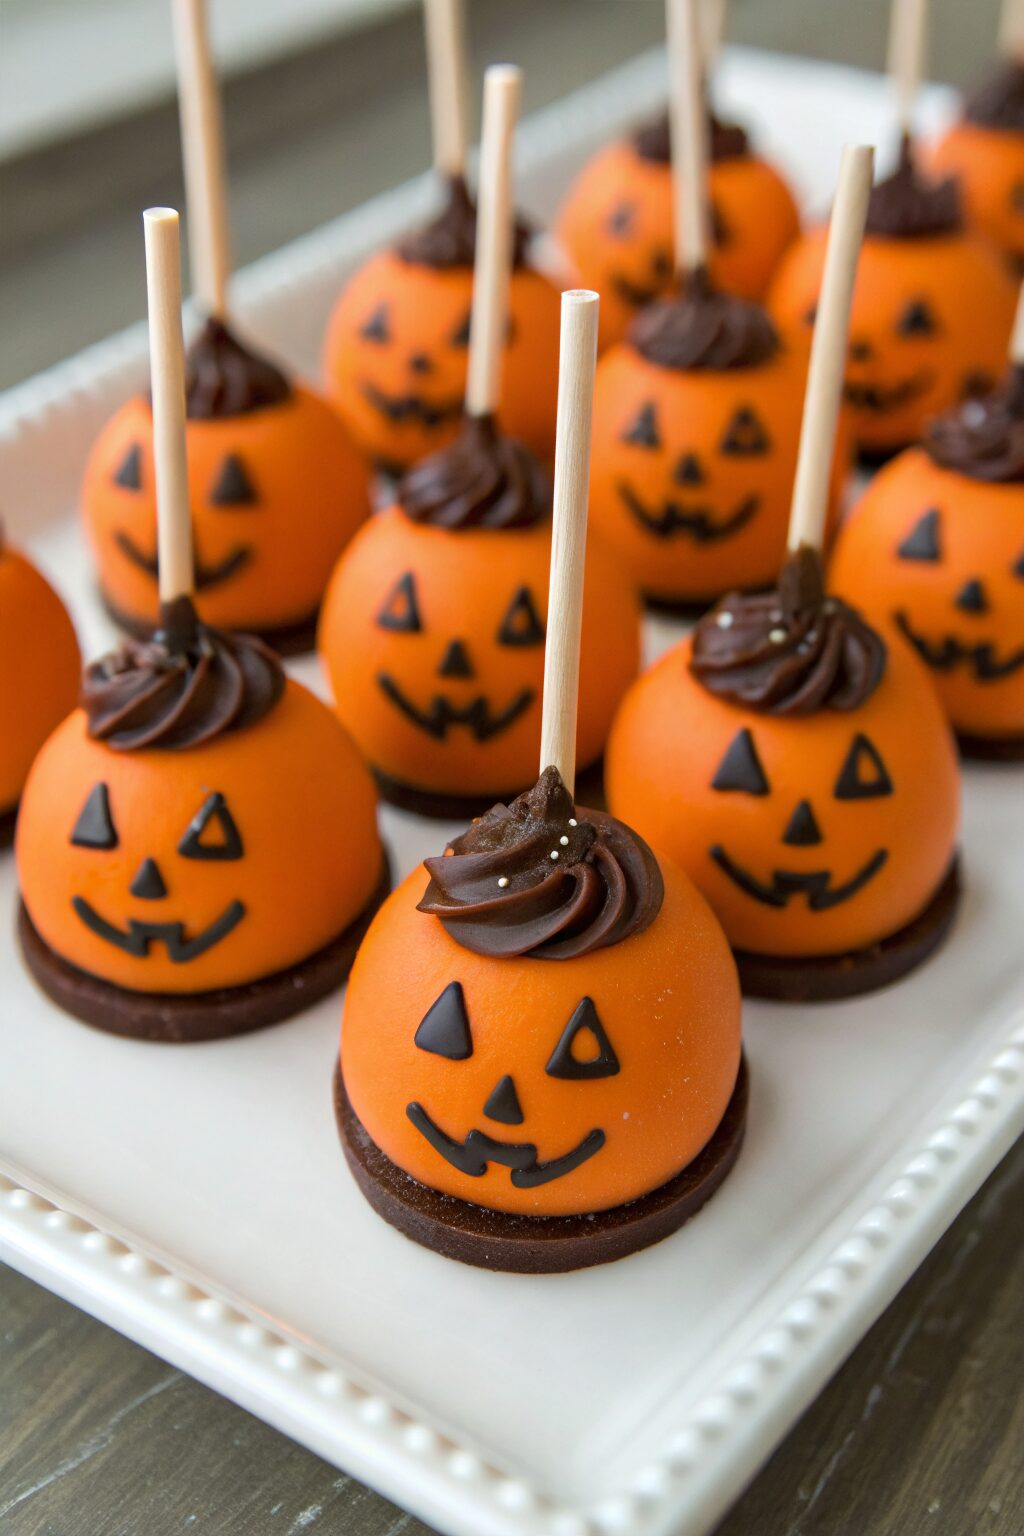
Use a black food-safe marker to draw triangle eyes and a jack-o’-lantern grin on each pumpkin marshmallow lollipop.
If you use melted chocolate, pipe tiny triangles and a smile, then let them set.
You can give each pumpkin a different personality: sleepy eyes, winky faces, or big surprised eyes.
Kids love to help with this part, so hand them a marker and let them decorate a few pops.
Step 7: Let everything set and serve
Leave the finished Pumpkin Marshmallow Lollipops at room temperature until the coating hardens fully.
This usually takes 15–25 minutes, depending on your kitchen temperature.
Once they feel firm and dry, transfer them to a serving tray, mason jar, or treat bags.
Serve them the same day for the softest marshmallow center and best texture.
If you plan a party, you can make them the night before and store them properly so they stay fresh.
Recipe Variations
- Gluten-free: Use certified gluten-free marshmallows and candy melts; most plain versions already work, but check labels.
- Vegan: Use vegan marshmallows, dairy-free candy melts, and coconut oil instead of shortening.
- Low sugar / lower carb: Use sugar-free chocolate or candy coating and sugar-free marshmallows if you have access to specialty brands.
- Extra pumpkin flavor: Add a tiny bit more pumpkin puree and a pinch more pumpkin pie spice, then chill the pops well so the coating sets.
- Spiced crunch: Roll freshly dipped pops in crushed gingersnaps or cinnamon graham crumbs.
- Chocolate pumpkin pops: Use white chocolate tinted orange and drizzle with dark chocolate stripes.
- Salted pumpkin pops: Sprinkle a few flakes of sea salt on top before the coating sets for a sweet-salty twist.
Ways to Serve Pumpkin Marshmallow Lollipops Recipe
- Arrange them upright in a pumpkin or mason jar filled with rice or candy corn as a centerpiece.
- Wrap each pop in a small cellophane bag with ribbon for party favors or classroom treats.
- Add them to a fall dessert board with cookies, caramel apples, and sliced fruit.
- Stick them into a foam block covered with tissue paper for a Halloween dessert bouquet.
- Serve them with hot chocolate, chai, or spiced apple cider for a cozy movie night.
Storage Success
Store Pumpkin Marshmallow Lollipops in an airtight container at cool room temperature, away from direct sunlight or heat. Keep them in a single layer or separate layers with parchment so the decorations stay neat. Avoid the fridge, since moisture can make the candy coating sweat and turn sticky. Enjoy them within 3–4 days for the best marshmallow texture and flavor.
Pumpkin Marshmallow Lollipops Recipe
Ingredients
Instructions
- Line a baking sheet with parchment paper or a silicone mat.
- Push one lollipop stick about halfway into each marshmallow, twisting gently so the marshmallow does not split.
- Set the marshmallows upright on the tray or in a glass so they stand straight, then chill them in the fridge for 5–10 minutes while you melt the candy.
- Place the orange candy melts in a microwave-safe bowl.
- Microwave in 20–30 second bursts, stirring well between each burst, until the candy melts are almost completely melted, then stir until smooth and glossy.
- Stir in 1 teaspoon coconut oil or shortening, adding more as needed until the coating flows easily from the spoon.
- Stir in pumpkin pie spice, vanilla extract, and a tiny pinch of salt.
- If desired, whisk in 1 teaspoon pumpkin puree very well. If the coating thickens, add a little more melted candy or a touch more coconut oil until it coats a spoon in a smooth, even layer.
- Remove a chilled marshmallow pop from the fridge and tilt the bowl of melted candy slightly.
- Dip the marshmallow into the coating and rotate it so the coating covers the entire marshmallow and reaches the base where it meets the stick.
- Lift it out and gently tap the stick on the edge of the bowl while rotating the pop so excess coating drips back into the bowl.
- Hold the pop upside down for a few seconds so the coating smooths out and does not pool at the base, then set it upright in a Styrofoam block, box with holes, or tall glass filled with rice or sugar.
- Repeat with the remaining marshmallows, reheating the candy coating in short bursts if it thickens.
- While the coating is still wet, sprinkle orange sanding sugar or sprinkles over the pops if you want extra crunch, working over a baking sheet or large plate to catch the excess.
- If you prefer a smooth finish, skip the sprinkles and move on to adding stems.
- Once the coating starts to set but still feels slightly tacky, press a mini M&M, chocolate chip, or chocolate-covered sunflower seed on top of each pop as a stem, placing the narrow end down.
- If the coating has already set, dab a tiny bit of melted candy on the candy “stem” to act as glue, then attach it.
- Melt a small amount of green candy melts and transfer to a piping bag or zip-top bag with a tiny corner snipped off.
- Pipe a small line around the base of each stem and add a little curly vine down the side of the pumpkin, then let the green candy firm up.
- Wait until the pumpkin coating is completely set and firm to the touch.
- Use a black food-safe marker to draw triangle eyes and a jack-o'-lantern grin on each pumpkin marshmallow lollipop, or pipe faces with melted chocolate and let them set.
- Leave the finished Pumpkin Marshmallow Lollipops at room temperature until the coating hardens fully, 15–25 minutes depending on your kitchen temperature.
- Once firm and dry, transfer the pops to a serving tray, mason jar, or treat bags.
- Serve the same day for the softest marshmallow centers, or store properly if making ahead.
Notes
Approximate per 1 pop (1/24 of recipe): 110 calories; fat 5 g; saturated fat 4 g; carbohydrates 17 g; fiber 0 g; sugars 15 g; protein 1 g; sodium 25 mg. Values will vary based on brands, decorations, and exact portion size.
Leave a Reply