
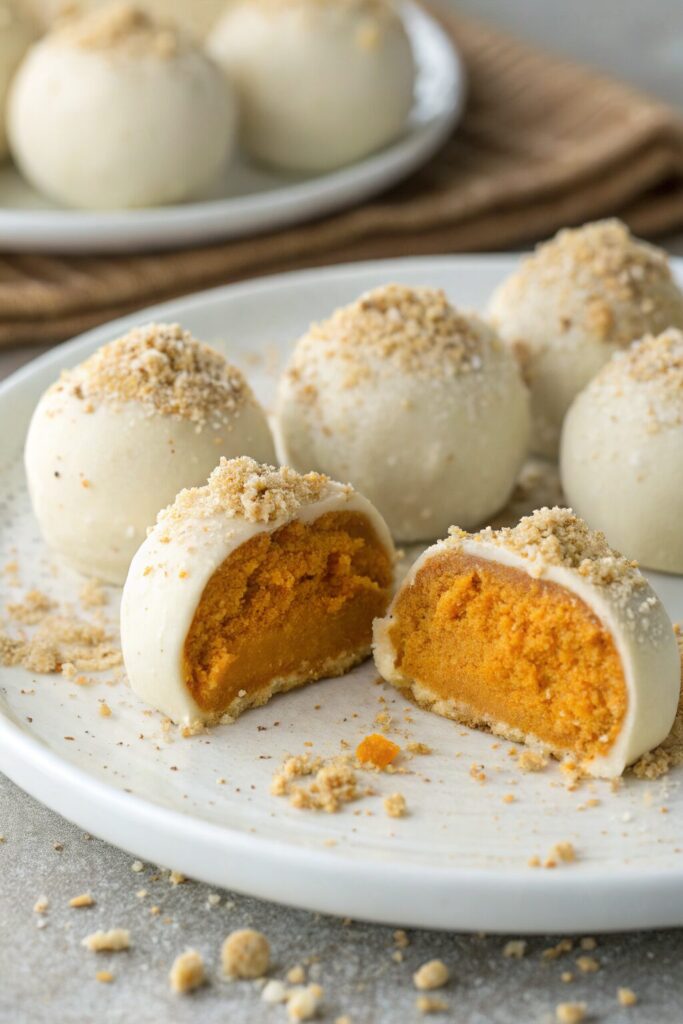
No Bake Pumpkin Cheesecake Balls Recipe tastes like a bite of creamy pumpkin pie wrapped in a cozy fall sweater, with a little cheesecake tang and a soft truffle texture. This dessert works perfectly for busy people who want a quick fall treat in about 30 minutes of hands-on time plus chilling. I tested these while my kids tried to steal them off the tray, so you know they pass the “disappears fast” test.
Why Make This No Bake Pumpkin Cheesecake Balls Recipe at Home
You control the sweetness, spice level, and texture, which matters a lot with pumpkin desserts. Store-bought treats often taste too sweet or too artificial, while these taste rich, creamy, and full of real pumpkin flavor.
You also skip the oven, which helps when the weather already feels warm or your oven stays busy with other dishes. The recipe scales easily, so you can make a small batch for yourself or a big tray for parties, potlucks, or holiday dessert boards.
“These No Bake Pumpkin Cheesecake Balls taste like tiny bites of pumpkin pie cheesecake heaven and vanish from the dessert table in minutes. ★★★★★”
Ingredients You Need
Here is everything you need for this No Bake Pumpkin Cheesecake Balls Recipe. I include some brand notes and easy swaps from my own kitchen testing.
Cheesecake pumpkin filling
- 8 ounces cream cheese, softened
- Use full-fat cream cheese for the best texture. Low-fat versions turn the mixture softer and a bit gummy.
- 1/2 cup canned pumpkin puree
- Use pure pumpkin, not pumpkin pie filling. I like Libby’s or the store brand with only pumpkin on the label.
- 1/2 cup powdered sugar
- Powdered sugar blends smoothly and keeps the filling creamy. Granulated sugar stays gritty.
- 1/4 cup light brown sugar, packed
- Brown sugar adds a caramel note that pairs nicely with pumpkin.
- 1 teaspoon vanilla extract
- 1 teaspoon ground cinnamon
- 1/4 teaspoon ground nutmeg
- 1/4 teaspoon ground ginger
- Pinch of ground cloves (optional, strong flavor)
- 1/4 teaspoon fine sea salt
- 1 and 1/2 to 2 cups finely crushed graham cracker crumbs
- Use plain honey grahams or cinnamon grahams. Store-bought graham cracker crumbs work as a shortcut and save time. Adjust the amount as needed to reach a scoopable truffle texture.
Coating options
Pick one or mix a few. Variety on the dessert tray always impresses people.
- 1 and 1/2 cups white chocolate chips or melting wafers
- Ghirardelli or Guittard melt smoothly. Candy melts work if you want easy dipping.
- 1 and 1/2 cups semi-sweet or dark chocolate chips
- 1 tablespoon refined coconut oil or neutral oil
- Helps the chocolate coat smoothly and set with a slight snap.
- Extra graham cracker crumbs, for rolling
- Crushed gingersnap cookies, for rolling
- Ground cinnamon or pumpkin pie spice, for dusting
- Festive sprinkles, if you want a fun look for parties
Pantry shortcuts and substitutions
- Use pumpkin pie spice (about 1 and 1/2 teaspoons) instead of individual spices if you want a shortcut.
- Swap gingersnap crumbs for graham crumbs inside the filling if you like more spice and crunch.
- Use dairy-free cream cheese and dairy-free chocolate chips if you need a vegan version, but chill the mixture longer since it softens faster.
Equipment list
You do not need anything fancy here.
- Mixing bowls (one large, one medium)
- Hand mixer or stand mixer with paddle
- Rubber spatula
- Measuring cups and spoons
- Baking sheet or tray
- Parchment paper or silicone baking mat
- Small cookie scoop or tablespoon
- Forks or dipping tools for chocolate coating
- Microwave-safe bowl or small saucepan for melting chocolate
Tips & Mistakes
- Chill the filling before rolling so it firms up and holds shape. Warm filling turns sticky and messy.
- Use room temperature cream cheese so it blends smooth without lumps. Cold cream cheese fights the mixer and leaves chunks.
- Add graham crumbs gradually until the mixture feels like thick cookie dough that scoops cleanly. Too few crumbs make it sticky, too many make it dry and crumbly.
- Taste the filling before chilling and adjust spices or sweetness. Pumpkin flavors mellow a bit after chilling, so aim for slightly stronger flavor than you think you need.
- Scoop balls of equal size so they chill and coat evenly. A small cookie scoop keeps them uniform and saves time.
- Line the tray with parchment so the balls do not stick. Bare trays cause frustration and broken truffles.
- Melt chocolate slowly in short bursts and stir often. Overheated chocolate turns thick and grainy.
- Dry the pumpkin puree slightly with a paper towel if it looks very wet. Extra moisture makes the filling too loose.
- Keep the balls cold before dipping in chocolate. Cold centers help the chocolate set quickly and coat cleanly.
- Store the finished cheesecake balls chilled. They soften at room temperature after about 30 minutes, which tastes great but makes them harder to transport.
How to Make No Bake Pumpkin Cheesecake Balls Recipe
Step 1: Mix the cheesecake base
Add softened cream cheese to a large mixing bowl. Beat with a hand mixer until smooth and fluffy, about 1 to 2 minutes. Scrape down the sides so no lumps hide at the bottom.
Add pumpkin puree, powdered sugar, brown sugar, vanilla, cinnamon, nutmeg, ginger, cloves if using, and salt. Beat again until the mixture looks smooth and creamy. Taste and adjust spices or sugar to your preference.
Step 2: Add graham crumbs and adjust texture
Sprinkle in 1 and 1/2 cups of graham cracker crumbs. Fold with a spatula until the crumbs fully blend into the pumpkin cheesecake mixture. Check the texture by scooping a small spoonful and rolling it between your palms.
If the mixture feels too sticky and does not hold a ball shape, add more graham crumbs a few tablespoons at a time. Mix after each addition until the mixture feels like soft cookie dough. It should feel slightly tacky but not smear all over your hands.
Step 3: Chill the mixture
Cover the bowl and place it in the fridge for at least 1 hour. The chilling time lets the crumbs hydrate and the cream cheese firm up. If your kitchen runs warm, chill for 1 and 1/2 to 2 hours.
You can also chill the mixture overnight if that fits your schedule better. In that case, let the bowl sit at room temperature for 5 to 10 minutes before scooping so it softens slightly. That short rest makes scooping easier.
Step 4: Roll into balls
Line a baking sheet with parchment paper. Use a small cookie scoop or tablespoon to portion the chilled mixture into even mounds. Aim for about 1 to 1 and 1/4 inch balls, which gives a perfect two-bite treat.
Roll each portion between your palms to form smooth balls. Place each ball on the lined tray with a little space between them. Chill the tray again for 20 to 30 minutes while you set up coatings.
Step 5: Prepare coatings
Place white chocolate chips and half the oil in a microwave-safe bowl. Heat in 20 to 30 second bursts, stirring between each, until smooth and glossy. Repeat with dark or semi-sweet chocolate chips and the remaining oil in a separate bowl.
Set up shallow bowls with extra graham crumbs, crushed gingersnaps, and any sprinkles you plan to use. Keep the cheesecake balls in the fridge and pull out only a few at a time so they stay cold while dipping. Cold centers help the chocolate coat evenly.
Step 6: Dip or roll the cheesecake balls
Use a fork or dipping tool to lower one chilled ball into the melted chocolate. Spoon chocolate over the top, then lift and gently tap the fork on the bowl edge so excess drips off. Slide the coated ball back onto the parchment.
While the chocolate still feels wet, sprinkle with graham crumbs, gingersnap crumbs, or sprinkles if you want decoration. For a quicker version, skip chocolate and roll the balls directly in crumbs or cocoa powder. Repeat with all the balls, working in small batches so they stay cold.
Step 7: Chill to set
Place the tray of coated cheesecake balls in the fridge for at least 30 minutes. The chocolate will firm up and the centers will set to a truffle-like texture. Once they feel firm to the touch, transfer them to an airtight container.
You can layer them with parchment between layers to prevent sticking. Keep them chilled until serving time. The flavor actually improves after a few hours in the fridge as the spices settle into the filling.
Variations I've Tried
- Gingersnap crunch: Swap all the graham crumbs for crushed gingersnaps in the filling and coating. The extra spice gives each bite a stronger ginger kick that pumpkin fans love.
- Chocolate pumpkin cheesecake balls: Add 2 tablespoons of cocoa powder to the filling and use dark chocolate for coating. The result tastes like a pumpkin mocha truffle.
- Salted caramel drizzle: Drizzle cooled caramel sauce over chilled chocolate-coated balls and sprinkle a tiny pinch of flaky salt on top. The sweet-salty combo tastes rich and feels fancy with almost no extra work.
- Nutty pumpkin bites: Stir 1/2 cup of very finely chopped pecans or walnuts into the filling. Roll in more chopped nuts instead of crumbs for a crunchy outer layer.
- Mini pumpkin cheesecake pops: Insert lollipop sticks into the centers before chilling and dip them like cake pops. Kids love this version and it serves easily at parties.
How to Serve No Bake Pumpkin Cheesecake Balls Recipe
Serve these No Bake Pumpkin Cheesecake Balls cold or slightly cool from the fridge so the centers stay creamy and the chocolate keeps a nice snap. Arrange them on a platter with a mix of coatings so the tray looks colorful and fun. Pair them with hot coffee, chai, or a mug of hot chocolate for a cozy fall dessert moment. They also pack nicely into small treat boxes for gifts, potlucks, or school events.
How to store
- Fridge: Store the cheesecake balls in an airtight container in the refrigerator for up to 5 days. Keep them in a single layer or separate layers with parchment so they do not stick.
- Freezer: Freeze on a parchment-lined tray until solid, then transfer to a freezer bag or container for up to 2 months. Thaw in the fridge for a few hours before serving.
- Best texture: Enjoy them chilled straight from the fridge or after 10 minutes at room temperature if you prefer a softer center. Avoid microwaving, since heat can melt the chocolate coating and make the texture uneven.
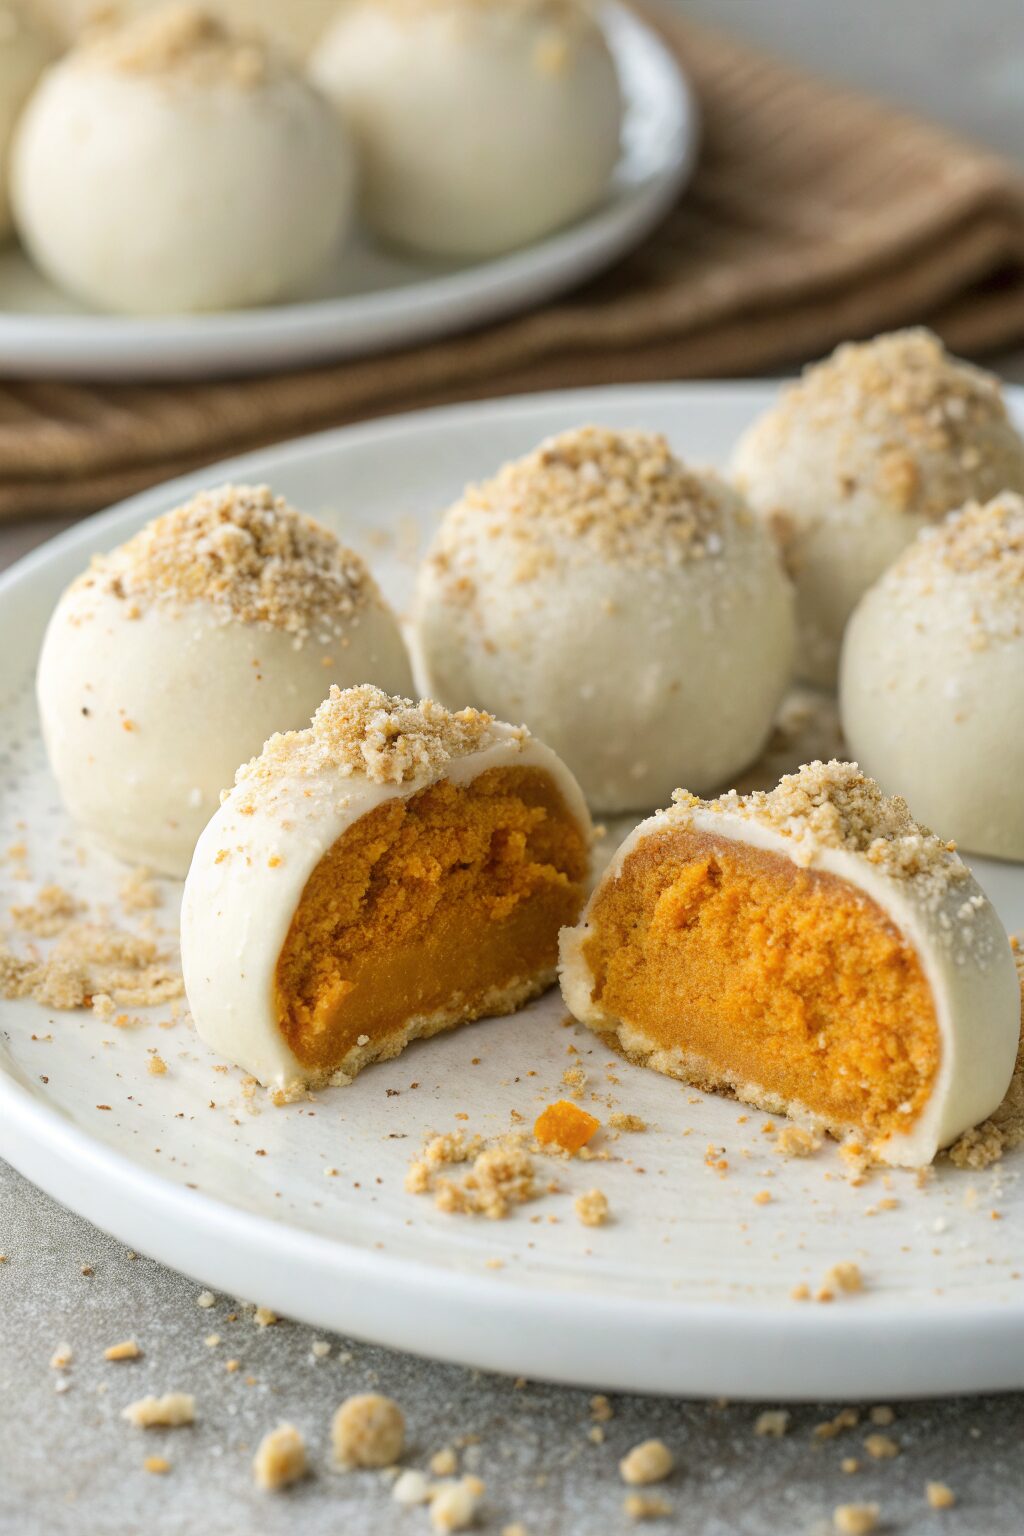
No Bake Pumpkin Cheesecake Balls
Ingredients
Instructions
- Add softened cream cheese to a large mixing bowl and beat with a hand mixer until smooth and fluffy, 1 to 2 minutes, scraping down the sides as needed.
- Add the pumpkin puree, powdered sugar, brown sugar, vanilla, cinnamon, nutmeg, ginger, cloves if using, and salt. Beat again until the mixture is smooth and creamy, then taste and adjust spices or sweetness if desired.
- Sprinkle in 1 1/2 cups of graham cracker crumbs and fold with a spatula until fully combined. Test by rolling a small spoonful into a ball; if the mixture is too sticky to hold its shape, add more graham crumbs a few tablespoons at a time until it feels like soft, slightly tacky cookie dough.
- Cover the bowl and chill the mixture in the refrigerator for at least 1 hour, or up to 2 hours if your kitchen is warm, until firm enough to scoop and roll.
- Line a baking sheet with parchment paper. Use a small cookie scoop or tablespoon to portion the chilled mixture into mounds about 1 to 1 1/4 inches wide. Roll each portion between your palms to form smooth balls and place them on the prepared baking sheet. Chill again for 20 to 30 minutes.
- For chocolate coatings, place white chocolate chips and half of the oil in a microwave-safe bowl. Heat in 20 to 30 second bursts, stirring between each, until melted and smooth. Repeat with the semi-sweet or dark chocolate chips and remaining oil in a separate bowl. Set out shallow bowls with extra graham crumbs, crushed gingersnaps, and sprinkles for coating.
- Working with a few balls at a time so they stay cold, use a fork or dipping tool to lower one cheesecake ball into the melted chocolate. Spoon chocolate over the top, then lift and gently tap the fork on the bowl to let excess drip off. Slide the coated ball back onto the parchment and immediately sprinkle with crumbs or sprinkles if desired. For a quicker version, skip the chocolate and roll the balls directly in crumbs or cocoa powder.
- Repeat with the remaining cheesecake balls, then chill the tray for at least 30 minutes, or until the chocolate is firm and the centers are set to a truffle-like texture. Transfer to an airtight container and keep refrigerated until serving.
Notes
Approximate per ball (about 30 balls total): 120 calories; fat 7 g; saturated fat 4 g; carbohydrates 13 g; fiber 0 g; sugars 10 g; protein 2 g; sodium 90 mg. Values will vary based on chocolate choice, coatings, exact graham cracker amount, and portion size.
Leave a Reply