

Marshmallows Blooming Roses Recipe tastes like a cross between a vanilla cloud and a soft taffy flower, with a hint of fruity perfume from the rose. It suits anyone who loves pretty desserts and wants a showstopper that comes together in about 1 hour of active time plus cooling. I tested this while my kid tried to “taste test” every other marshmallow, so you can say this one passed the family chaos exam.
Why You Should Try This Marshmallows Blooming Roses Recipe
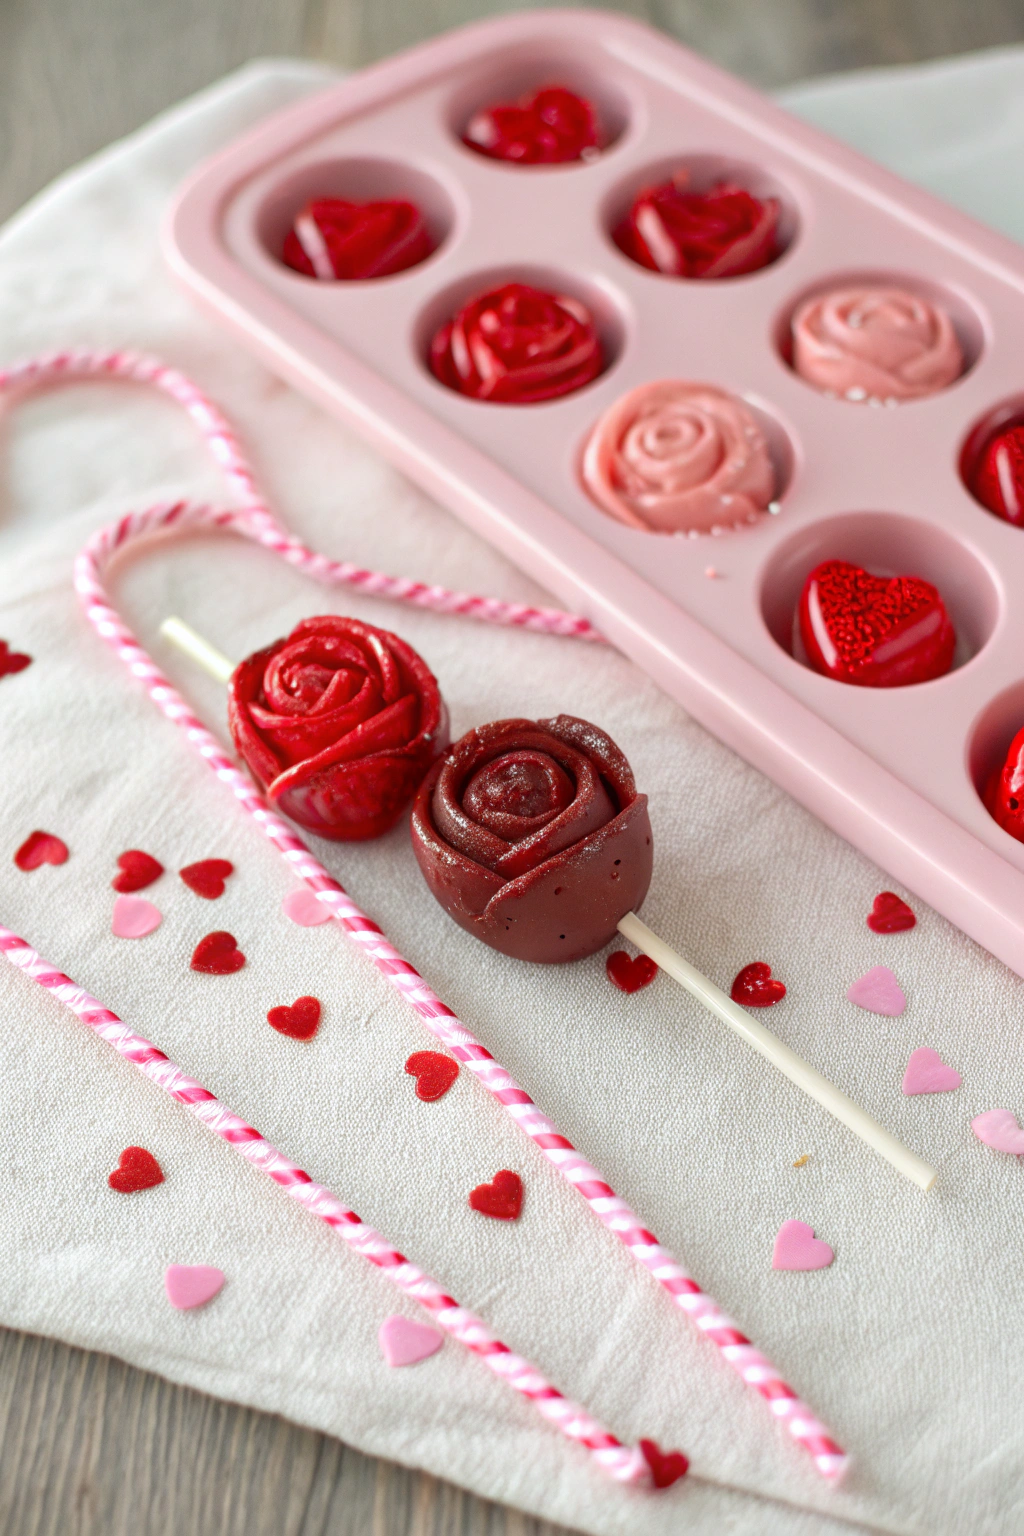
This Marshmallows Blooming Roses Recipe gives you fluffy, bouncy marshmallows that look like tiny edible roses. The texture feels pillowy and soft, with a gentle chew and a floral aroma that stays subtle instead of soapy.
You can serve these at baby showers, birthdays, Valentine’s Day, or as a fancy hot chocolate topper. The recipe uses simple pantry ingredients, and you shape the roses with a few easy folds instead of complicated piping skills.
“These marshmallow roses looked like a bakery treat and tasted even better. My kids inhaled them, my friends asked for the recipe, and I felt like a dessert wizard without stressing in the kitchen.”
Ingredients You’ll Need
Main marshmallow base
- 3 packets unflavored gelatin (about 7 g each, 21 g total; I like Knox because it sets reliably)
- 1 cup cold water, divided (1/2 cup for blooming the gelatin, 1/2 cup for the syrup)
- 1 1/2 cups granulated sugar (use standard white sugar; organic works but may darken slightly)
- 1 cup light corn syrup (prevents crystallizing and keeps the texture soft; store brands work fine)
- 1/4 teaspoon fine sea salt
- 1 tablespoon pure vanilla extract (avoid imitation if possible for cleaner flavor)
Rose flavor and color
- 1 to 1 1/2 teaspoons rose water or rose extract
- Start with 1 teaspoon, then taste and adjust; different brands vary in strength.
- 1 to 2 drops pink or red gel food coloring
- Gel color works better than liquid because it keeps the texture firm.
- Optional: 1 to 2 drops strawberry or raspberry extract for a “rose berry” twist
Coating & shaping
- 1/2 cup powdered sugar
- 1/2 cup cornstarch
- Mix these together for dusting; this prevents sticking and keeps petals defined.
- Neutral oil or nonstick spray for greasing hands and tools
Equipment
- Stand mixer with whisk attachment
- You can use a hand mixer, but a stand mixer saves your arm and whips more air.
- Medium heavy-bottomed saucepan
- Candy thermometer or digital thermometer that reads up to at least 250°F
- Heatproof spatula
- Small offset spatula or butter knife
- Parchment paper
- Large baking sheet or tray
- Scissors or bench scraper
- Small round cookie cutter (about 1 1/2 to 2 inches) or a small glass rim
- Piping bag or zip-top bag (optional, for more control when portioning)
Tips & Tricks
- Dust everything: Coat your tray, tools, and hands with the powdered sugar and cornstarch mix to prevent sticking.
- Bloom fully: Let the gelatin sit in cold water at least 5 to 10 minutes so it hydrates and melts smoothly.
- Watch the temperature: Heat the sugar syrup to 240°F (soft-ball stage) for bouncy, not rubbery, marshmallows.
- Add flavors at the end: Stir in vanilla, rose water, and color only after you whip the marshmallow to keep the aroma bright.
- Go light on rose: Start with less rose water, taste, then add a few drops more; too much can taste like perfume.
- Work while warm: Shape petals while the marshmallow still feels pliable; chilled marshmallow turns harder to mold.
- Keep petals thin: Flatten pieces gently so the roses look delicate instead of chunky.
- Use a piping bag: Pipe small circles of marshmallow to portion evenly before cutting petals.
- Chill before final shaping: Let the piped or spread marshmallow set slightly so it holds shape while you roll roses.
- Store with space: Keep roses in a single layer or with parchment between layers so they do not fuse together.
How to Make Marshmallows Blooming Roses Recipe
Step 1: Bloom the gelatin
Pour 1/2 cup cold water into the bowl of your stand mixer. Sprinkle the gelatin evenly over the surface. Let it sit 5 to 10 minutes so the granules absorb water and swell.
The mixture will look thick and wrinkly, almost like applesauce. Leave it in the mixer bowl while you cook the syrup.
Step 2: Cook the sugar syrup
In a medium saucepan, combine the remaining 1/2 cup water, granulated sugar, corn syrup, and salt. Stir gently just until the sugar hydrates and no dry patches remain.
Set the pan over medium heat and clip on a candy thermometer. Cook without stirring until the mixture reaches 240°F, about 8 to 12 minutes, adjusting the heat to avoid boiling over.
If sugar crystals form on the sides, brush them down with a damp pastry brush. Once the syrup hits 240°F, turn off the heat.
Step 3: Whip the marshmallow base
Turn the stand mixer on low speed so the bloomed gelatin moves gently. With the mixer running, slowly pour the hot syrup in a thin stream down the side of the bowl.
After you add all the syrup, increase the mixer speed to high. Whip 8 to 12 minutes until the mixture turns thick, glossy, and triples in volume.
The marshmallow should form soft, billowy peaks and feel warm but not hot. At this point, add vanilla, rose water, and a drop or two of gel food coloring, then mix just until combined.
Step 4: Prepare the coating and work surface
While the mixer runs, line a large baking sheet with parchment paper. In a small bowl, whisk together the powdered sugar and cornstarch.
Dust the parchment generously with the coating mix. Keep extra coating nearby so you can dust your hands, tools, and marshmallow pieces as you work.
Step 5: Portion the marshmallow
You can shape roses from a slab or from piped circles.
Slab method:
Lightly oil a spatula and scrape the whipped marshmallow onto the prepared tray. Spread it into a rectangle about 1/2 inch thick, then dust the top with more coating.
Let the slab sit at room temperature 30 to 45 minutes until firm enough to cut but still pliable. The surface should not stick badly when you touch it with coated fingers.
Piped circle method:
Transfer the marshmallow to a piping bag or zip-top bag with a corner snipped off. Pipe small circles or blobs about 1 1/2 inches wide on the coated parchment.
Dust the tops with more coating and let them sit 20 to 30 minutes until they hold shape but still feel soft.
Step 6: Cut petals
Dust scissors or a bench scraper with the coating mixture. If you use the slab method, cut the marshmallow into strips about 3/4 inch wide, then cut each strip into small rectangles about 1 1/2 inches long.
Flatten each rectangle gently with your fingers to form a thin oval or petal shape. If you use the piped circles, cut each circle into 3 or 4 wedge shapes, then flatten each wedge slightly to form petals.
Keep dusting your fingers and tools so the marshmallow does not cling. Aim for petals that feel thin but still sturdy enough to hold a curl.
Step 7: Shape the rose centers
Take one petal and roll it tightly from one short end to the other to form the center of the rose. Pinch the base lightly so it stays together.
Stand the rolled center upright on the coated tray. This little spiral forms the heart of your blooming marshmallow rose.
If the petal sticks, dust it lightly and keep your hands coated. Work with one or two petals at a time so they stay pliable.
Step 8: Add outer petals
Wrap a second petal around the center, overlapping slightly and pinching at the base. Angle the top edge outward a bit so it flares like a real rose petal.
Continue adding petals, 4 to 6 per rose, depending on how full you want them. Rotate the rose as you work so the petals spiral around evenly.
Gently ruffle the top edges with your fingers to give the petals a natural, wavy look. Dust the finished rose lightly with more coating to keep it from sticking.
Step 9: Adjust color and detail (optional)
If you want a gradient effect, dip a clean food-safe brush in a tiny bit of gel food color thinned with a drop of water. Brush the edges of the petals lightly to deepen the color at the tips.
You can also dust the tops with a tiny pinch of freeze-dried raspberry powder for a speckled, romantic look. Keep the accents light so the texture stays soft and the flavor stays balanced.
Set the decorated roses on a clean piece of parchment. Let them dry at room temperature 2 to 4 hours so the surface sets.
Step 10: Let them cure and serve
After shaping, leave the marshmallow roses uncovered at room temperature overnight. This short curing time helps the outside dry slightly while the inside stays fluffy.
The next day, check for any sticky spots and dust with more coating if needed. Serve the roses on a platter, tuck them on top of cupcakes, or float one on a mug of hot chocolate.
If you pack them as gifts, place each rose in a mini cupcake liner. That little nest keeps the petals safe and makes them look bakery-level fancy.
What to Serve with Marshmallows Blooming Roses Recipe
Serve this Marshmallows Blooming Roses Recipe with rich hot chocolate, warm milk, or a creamy chai latte so the marshmallows melt slightly and perfume the drink. You can also perch them on frosted cupcakes, simple vanilla cakes, or chocolate brownies for an instant upgrade. Kids love them on skewers with fresh strawberries and grapes as a fun dessert kabob. For a lighter option, pair them with a fruit salad and a drizzle of honey yogurt.
Storage Options
- Store marshmallow roses in an airtight container at room temperature for 5 to 7 days, with parchment between layers so they do not stick.
- Avoid the fridge, since moisture can make the surface sticky and the texture rubbery.
- Freeze on a tray until solid, then transfer to a freezer bag for up to 1 month; thaw at room temperature in a single layer.
- Refresh slightly sticky roses with a light dusting of the powdered sugar and cornstarch mix before serving.
Marshmallows Blooming Roses Recipe
Ingredients
Instructions
- In a small bowl, sprinkle the gelatin over 3 tablespoons of cold water and let it bloom for 5 minutes.
- In a small saucepan, combine granulated sugar, corn syrup, and 1/3 cup water. Cook over medium heat, stirring until the sugar dissolves, then stop stirring and bring to a gentle boil until the mixture reaches the soft-ball stage (about 240°F/115°C).
- Remove the syrup from the heat and carefully stir in the bloomed gelatin until completely dissolved.
- Transfer the hot mixture to a mixing bowl. Add vanilla extract and rose water if using. Beat with an electric mixer on high speed for 8–10 minutes until thick, glossy, and significantly increased in volume. Add food coloring near the end of mixing, blending to the desired rose shade.
- In a small bowl, mix powdered sugar and cornstarch. Lightly dust a sheet of parchment paper with some of this mixture.
- Spoon the marshmallow mixture into a piping bag fitted with a large petal or rose tip. Working quickly before it sets, pipe small rose shapes onto the dusted parchment, starting from the center and spiraling outward to form petals.
- Dust the tops lightly with more powdered sugar–cornstarch mixture to prevent sticking. Let the marshmallow roses sit at room temperature for at least 4 hours or overnight to set completely.
- Once set, gently peel the roses from the parchment and dust off any excess coating. Store in an airtight container at room temperature.
Notes
Approximate per 1 marshmallow rose (about 1/12 of recipe): 70 calories; fat 0 g; saturated fat 0 g; carbohydrates 18 g; fiber 0 g; sugars 17 g; protein 1 g; sodium 5 mg. Values are estimates and will vary based on exact size, brand ingredients, and decorations used.
Leave a Reply