
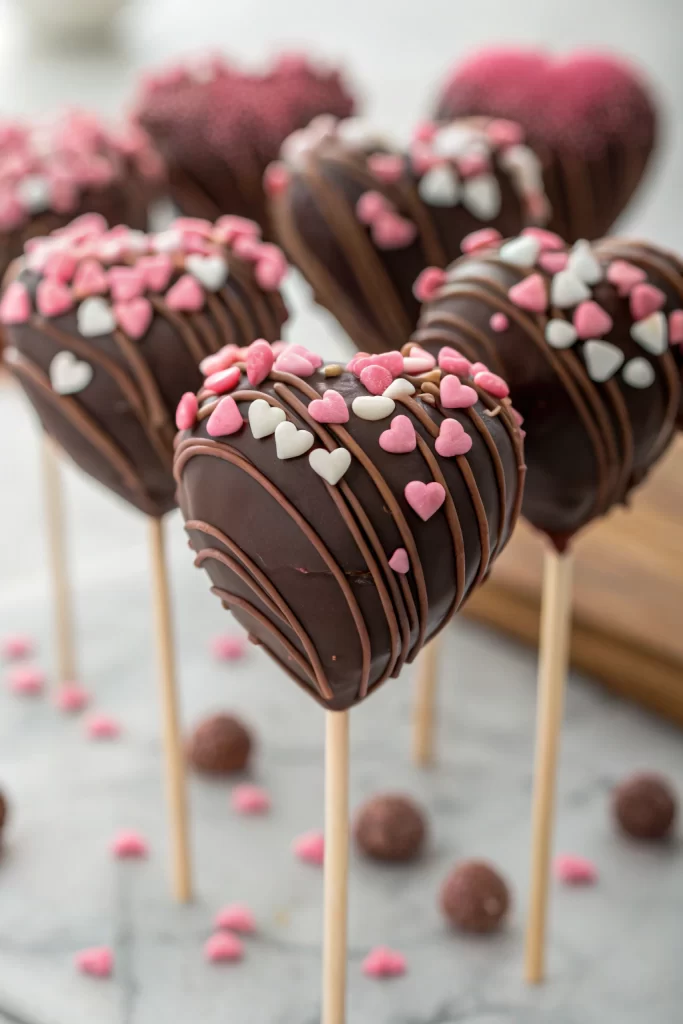
Heart Shaped Cake Pops Recipe tastes like a bite of moist vanilla cake wrapped in creamy frosting and dipped in a crisp chocolate shell, all in one adorable heart. It works perfectly for Valentine’s Day, anniversaries, birthdays, or any day you want a cute dessert in under about 2 hours total (including chilling). I tested these while my kids circled the kitchen like tiny dessert sharks, so you know they passed the real-life test.
Why You Should Try This Heart Shaped Cake Pops Recipe
These heart shaped cake pops pack big flavor into a tiny treat. You get soft, rich cake, a hint of frosting, and a snappy chocolate coating in every bite, without committing to a huge slice.
They travel well, look impressive on a dessert table, and kids love to help decorate them. You can customize colors, sprinkles, and flavors to match any celebration, from classroom parties to date night at home.
“I made this Heart Shaped Cake Pops Recipe for a school bake sale, and they disappeared in minutes. The hearts looked bakery-level cute, the coating stayed smooth, and the inside stayed moist even the next day. Parents kept asking which bakery I ordered them from.”
Ingredients You’ll Need
Cake & Frosting Base
You can use homemade cake and frosting or pantry shortcuts like a boxed mix and canned frosting. I often use a mix when I need a big batch.
- 1 standard box vanilla or funfetti cake mix
- Use chocolate cake mix if you want chocolate heart cake pops.
- Ingredients listed on the cake mix box
- Usually eggs, oil, and water.
- 1/3 to 1/2 cup frosting
- Canned vanilla, cream cheese, or chocolate frosting works fine.
- Use homemade buttercream if you want a richer flavor.
Coating & Decorations
- 12 to 16 ounces candy melts or almond bark
- Use bright white, pink, or red for a Valentine look.
- I like Wilton or Ghirardelli melting wafers because they melt smooth.
- 1 to 2 tablespoons refined coconut oil or vegetable shortening
- Helps thin the coating for smoother dipping.
- Sprinkles, sanding sugar, or edible glitter
- Heart sprinkles look cute on the side or top.
- Optional drizzle: a second color of candy melts
- Melt a small amount and drizzle over set pops.
Equipment
- 9×13 inch baking pan for the cake
- Large mixing bowl
- Fork or your hands to crumble cake
- Measuring cups and spoons
- Sheet pan lined with parchment paper
- Heart shaped cookie cutter
- About 1.5 to 2 inches wide works best.
- Lollipop sticks (about 6 inch)
- Microwave safe bowls for melting coating
- Styrofoam block, cake pop stand, or a cardboard box with holes
- Holds the pops upright while the coating sets.
Substitutions & Notes
- Gluten free: Use a gluten free cake mix and check that your candy melts list gluten free on the label.
- Dairy free: Use a dairy free cake mix and frosting, and choose dairy free chocolate or candy coating.
- Flavor twist: Add 1 teaspoon almond extract, strawberry extract, or lemon extract to the cake batter.
- Color: Tint white candy melts with oil based candy coloring, not regular liquid food coloring, to avoid clumping.
Tips & Tricks
- Bake the cake a day ahead so it cools fully and crumbles easily.
- Use only enough frosting to bind the crumbs; the mixture should feel like playdough, not mushy.
- Chill the shaped hearts before adding sticks so they hold their shape.
- Dip the tip of each stick in melted coating before inserting; this helps anchor the stick.
- Keep the coating warm and fluid; reheat in short bursts and stir often.
- Work with a few cake pops at a time and keep the rest in the fridge so they stay firm.
- Tap your wrist, not the stick, to shake off extra coating without cracking the cake pop.
- Decorate with sprinkles while the coating still feels wet so they stick well.
How to Make Heart Shaped Cake Pops Recipe
Step 1: Bake the cake
Preheat your oven according to the cake mix directions. Grease a 9×13 inch pan or line it with parchment paper. Mix the cake batter as the box instructs, then pour it into the pan and spread it in an even layer.
Bake until a toothpick comes out clean and the top springs back lightly to the touch. Let the cake cool completely in the pan, at least 1 hour. You can chill the cooled cake in the fridge for easier crumbling.
Step 2: Crumble the cake
Once the cake cools, cut off any very browned edges if they feel dry. Crumble the cake into a large bowl with clean hands or a fork. Aim for fine, even crumbs without big chunks.
Add 1/3 cup frosting to the crumbs and mix with your hands. Squeeze the mixture; if it feels too dry and falls apart, add frosting 1 tablespoon at a time until it holds together like soft clay. Avoid adding too much frosting or the hearts will slide off the sticks.
Step 3: Shape the hearts
Line a sheet pan with parchment paper. Scoop portions of the cake mixture, about 1 to 1.5 tablespoons each, and roll them into balls. Press each ball into a flat disc about 1/2 inch thick.
Press a small heart shaped cookie cutter into each disc and trim the edges to form clean hearts. Re-roll scraps and cut more hearts until you use all the mixture. Place all hearts on the lined sheet pan.
Chill the hearts in the fridge for at least 30 minutes or in the freezer for 15 minutes. The hearts should feel firm but not rock hard. This step keeps them from falling apart in the warm coating.
Step 4: Attach the sticks
Melt a small amount of candy melts in a microwave safe bowl. Heat in 20 to 30 second bursts, stirring between each, until smooth. If the coating feels thick, stir in a tiny bit of coconut oil or shortening.
Dip about 1/2 inch of a lollipop stick into the melted coating. Insert the coated tip gently into the bottom of a chilled heart, about halfway up. Repeat with all hearts, then place them back on the sheet pan.
Chill again for 10 to 15 minutes so the coating around the stick sets and anchors firmly. This step helps prevent the heart from sliding down the stick later.
Step 5: Melt the main coating
Place the rest of your candy melts or almond bark in a deep, narrow bowl. A mug or tall glass safe for the microwave works well and gives you good dipping depth. Microwave in short bursts of 20 to 30 seconds, stirring each time.
Once mostly melted, stir until completely smooth. Add 1 to 2 teaspoons coconut oil or shortening and stir until the coating flows easily off the spoon. You want a fluid texture that coats the cake pops without clumping.
Step 6: Dip the heart cake pops
Work with 3 to 4 chilled hearts at a time and keep the rest in the fridge. Hold one cake pop by the stick and dip the heart straight down into the melted coating. Submerge the heart fully, then lift it out and tilt slightly.
Tap your wrist gently with your other hand to shake off extra coating while you rotate the pop. Keep the heart facing down slightly so extra coating drips off the bottom, not onto the stick. If air bubbles appear, pop them with a toothpick while the coating still feels wet.
Stick the dipped cake pop upright into a Styrofoam block or stand. Add sprinkles right away if you want them to stick to the main coating. Repeat with the remaining pops, reheating the coating in short bursts if it starts to thicken.
Step 7: Decorate and set
Let the dipped pops sit at room temperature until the coating hardens and turns matte. This usually takes 10 to 15 minutes. If you want a drizzle, melt a second color of candy melts, then use a spoon or piping bag to drizzle thin lines over the set coating.
Add a few more sprinkles over the drizzle if you like. Once everything sets, check the bottoms of the hearts and gently break off any large drips. Arrange the heart shaped cake pops on a platter or in a jar filled with rice or sugar to keep them upright.
What to Serve with Heart Shaped Cake Pops Recipe
Serve these heart shaped cake pops with cold milk, hot chocolate, or a latte for adults. They pair nicely with fresh berries, a fruit salad, or a simple vanilla yogurt parfait. You can tuck them into lunch boxes, party favor bags, or dessert boards with cookies and brownies.
They also work well as a centerpiece on a dessert table; just stand them in a decorated foam block or a vase filled with dried beans or candy. Kids love to grab one as they run by, which might count as cardio.
Storage Options
- Store finished heart shaped cake pops at room temperature in an airtight container for up to 2 days if your kitchen stays cool and dry.
- Keep them in the fridge for up to 5 days; let them sit at room temperature about 15 minutes before serving so the coating softens slightly.
- Freeze undipped cake hearts (without sticks) in a single layer, then transfer to a freezer bag for up to 2 months; thaw in the fridge before dipping.
- Freeze finished cake pops on a tray, then wrap individually and store in a freezer bag for up to 1 month; thaw in the fridge, then bring to room temperature before serving.
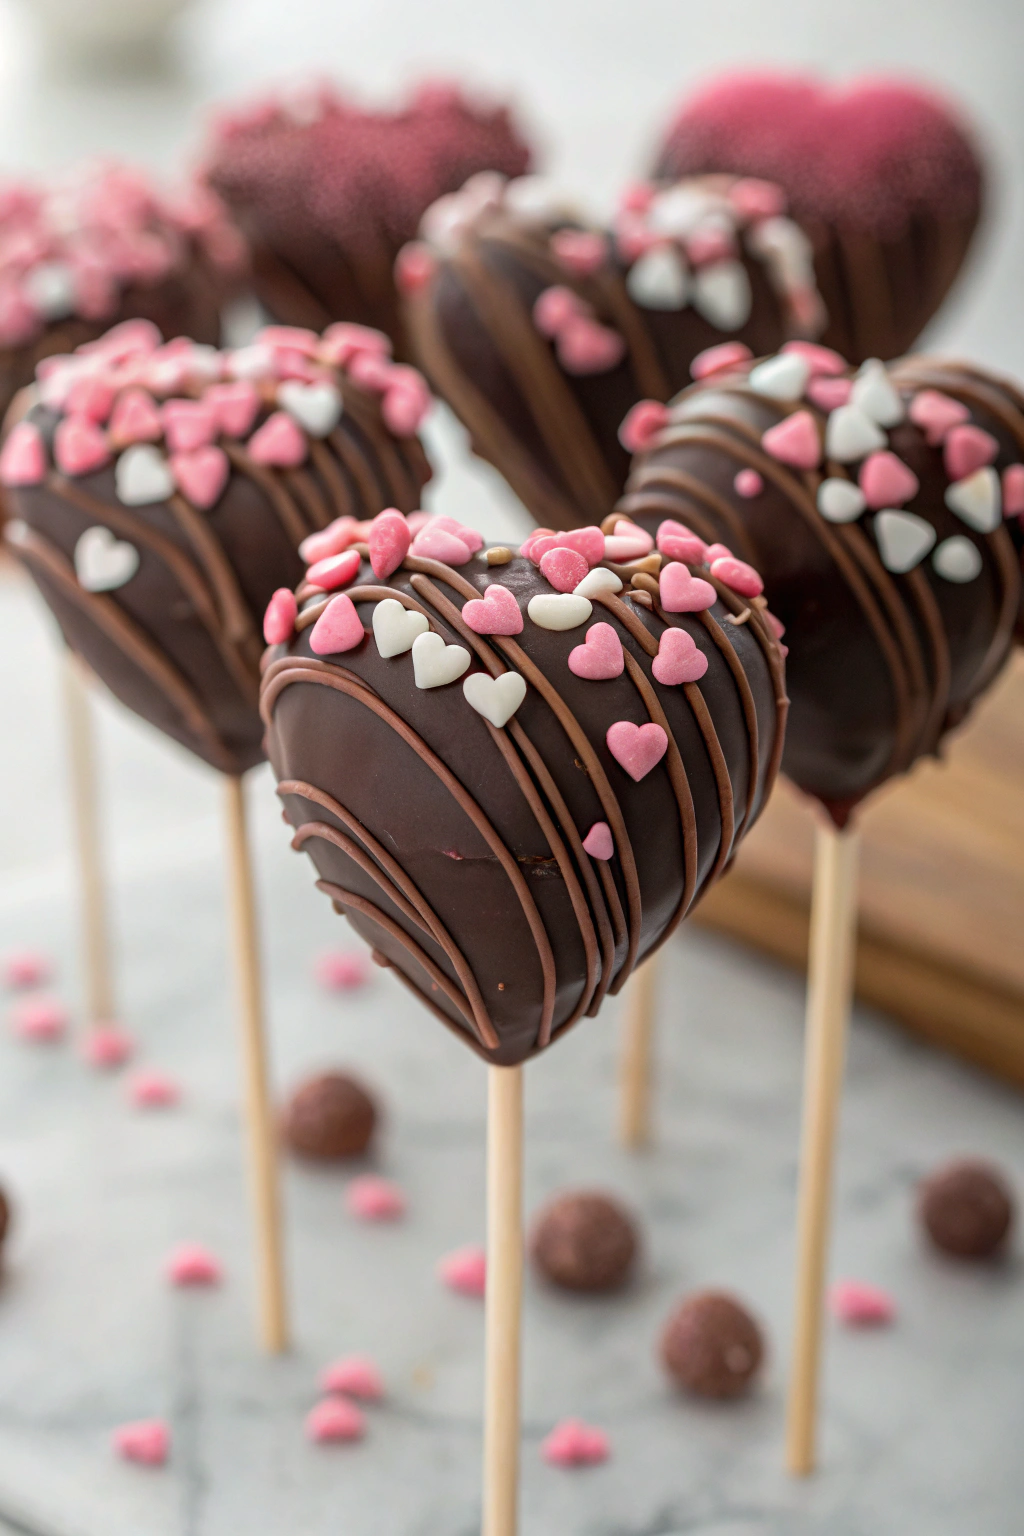
Heart Shaped Cake Pops Recipe
Ingredients
Instructions
- Prepare the cake mix according to the package directions and bake in a 9x13-inch pan.
- Allow the cake to cool completely in the pan on a wire rack.
- Crumble the cooled cake into a large bowl, breaking it into fine crumbs with your hands.
- Add frosting a few spoonfuls at a time, mixing with your hands until the mixture holds together like a moist dough. You may not need all of the frosting.
- Line a baking sheet with parchment paper.
- Scoop about 1–1 1/2 tablespoons of the mixture and roll into a smooth ball, then pinch the bottom to form a point and use your fingers or a small heart-shaped cutter to shape into a heart.
- Place shaped hearts on the prepared baking sheet and chill in the refrigerator for 30–45 minutes, or in the freezer for 15–20 minutes, until firm but not frozen solid.
- Melt a small amount of candy melts according to package directions until smooth.
- Dip the tip of each lollipop stick about 1/2 inch into the melted candy, then insert it gently into the bottom of each heart, going about halfway in.
- Return to the refrigerator for 10–15 minutes to set.
- Melt the remaining candy melts, adding vegetable shortening or coconut oil if needed to thin until pourable and smooth.
- Holding each cake pop by the stick, dip the heart fully into the melted candy, gently tapping off any excess while keeping the heart shape intact.
- Immediately add sprinkles or decorations before the coating sets.
- Place the coated cake pops upright in a styrofoam block or cake pop stand to dry completely.
- Allow cake pops to set at room temperature until the coating is firm, then serve or package for gifting.
Notes
Approximate per 1 cake pop (based on 24 pops, using boxed cake mix, standard frosting, and candy melts): 160–190 calories; fat 8–10 g; saturated fat 4–6 g; carbohydrates 22–26 g; fiber 0–1 g; sugars 16–20 g; protein 1–2 g; sodium 140–220 mg. Values will vary based on cake mix, frosting type, coating brand, decorations, and portion size.
Leave a Reply