
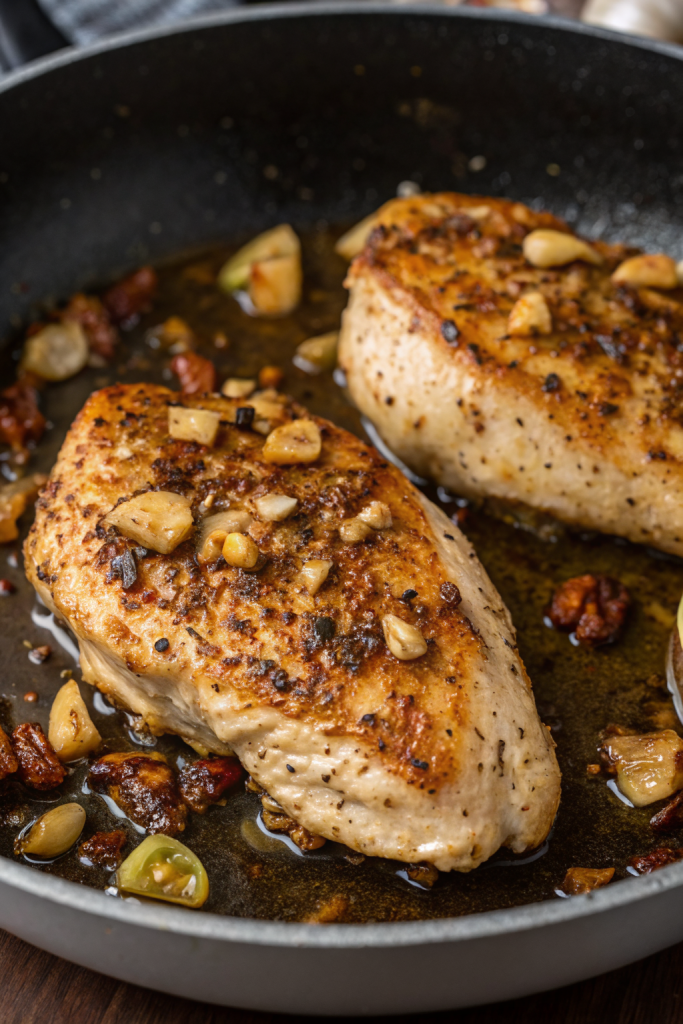
Garlic Butter Baked Chicken Breast Recipe tastes rich, savory, and ultra juicy, with crispy golden edges and a buttery garlic aroma that makes the whole kitchen smell like a cozy bistro. It works perfectly for busy home cooks who want a fast weeknight dinner or easy meal prep, and you can get it on the table in about 30 minutes total. I tested versions of this recipe so many times that my kids now call any baked chicken “the garlic butter one.”
Why Garlic Butter Baked Chicken Breast Recipe Is Worth It
This recipe turns plain chicken breast into something that feels restaurant-level with almost no effort. You mix a quick garlic butter, coat the chicken, and the oven does the rest while you toss a salad or scroll recipes you’ll never actually make.
The garlic butter keeps the chicken moist, so you avoid that sad, dry, cardboard texture. It also uses simple pantry ingredients, so you skip last-minute store runs and still get big flavor.
“Juiciest weeknight chicken I’ve ever made, and my family asked for it again the next night. ★★★★★”
Ingredients You Need
Chicken:
- 2–2.5 pounds boneless, skinless chicken breasts
- Aim for evenly sized pieces so they cook at the same rate.
- If the breasts run very thick, slice them horizontally into cutlets or pound them to even thickness.
Garlic butter mixture:
- 4 tablespoons unsalted butter, melted
- Use real butter, not margarine, for best flavor.
- If you only have salted butter, reduce added salt slightly.
- 2 tablespoons olive oil
- This helps the butter handle higher oven heat without burning.
- 4–5 cloves garlic, very finely minced or grated
- Jarred minced garlic works in a pinch, but fresh garlic tastes brighter.
- 1 teaspoon kosher salt
- Use ¾ teaspoon if you only have table salt, since it tastes saltier.
- ½ teaspoon black pepper, freshly ground
- 1 teaspoon smoked paprika or sweet paprika
- Smoked paprika adds a subtle smoky note; sweet paprika keeps it mild.
- 1 teaspoon Italian seasoning
- Or mix equal parts dried oregano, basil, and thyme.
- ½ teaspoon onion powder
- ½ teaspoon garlic powder
- This layers garlic flavor with the fresh cloves.
- 1–2 tablespoons lemon juice, freshly squeezed
- Bottled lemon juice works if that’s what you have.
- 1 tablespoon fresh parsley, finely chopped (plus more for garnish)
- Dried parsley works; use 1 teaspoon instead.
Optional finishing touches:
- Extra lemon wedges for serving
- Extra melted butter for drizzling
- Grated Parmesan for a cheesy finish
Equipment:
- 9×13-inch baking dish or similar oven-safe pan
- Small bowl for mixing garlic butter
- Measuring spoons and cup
- Instant-read thermometer (huge help for juicy chicken)
- Tongs or a spatula
- Foil (optional, for easier cleanup)
Quick Tips & substitutions
- Pound thick chicken breasts to an even ¾–1 inch thickness so they cook evenly and stay juicy.
- Pat the chicken dry with paper towels before seasoning so the garlic butter sticks better.
- Use half butter and half olive oil to keep great flavor while avoiding burnt butter.
- Swap Italian seasoning with a mix of dried oregano, basil, and thyme if needed.
- Use ghee instead of butter if you want a slightly higher smoke point and richer flavor.
- Replace fresh garlic with 1–1½ teaspoons garlic powder when you run out of cloves.
- Use chicken thighs instead of breasts and add 5–10 minutes to the baking time.
- Add a pinch of red pepper flakes to the garlic butter if you like gentle heat.
- Line the pan with foil or parchment for faster cleanup.
- Check doneness with a thermometer and pull the chicken at 165°F so it stays moist.
How to Make Garlic Butter Baked Chicken Breast Recipe
Step 1: Prep the chicken and oven
Preheat your oven to 400°F (200°C).
Lightly grease your baking dish with a little olive oil or butter, or line it with foil for easier cleanup.
Trim any excess fat from the chicken breasts and pat them very dry with paper towels.
If the breasts look thick on one side, slice them into cutlets or gently pound them between two pieces of plastic wrap until they reach an even thickness.
Step 2: Mix the garlic butter
In a small bowl, add melted butter, olive oil, minced garlic, salt, pepper, paprika, Italian seasoning, onion powder, garlic powder, lemon juice, and chopped parsley.
Whisk or stir until the mixture looks smooth and well combined.
Taste a tiny bit and adjust salt, pepper, or lemon juice to your liking.
Set aside a spoonful of this mixture in a separate small bowl if you want a fresh drizzle after baking.
Step 3: Coat the chicken
Place the chicken breasts in the baking dish in a single layer with a little space between each piece.
Pour the garlic butter mixture over the chicken and turn each piece a few times so every side gets coated.
Spoon extra garlic bits on top of the chicken so they caramelize in the oven.
Make sure no large pools of butter sit in one corner; spread it around the pan.
Step 4: Bake to juicy perfection
Slide the pan into the preheated oven on the middle rack.
Bake 18–22 minutes, depending on thickness, until an instant-read thermometer in the thickest part of a breast reads 165°F.
If the chicken needs more color, switch the oven to broil on high for 2–3 minutes and watch closely so the garlic does not burn.
Pull the pan from the oven as soon as the chicken hits temperature.
Step 5: Rest and finish
Let the chicken rest in the pan for 5–8 minutes so the juices redistribute.
During this time, spoon some of the garlicky butter from the pan over the top of each piece.
Drizzle the reserved fresh garlic butter over the chicken if you saved some, and squeeze a little extra lemon juice over the top.
Sprinkle with more chopped parsley and a little grated Parmesan if you want a cheesy finish.
Step 6: Slice and serve
Transfer the chicken breasts to a cutting board.
Slice them against the grain into strips or serve them whole, depending on how you plan to use them.
Spoon more pan juices over the slices so every piece tastes buttery and garlicky.
Serve right away with your favorite sides while the chicken stays hot and juicy.
Recipe Variations
- Gluten-free: Use gluten-free chicken broth if you add any pan sauce, and check labels on spices to confirm they stay gluten-free.
- Low carb / keto: Skip any sugary sauces and serve with cauliflower mash, roasted broccoli, or a big green salad.
- Dairy-free: Swap butter with a dairy-free butter stick or use all olive oil; add a little nutritional yeast for a buttery vibe.
- Herb-forward: Increase parsley and add fresh thyme or rosemary for a more herb-heavy garlic butter baked chicken breast recipe.
- Spicy version: Add ½–1 teaspoon red pepper flakes or a pinch of cayenne to the garlic butter.
- Cheesy topping: Sprinkle shredded mozzarella or Parmesan on the chicken during the last 5 minutes of baking.
- Lemon herb twist: Double the lemon juice and zest one lemon into the garlic butter for a brighter flavor.
- Sheet pan meal: Add green beans, broccoli, or halved baby potatoes around the chicken and toss them in a little extra garlic butter.
Ways to Serve Garlic Butter Baked Chicken Breast Recipe
- Over fluffy rice, quinoa, or couscous with extra pan juices spooned on top.
- Sliced on top of a big green salad with cherry tomatoes, cucumbers, and a simple vinaigrette.
- With mashed potatoes and steamed green beans for a classic comfort plate.
- Stuffed into warm tortillas or flatbreads with lettuce and a yogurt-based sauce.
- Chopped into pasta with a bit of reserved garlic butter and some grated Parmesan.
- In a meal prep bowl with roasted veggies and brown rice or cauliflower rice.
- On a sandwich with lettuce, tomato, and a smear of garlic mayo.
Storage Success
Let the garlic butter baked chicken breast cool until it reaches room temperature, then move it to airtight containers. Store it in the fridge for up to 3–4 days and spoon some of the solidified garlic butter over the top to keep it moist. Reheat gently in a covered skillet over low heat or in the microwave at 50–60% power so the chicken stays tender. If you want to freeze it, slice the chicken first, freeze it in a single layer, then move it to freezer bags and use it within 2–3 months.
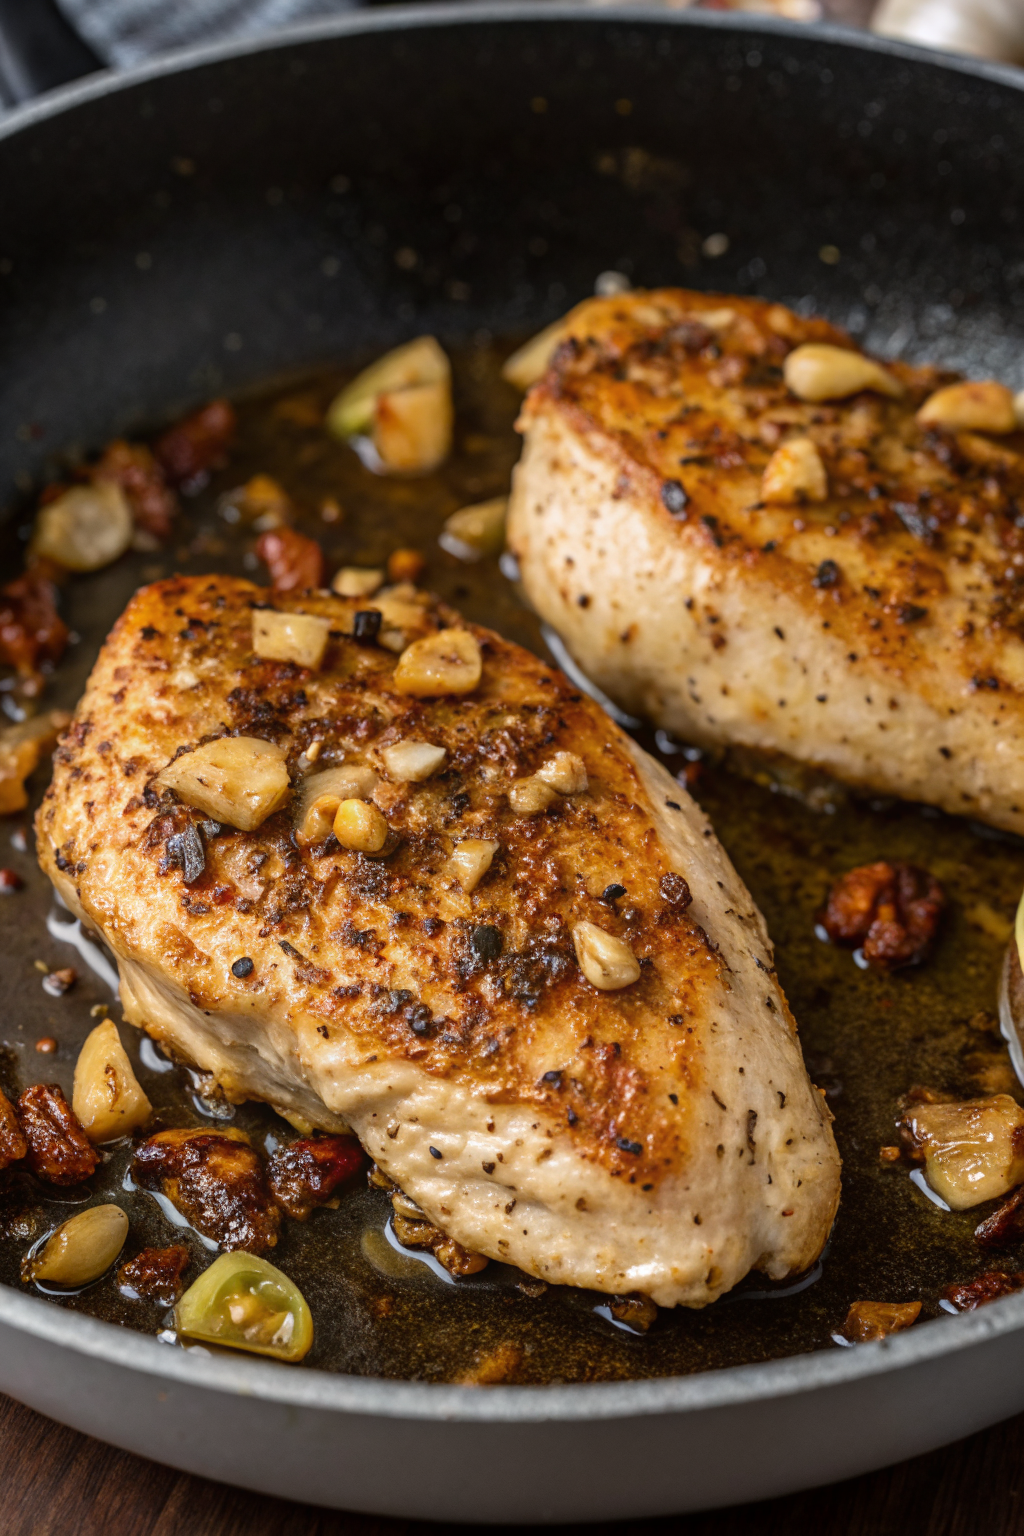
Garlic Butter Baked Chicken Breast Recipe
Ingredients
Instructions
- Preheat the oven to 400°F (200°C). Lightly grease a 9x13-inch baking dish with olive oil or butter, or line it with foil for easier cleanup.
- Trim excess fat from the chicken breasts and pat them very dry with paper towels. If they are very thick, slice into cutlets or gently pound to an even thickness.
- In a small bowl, whisk together the melted butter, olive oil, minced garlic, salt, pepper, paprika, Italian seasoning, onion powder, garlic powder, lemon juice, and chopped parsley until well combined. If desired, set aside a spoonful of this mixture in a separate small bowl for drizzling after baking.
- Place the chicken breasts in the prepared baking dish in a single layer with a little space between each piece. Pour the garlic butter mixture over the chicken, turning each piece to coat all sides. Spoon extra garlic bits over the tops and spread the butter mixture evenly around the pan.
- Bake on the middle rack for 18–22 minutes, or until an instant-read thermometer inserted into the thickest part of a breast reads 165°F (74°C). If you want more color, switch the oven to broil on high for 2–3 minutes, watching closely so the garlic does not burn.
- Remove the pan from the oven and let the chicken rest in the pan for 5–8 minutes so the juices redistribute. During this time, spoon some of the garlicky butter from the pan over each piece. Drizzle with the reserved fresh garlic butter, if using, and add an extra squeeze of lemon juice. Sprinkle with more chopped parsley and grated Parmesan, if desired.
- Transfer the chicken breasts to a cutting board. Slice against the grain into strips or serve whole. Spoon more of the pan juices over the chicken and serve hot with your favorite sides.
Notes
Approximate per serving (4 servings, using 2.25 lb chicken, without optional extras): 370 calories; fat 23 g; saturated fat 9 g; carbohydrates 2 g; fiber 0 g; sugars 0 g; protein 37 g; sodium 650 mg. Values are estimates and will vary based on exact ingredients, brands, and portion size.
Leave a Reply