
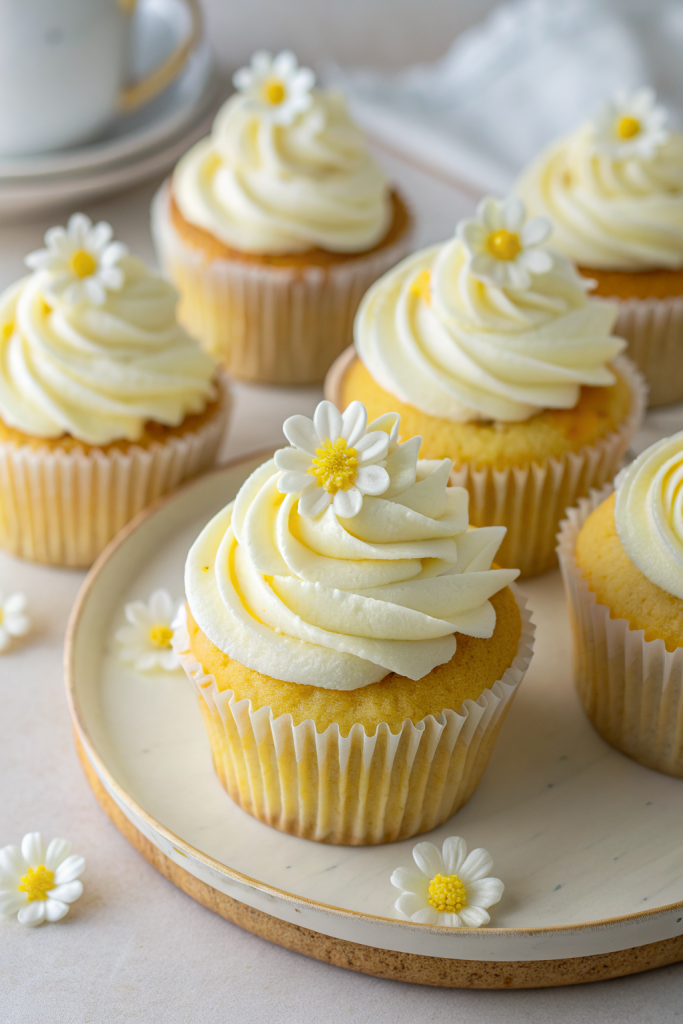
Japanese Cotton Cheesecake Cupcakes Recipe bakes into ultra-light, jiggly little clouds that taste like a cheesecake and a soufflé had a very cute baby. They work perfectly for anyone who loves cheesecake flavor but wants something lighter, less sweet, and done in about 1 hour total. I tested these so many times that my family started calling them “pillow cakes,” which feels accurate and slightly rude.
Why Japanese Cotton Cheesecake Cupcakes Recipe Is Worth It
These Japanese cotton cheesecake cupcakes feel airy, creamy, and not-too-sweet, so you enjoy the flavor without that heavy, dense cheesecake crash. The texture sits somewhere between chiffon cake and classic cheesecake, with a gentle wobble and a melt-in-your-mouth crumb.
You bake them in a muffin pan, so they portion easily and travel well for parties, potlucks, and lunchbox treats. They also chill beautifully, so you can bake ahead and enjoy them cold, room temp, or slightly warm.
“These Japanese cotton cheesecake cupcakes taste like little cheesecake clouds and disappear from the dessert table in minutes. ★★★★★”
Ingredients You Need
You likely own most of the ingredients already, which makes this Japanese Cotton Cheesecake Cupcakes Recipe weeknight-friendly.
Wet & creamy base
- 6 oz (170 g) full-fat cream cheese, softened
- Use brick-style cream cheese, not whipped; I like Philadelphia for consistent texture.
- 4 tbsp (56 g) unsalted butter, softened
- Salted butter works in a pinch; just reduce added salt slightly.
- 1/2 cup (120 ml) whole milk, room temperature
- You can use 2% milk, but whole milk gives a richer, smoother crumb.
- 4 large eggs, separated, room temperature
- Room-temp eggs whip better and give more volume.
Dry ingredients
- 1/4 cup (30 g) cake flour, sifted
- If you only have all-purpose flour, use 30 g all-purpose plus 5 g cornstarch for a softer crumb.
- 2 tbsp (16 g) cornstarch, sifted
- This helps keep the cupcakes tender and fluffy.
- 1/4 tsp fine sea salt
- 1/2 cup (100 g) granulated sugar, divided
- 2 tbsp (25 g) for the yolk mixture, 1/4 cup + 1 tbsp (75 g) for the meringue.
Flavor boosters
- 1 tsp pure vanilla extract
- 1 tsp lemon juice
- This helps stabilize the meringue and adds a gentle brightness.
- Optional: 1 tsp lemon zest for a citrus note
Equipment list
- Standard 12-cup muffin pan
- Paper cupcake liners (or parchment liners)
- Large mixing bowls (at least 2)
- Electric hand mixer or stand mixer with whisk attachment
- Fine-mesh sieve for sifting flour and cornstarch
- Rubber spatula
- Measuring cups and spoons or a kitchen scale
- Small saucepan or microwave-safe bowl (to warm milk if needed)
- Baking tray or larger pan to hold the muffin pan for a water bath-style environment (optional but helpful)
Quick Tips & substitutions
- Use room-temperature cream cheese, butter, eggs, and milk so the batter blends smoothly and stays lump-free.
- Line the muffin pan and lightly spray the liners if they stick easily in your pan.
- Sift flour and cornstarch together to avoid dense pockets of starch.
- Separate eggs while cold, then let whites warm slightly so they whip with better volume.
- Whip egg whites to soft peaks, not stiff peaks, to keep the cupcakes tender and prevent cracking.
- Fold the meringue gently with a spatula, using big, sweeping motions so you keep the air in the batter.
- Bake at a lower temperature and use a tray of hot water on the rack below to keep the oven steamy and gentle.
- Swap whole milk with unsweetened soy milk or oat milk if you need a lighter dairy option, but keep cream cheese full-fat for structure.
- Use gluten-free all-purpose baking blend (1:1 style) in place of cake flour and cornstarch if you need gluten-free cupcakes.
- Add 1–2 tbsp extra sugar if you prefer a sweeter, more dessert-style cupcake instead of lightly sweet.
How to Make Japanese Cotton Cheesecake Cupcakes Recipe
Step 1: Prep the pan and oven
Preheat your oven to 300°F (150°C). Line a 12-cup muffin pan with paper liners and set it on a larger baking tray if you plan to add water to the tray for a gentler bake. Heat about 3–4 cups of water until hot but not boiling if you want that steamy environment.
Step 2: Warm and mix the cream cheese base
In a medium bowl, combine softened cream cheese and butter. Beat with a hand mixer on medium speed until smooth and creamy, with no visible lumps. Add the milk gradually and beat again until the mixture looks silky and fully combined.
Add the egg yolks, one at a time, mixing well after each addition. Stir in vanilla extract, lemon juice, and optional lemon zest. The mixture should look glossy and smooth.
Step 3: Add dry ingredients
Sift cake flour, cornstarch, and salt directly into the cream cheese mixture. Use a spatula or whisk to gently mix until no dry streaks remain. Scrape the sides and bottom of the bowl so everything blends evenly.
Sprinkle in 2 tbsp (25 g) of sugar and mix again until fully incorporated. Set this bowl aside while you whip the egg whites.
Step 4: Whip the meringue
Place egg whites in a clean, dry bowl. Beat on medium speed until they look foamy and opaque. Gradually add the remaining sugar (about 1 tbsp at a time) while you continue to beat.
Increase speed to medium-high and whip until the meringue reaches soft peaks that curl over when you lift the beaters. The texture should look glossy and smooth, not grainy. Stop before the whites turn stiff and chunky.
Step 5: Fold the meringue into the batter
Add about one-third of the meringue into the cream cheese batter. Gently fold with a spatula to lighten the mixture. Use big, sweeping motions from the bottom of the bowl up and over the top.
Add the next third of meringue and fold again, keeping as much air as possible. Finish with the last third, folding just until the batter looks uniform and streak-free. Avoid overmixing so the cupcakes stay tall and fluffy.
Step 6: Fill the cupcake liners
Divide the batter evenly among the 12 liners, filling each about 3/4 full. Tap the pan very lightly on the counter once to pop any large air bubbles. Do not slam the pan, or you might knock out too much air.
If you use a water tray, slide the muffin pan (on its larger tray) into the oven. Pour hot water into the larger tray until it reaches about halfway up the sides of the muffin pan. Keep water away from the batter itself.
Step 7: Bake gently
Bake at 300°F (150°C) for about 20–23 minutes, until the tops look set and lightly golden. The cupcakes should rise, then stay mostly level with a slight dome. When you jiggle the pan, the centers should wobble slightly but not look liquid.
Turn off the oven and crack the door open a few inches. Leave the cupcakes inside for 10 minutes so they cool gradually and avoid dramatic shrinking. After that, move the pan to a cooling rack.
Step 8: Cool and chill
Let the cupcakes cool to room temperature in the pan. They will deflate a bit and form a soft, slightly wrinkly top, which counts as normal for Japanese cotton cheesecake cupcakes. Once cool, transfer them to an airtight container.
Chill in the fridge for at least 2 hours if you want that classic cheesecake-style texture. Serve them cold or let them sit at room temperature for 10–15 minutes for a softer, fluffier bite.
Recipe Variations
- Gluten-free: Use a 1:1 gluten-free baking flour blend in place of cake flour and keep the cornstarch as written.
- Low carb: Swap sugar with a powdered erythritol or monk fruit blend that measures like sugar; expect slightly less browning.
- Vegan-style concept: Use vegan cream cheese, plant milk, and aquafaba whipped with sugar for the meringue, but note that texture turns more like a light mousse cupcake.
- Matcha: Whisk 1–2 tsp matcha powder into the dry ingredients for a green tea version.
- Chocolate swirl: Fold in 2–3 tbsp melted, cooled dark chocolate in streaks at the end for a marbled look.
- Citrus boost: Add extra lemon zest or a bit of orange zest for a brighter, fruitier cupcake.
- Berry center: Spoon a small dollop of thick berry jam into the center of each liner, then cover with batter for a hidden filling.
Ways to Serve Japanese Cotton Cheesecake Cupcakes Recipe
- Top with a dusting of powdered sugar and a few fresh berries.
- Add a small dollop of whipped cream and a slice of strawberry or kiwi.
- Serve chilled with a cup of hot green tea or matcha latte.
- Pair with iced coffee or milk for a snack-style dessert.
- Drizzle with a thin line of chocolate sauce or strawberry sauce.
- Add a spoonful of yuzu or lemon curd on top for extra tang.
Storage Success
Store Japanese cotton cheesecake cupcakes in an airtight container in the fridge for up to 4 days. Lay a paper towel under the lid to catch condensation and keep the tops from turning soggy. If you stack them, place parchment between layers so they do not stick together.
You can freeze them for up to 1 month; wrap each cupcake tightly in plastic, then place them in a freezer bag. Thaw in the fridge overnight, then let them sit at room temperature for 10–15 minutes before serving so the texture softens again.
Japanese Cotton Cheesecake Cupcakes Recipe
Ingredients
Instructions
- Preheat the oven to 300°F (150°C). Line a 12-cup muffin pan with paper liners. If desired, place the muffin pan on a larger baking tray to use a water bath-style environment, and heat 3–4 cups of water until hot but not boiling.
- In a medium bowl, beat the softened cream cheese and butter with a hand mixer on medium speed until smooth and creamy with no visible lumps. Gradually add the milk and beat until the mixture is silky and fully combined.
- Add the egg yolks one at a time, mixing well after each addition. Stir in the vanilla extract, lemon juice, and optional lemon zest until the mixture is glossy and smooth.
- Sift the cake flour, cornstarch, and salt directly into the cream cheese mixture. Gently mix with a spatula or whisk until no dry streaks remain, scraping the sides and bottom of the bowl. Sprinkle in 2 tablespoons (about 25 g) of the sugar and mix until fully incorporated. Set aside.
- Place the egg whites in a clean, dry bowl. Beat on medium speed until foamy and opaque, then gradually add the remaining sugar in small additions while beating. Increase to medium-high speed and whip until the meringue reaches soft peaks that curl over when you lift the beaters; it should look glossy and smooth.
- Fold about one-third of the meringue into the cream cheese batter with a spatula to lighten it, using gentle, sweeping motions from the bottom up. Fold in the next third, then the final third, just until the batter looks uniform and streak-free, taking care not to deflate the mixture.
- Divide the batter evenly among the 12 cupcake liners, filling each about 3/4 full. Tap the pan very lightly once on the counter to release any large air bubbles.
- If using a water tray, slide the muffin pan (on the larger tray) into the oven and carefully pour hot water into the outer tray until it reaches about halfway up the sides of the muffin pan, keeping water away from the batter. Bake for 20–23 minutes, or until the tops look set and lightly golden. The cupcakes should rise with a slight dome and wobble gently in the center when the pan is jiggled, without appearing liquid.
- Turn off the oven and crack the door open a few inches. Leave the cupcakes inside for 10 minutes to cool gradually and reduce shrinking. Transfer the pan to a cooling rack and let the cupcakes cool to room temperature in the pan; they will deflate slightly and form soft, wrinkly tops.
- Once cooled, transfer the cupcakes to an airtight container and chill in the refrigerator for at least 2 hours for a classic cheesecake-style texture. Serve chilled or let them sit at room temperature for 10–15 minutes for a softer, fluffier bite.