
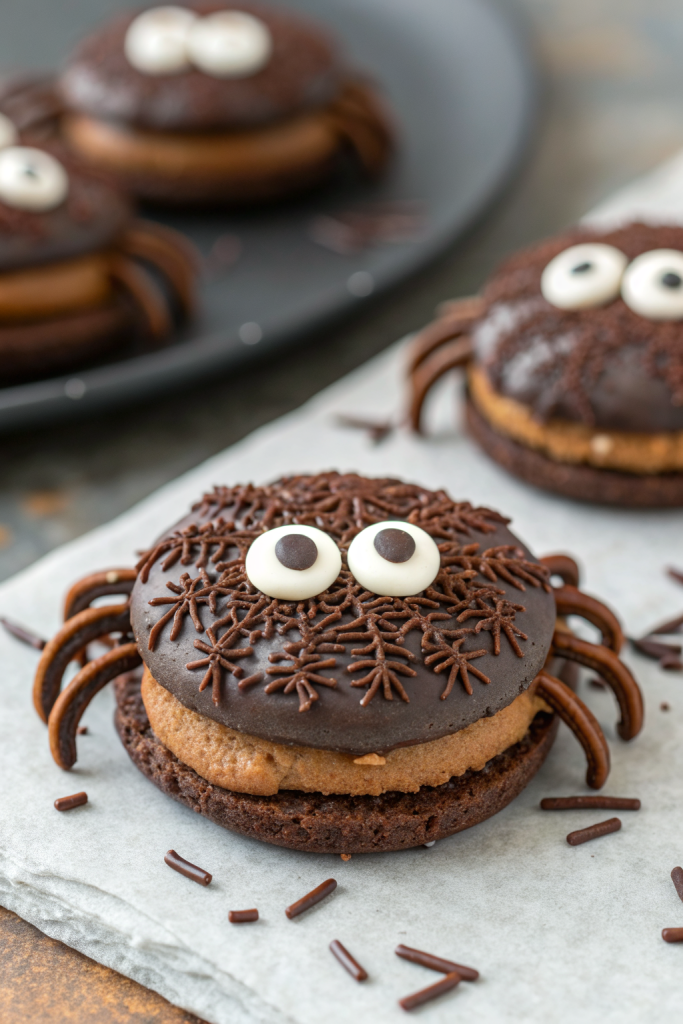
Spooky Oreo Spider Halloween Cookies Recipe tastes like a cookies-and-cream truffle met a chocolate-covered candy bar and dressed up in a cute spider costume. This recipe works perfectly for busy parents, Halloween parties, school events, or anyone who wants a no-stress dessert in under 30 minutes. I test Halloween treats year-round, and my neighbors never complain about surprise spider cookies in June.
Why Make This Spooky Oreo Spider Halloween Cookies Recipe at Home
You mix this Spooky Oreo Spider Halloween Cookies Recipe in one bowl, skip the oven, and decorate with simple candy. Kids help with almost every step, which turns dessert into an easy activity instead of a last-minute panic.
You also control the ingredients, so you pick gluten-free sandwich cookies, reduced-sugar fillings, or dairy-free chocolate if you need it. Store-bought Halloween treats cost more and vanish faster, while a single batch of these spider cookies feeds a crowd and looks party-ready on any dessert table.
“These Spooky Oreo Spider Halloween Cookies disappeared from our Halloween party table in ten minutes flat, and everyone begged for the recipe ★★★★★”
Ingredients You Need
-
Chocolate sandwich cookies:
- Use 1 standard package of Oreos or any similar brand.
- Pick double-stuf if you want extra creamy centers and easier leg placement.
- Gluten-free sandwich cookies also work and still hold their shape.
-
Cream cheese:
- Use 4 to 6 ounces of softened brick-style cream cheese.
- Whipped cream cheese feels too airy and makes the mixture too soft.
- Use dairy-free cream cheese if you want a lactose-free version.
-
Chocolate for coating:
- Use 12 ounces of semi-sweet chocolate chips or melting wafers.
- Melting wafers give the smoothest, shiniest coating and set faster.
- Use milk chocolate for a sweeter cookie or dark chocolate for a richer flavor.
-
Spider legs:
- Use thin black or brown licorice laces, chocolate-covered pretzel sticks, or thin pretzel rods.
- Cut them into short pieces so each spider gets 8 legs.
- If you use pretzels, dip them in chocolate first for a more polished look.
-
Eyes and decorations:
- Candy eyeballs make the spiders instantly cute and party-worthy.
- If you cannot find candy eyes, use mini chocolate chips, white chocolate chips, or tiny dots of icing.
- Use orange, purple, or green sprinkles for extra Halloween color.
-
Optional flavor boosters:
- Add 1 teaspoon vanilla extract to the cookie mixture for extra flavor.
- Add a pinch of salt if your cookies taste very sweet.
- Stir in a teaspoon of instant espresso powder if you want a deeper chocolate flavor.
Basic equipment
- Food processor or strong zip-top bag with rolling pin
- Mixing bowl and spatula
- Microwave-safe bowl or double boiler for melting chocolate
- Forks or dipping tools
- Baking sheet lined with parchment or wax paper
- Small knife or kitchen scissors for cutting legs
Tips & Mistakes
- Crush the cookies into fine crumbs so the mixture rolls smoothly and does not crack.
- Soften the cream cheese to room temperature so it blends evenly and does not leave lumps.
- Chill the cookie balls before dipping so they hold their shape and do not slide off the fork.
- Melt chocolate slowly in short bursts and stir often so it does not scorch or seize.
- Keep water away from the chocolate so it stays smooth and glossy.
- Insert the legs while the chocolate still feels soft so they stick firmly and do not fall out.
- Press candy eyes on gently but quickly so they adhere before the coating sets.
- Do not stack the cookies until the chocolate hardens completely or you risk smudged spiders.
- Work in small batches if your kitchen runs warm so the cookie centers stay firm.
- Use parchment or wax paper so the spiders release cleanly and keep their round shape.
How to Make Spooky Oreo Spider Halloween Cookies Recipe
Step 1: Crush the cookies
Place the chocolate sandwich cookies in a food processor. Pulse until the cookies turn into fine crumbs with no big chunks. If you use a zip-top bag, seal it tightly and crush the cookies with a rolling pin until you see uniform crumbs.
Step 2: Mix with cream cheese
Transfer the cookie crumbs to a mixing bowl. Add the softened cream cheese and any optional vanilla or salt. Stir and mash with a spatula until the mixture turns thick, smooth, and slightly sticky, with no visible streaks of cream cheese.
Step 3: Shape the spider bodies
Scoop small portions of the mixture, about 1 tablespoon each. Roll each portion between your palms into a smooth ball. Place each ball on a parchment-lined baking sheet, leaving a little space between them.
Step 4: Chill the centers
Place the baking sheet in the fridge for 20 to 30 minutes until the balls feel firm to the touch. If you feel rushed, place them in the freezer for 10 to 15 minutes instead. Firm centers dip more easily and keep a round spider shape.
Step 5: Prepare the legs and decorations
While the centers chill, cut licorice laces or pretzel sticks into short pieces for legs. Aim for 8 pieces per spider, with a little extra in case some break. Set the legs, candy eyes, and sprinkles in small bowls so you work quickly once you dip the cookies.
Step 6: Melt the chocolate
Place chocolate chips or melting wafers in a microwave-safe bowl. Heat in 20 to 30 second bursts, stirring between each burst, until the chocolate turns smooth and fluid. If you use a double boiler, keep the heat low and stir often so the chocolate stays shiny.
Step 7: Dip the spider bodies
Take a few chilled cookie balls from the fridge. Drop one ball into the melted chocolate and coat it completely. Lift it out with a fork, tap the fork gently on the bowl edge to shake off excess chocolate, then place the coated ball back on the parchment.
Step 8: Add legs
While the chocolate still feels soft, push four leg pieces into each side of the spider body. Angle them slightly outward so they look more like real spider legs. Press gently so the legs sit snugly in the chocolate without pushing through the center.
Step 9: Add eyes and decorations
Press two candy eyes on the front of each spider. Add sprinkles or colored sugar around the top before the chocolate sets. Repeat with all the spiders, working in small batches so the coating stays soft while you decorate.
Step 10: Let the spiders set
Leave the finished spiders at room temperature until the chocolate hardens completely. If your kitchen feels warm, place the tray in the fridge for 10 to 15 minutes. Once set, gently peel each spider off the parchment and arrange them on a serving plate.
Variations I've Tried
I swap the regular Oreos for golden Oreos and coat the spiders in white chocolate for a “ghost spider” version. I also use mint Oreos and add a drop of peppermint extract to the chocolate for a cool, minty twist. Peanut butter sandwich cookies with a milk chocolate coating taste like a Halloween peanut butter cup in spider form.
I sometimes roll the dipped spiders in crushed cookies or chocolate sprinkles for a fuzzy spider effect. I also use red or green candy melts for a more colorful, kid-pleasing platter. If I host a party with food allergies, I use gluten-free sandwich cookies and dairy-free chocolate and still get rave reviews.
How to Serve Spooky Oreo Spider Halloween Cookies Recipe
Serve this Spooky Oreo Spider Halloween Cookies Recipe on a big platter with plastic spiders, candy corn, and a few plastic fangs for fun. Pair them with cold milk, hot cocoa, or apple cider for a cozy Halloween treat table. Kids love to “adopt” a spider and name it before they eat it, which always makes me laugh. These cookies also travel well in a container, so you bring them to school parties, trunk-or-treat events, or neighborhood gatherings.
How to store
- Room temperature: Keep the cookies in an airtight container at cool room temperature for up to 1 day if your kitchen stays under 70°F.
- Fridge: Store in a covered container in the fridge for 4 to 5 days; place parchment between layers so the decorations stay neat.
- Freezer: Freeze the spiders on a baking sheet until solid, then transfer to a freezer bag or container for up to 2 months.
- Thawing and serving: Thaw in the fridge for a few hours, then let them sit at room temperature for 10 to 15 minutes before serving so the centers taste creamy again.
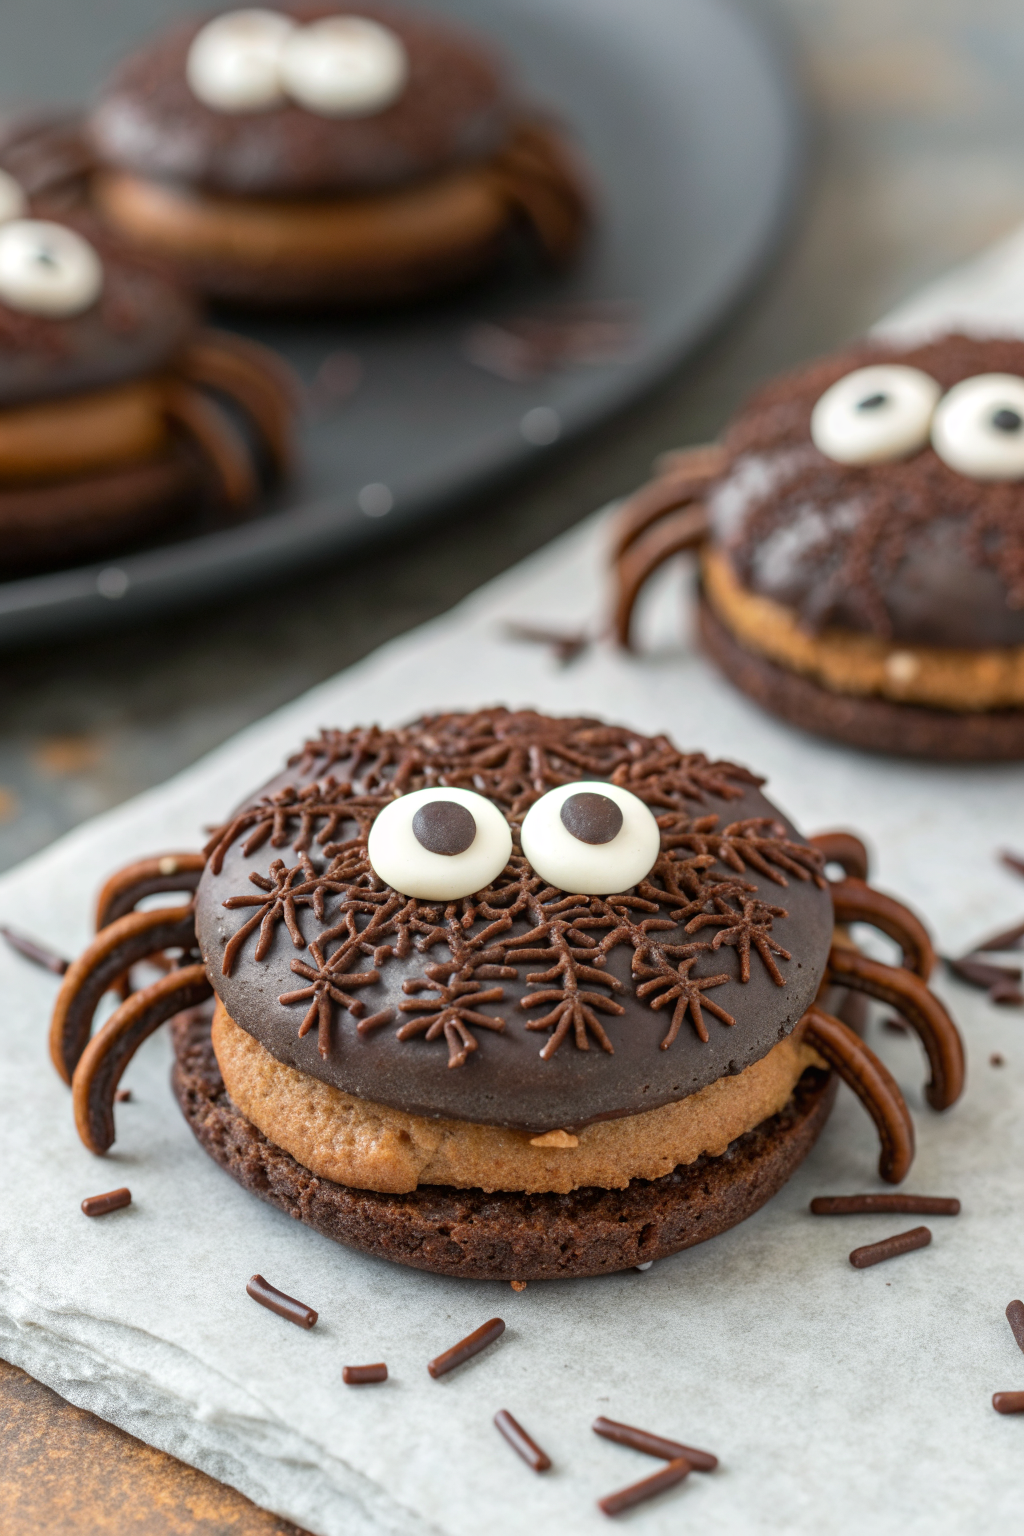
Spooky Oreo Spider Halloween Cookies Recipe
Ingredients
Instructions
- Place the chocolate sandwich cookies in a food processor and pulse into fine crumbs with no large chunks. Alternatively, seal the cookies in a zip-top bag and crush with a rolling pin until uniformly fine.
- Transfer the cookie crumbs to a mixing bowl. Add the softened cream cheese and any optional vanilla or salt. Stir and mash with a spatula until the mixture is thick, smooth, and slightly sticky, with no visible streaks of cream cheese.
- Scoop about 1 tablespoon of the mixture for each cookie and roll between your palms into smooth balls. Arrange the balls on a parchment-lined baking sheet, leaving space between them.
- Chill the shaped balls in the refrigerator for 20–30 minutes, or in the freezer for 10–15 minutes, until firm to the touch so they hold their shape when dipped.
- While the centers chill, cut licorice laces or pretzel sticks into short pieces, aiming for 8 legs per spider plus a few extras. Place the legs, candy eyes, and sprinkles in small bowls so they are ready for decorating.
- Place the chocolate chips or melting wafers in a microwave-safe bowl. Heat in 20–30 second bursts, stirring between each, until completely melted and smooth. Do not overheat.
- Remove a few chilled cookie balls from the refrigerator. Drop one ball into the melted chocolate and turn to coat completely. Lift it with a fork, gently tap the fork on the bowl to remove excess chocolate, then place the coated ball back on the parchment-lined baking sheet.
- While the chocolate is still soft, press four leg pieces into each side of the coated ball, angling them slightly outward so they resemble spider legs. Push gently so they are secure without breaking through the center.
- Press two candy eyes onto the front of each spider and add sprinkles or colored sugar on top before the coating sets. Continue dipping and decorating the remaining centers, working in small batches so the chocolate stays soft while you add legs and eyes.
- Let the finished spiders sit at room temperature until the chocolate hardens completely, or refrigerate for 10–15 minutes if your kitchen is warm. Once set, carefully remove the spiders from the parchment and arrange on a serving plate.
Notes
Approximate per cookie (1 of 24): 150 calories; fat 9 g; saturated fat 5 g; carbohydrates 17 g; fiber 1 g; sugars 12 g; protein 2 g; sodium 95 mg. Values will vary based on cookie brand, chocolate type, exact amount of cream cheese, and decorations used. Storage: Keep in an airtight container at cool room temperature for up to 1 day if under 70°F. Refrigerate for 4–5 days with parchment between layers, or freeze for up to 2 months and thaw in the fridge before serving.