
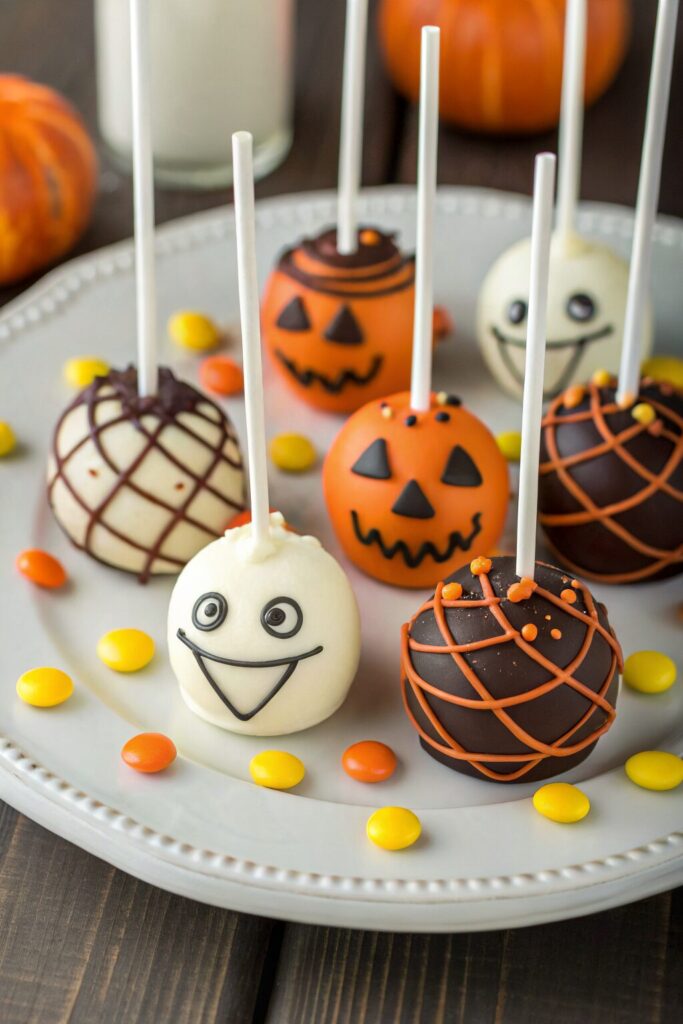
Halloween Cake Pops Recipe tastes like a bite of moist chocolate birthday cake wrapped in creamy frosting and dipped in a crisp candy shell. It works perfectly for busy parents, party hosts, and Halloween fanatics who want a fun dessert in about 1 hour of active time. I still find candy melts on my kitchen floor every November, so you’re in good company here.
Why You Should Try This Halloween Cake Pops Recipe
These Halloween cake pops hit that sweet spot between cute and spooky, so kids love them and adults sneak seconds. You get soft cake, rich frosting, and a chocolatey coating in one perfect bite that disappears way too fast.
You can prep them ahead, decorate them with the kids, and serve them at parties without plates or forks. Cleanup stays simple, and you can customize the decorations for ghosts, pumpkins, mummies, or whatever your haunted heart wants.
“These Halloween cake pops vanished from the dessert table faster than the candy bowl, and everyone asked for the recipe. ★★★★★”
Ingredients You’ll Need
Cake & Frosting Base
You can use homemade cake and frosting or pantry shortcuts. I usually grab a boxed mix on busy weeks and save my energy for decorating.
- 1 box chocolate cake mix (15.25 oz), plus ingredients listed on the box
- Any major brand works fine. Use devil’s food if you want a deeper chocolate flavor.
- 1/2 to 3/4 cup canned chocolate frosting
- Start with 1/2 cup and add more only if the mixture feels dry.
- You can use vanilla frosting if you want lighter colored insides.
- Pinch of salt
- This keeps the pops from tasting too sweet.
Candy Coating & Decorations
- 2 cups orange candy melts
- 2 cups white candy melts
- 2 cups black candy melts or black chocolate wafers
- Use good quality candy melts so they melt smoothly. Cheaper brands can clump.
- 2 tablespoons refined coconut oil or vegetable shortening
- This thins the candy coating and makes dipping easier.
- Candy eyeballs
- Halloween sprinkles (bats, bones, orange and black jimmies, etc.)
- Black and red gel icing pens
- Mini chocolate chips (for tiny noses or ears)
- Crushed chocolate cookies (for “dirt” or graveyard pops)
Equipment
- 1 large mixing bowl
- 1 baking sheet
- Parchment paper or silicone baking mat
- 30 to 40 lollipop sticks (6 inch)
- 2 to 3 microwave safe bowls
- Styrofoam block or a cardboard box with holes poked in it
- This holds the pops upright while they set.
- Small spoons and toothpicks for decorating
- Cooling rack
- Measuring cups and spoons
Tips & Tricks
- Bake the cake one day ahead so it cools fully and crumbles more easily.
- Crumble the cake very finely so the pops hold their shape without cracks.
- Add frosting a little at a time so the mixture feels like soft playdough, not sticky batter.
- Chill the cake balls until firm so they stay on the sticks during dipping.
- Dip the tip of each stick in melted candy before inserting it into the cake ball to glue it in.
- Keep candy melts warm and fluid by microwaving in short bursts and stirring often.
- If the coating looks too thick, stir in 1 teaspoon of coconut oil at a time until it flows smoothly.
- Decorate while the coating still feels tacky so sprinkles and eyeballs stick.
- Use a gentle swirling motion when dipping instead of stirring, which can pull the cake off the stick.
- Work in small batches so the cake balls stay chilled and the coating stays smooth.
How to Make Halloween Cake Pops Recipe
Step 1: Bake and Cool the Cake
- Preheat your oven according to the cake mix directions.
- Prepare the cake batter as the box instructs and pour it into a greased baking pan.
- Bake until a toothpick comes out clean, then place the pan on a cooling rack.
- Let the cake cool completely, at least 1 hour, so it does not melt the frosting.
Step 2: Crumble the Cake
- Once the cake cools, cut off any very browned edges if they feel dry.
- Break the cake into large chunks and place them in a big mixing bowl.
- Use clean hands to crumble the cake into very fine crumbs with no large pieces.
- Sprinkle in a pinch of salt and mix it through the crumbs.
Step 3: Mix in the Frosting
- Add 1/2 cup of frosting to the crumbs.
- Use your hands or a spatula to work the frosting into the crumbs until the mixture feels uniform.
- Squeeze a bit of the mixture in your hand; it should hold together without cracking or oozing.
- If it crumbles, add 1 to 2 tablespoons more frosting and test again.
Step 4: Shape the Cake Balls
- Line a baking sheet with parchment paper.
- Use a small cookie scoop or tablespoon to portion the mixture into even mounds.
- Roll each portion between your palms to form smooth balls about 1 to 1.25 inches wide.
- Place the balls on the lined baking sheet and chill them in the fridge for 30 to 45 minutes.
Step 5: Prep the Candy Coating
- Place orange candy melts in a microwave safe bowl.
- Microwave in 20 to 30 second bursts, stirring between each, until almost melted.
- Stir in 1 teaspoon of coconut oil and keep stirring until fully smooth and fluid.
- Repeat with white and black candy melts in separate bowls so you have three colors ready.
Step 6: Attach the Sticks
- Remove a few chilled cake balls from the fridge and keep the rest cold.
- Dip about 1/2 inch of a lollipop stick into the melted candy.
- Insert the dipped end into the center of a cake ball, about halfway through.
- Repeat with all the balls, then chill again for 15 minutes so the candy glue sets.
Step 7: Dip the Cake Pops
- Hold one cake pop by the stick and dip the ball straight down into the melted candy.
- Gently lift it out and tap the stick on the bowl edge while you rotate the pop so extra coating drips off.
- Keep the pop upside down while the coating settles into a smooth shell.
- Stick the pop upright in the Styrofoam block or box to set, and repeat with the rest.
Step 8: Decorate as Ghosts, Pumpkins, and Mummies
Ghost Cake Pops
- Use white coated pops as your base.
- While the coating still feels slightly tacky, press on two candy eyeballs.
- Use a black gel icing pen to draw a small oval mouth.
- Let them stand in the Styrofoam until fully set.
Pumpkin Cake Pops
- Use orange coated pops as your base.
- While still tacky, press a mini chocolate chip on top as a stem.
- Draw curved vertical lines with a slightly darker orange or brown gel icing to mimic pumpkin ridges.
- Add tiny green leaves with green icing if you want extra detail.
Mummy Cake Pops
- Start with white coated pops and let the first layer set.
- Place some white candy melts in a piping bag or zip bag and snip a tiny corner.
- Pipe thin zigzag lines across the pop to look like bandages.
- Add two candy eyeballs peeking out between the lines.
Step 9: Add Extra Spooky Details
- Dip some pops in black candy melts and sprinkle crushed chocolate cookies on top for a graveyard look.
- Press bone or bat sprinkles into still tacky coating for extra Halloween drama.
- Use red gel icing to add tiny “blood” drips on a few pops if your crowd enjoys spooky treats.
- Let all decorated pops stand until the coating feels completely firm, about 20 to 30 minutes.
What to Serve with Halloween Cake Pops Recipe
These Halloween cake pops pair nicely with hot chocolate, apple cider, or a big pitcher of fruit punch. You can set them on a dessert board with caramel apples, candy corn, and chocolate covered pretzels. Kids love a hot cocoa bar with marshmallows, whipped cream, and sprinkles next to a stand of cake pops. Add some sliced fresh fruit like apples, strawberries, and grapes to balance all that sugar.
Storage Options
- Store finished cake pops at room temperature in an airtight container for up to 2 days if your kitchen stays cool.
- Keep them in the fridge for 5 to 7 days; place them upright in a container so the decorations stay intact.
- Freeze undecorated cake balls on a baking sheet, then move them to a freezer bag for up to 2 months.
- Thaw frozen cake balls in the fridge overnight before dipping so condensation does not ruin the coating.
- If the coating loses its shine, chill the pops briefly and serve them slightly cold, which keeps the texture crisp.
Halloween Cake Pops Recipe
Ingredients
Instructions
- Preheat your oven according to the chocolate cake mix directions.
- Prepare the cake batter as the box instructs and pour it into a greased baking pan.
- Bake until a toothpick inserted in the center comes out clean, then place the pan on a cooling rack.
- Let the cake cool completely, at least 1 hour, so it does not melt the frosting.
- Once the cake is completely cool, trim off any very browned or dry edges if needed.
- Break the cake into large chunks and place them in a large mixing bowl.
- Use clean hands to crumble the cake into very fine crumbs with no large pieces remaining.
- Sprinkle in a pinch of salt and mix it evenly through the crumbs.
- Add 1/2 cup of canned chocolate frosting to the cake crumbs.
- Use your hands or a spatula to work the frosting into the crumbs until the mixture feels uniform and moist.
- Squeeze a bit of the mixture in your hand; it should hold together without cracking or oozing.
- If it crumbles, add 1 to 2 tablespoons more frosting at a time until the texture feels like soft playdough.
- Line a baking sheet with parchment paper.
- Use a small cookie scoop or tablespoon to portion the mixture into even mounds.
- Roll each portion between your palms to form smooth balls about 1 to 1 1/4 inches wide.
- Place the cake balls on the lined baking sheet and chill them in the refrigerator for 30 to 45 minutes, or until firm.
- Place the orange candy melts in a microwave-safe bowl.
- Microwave in 20 to 30 second bursts, stirring between each, until almost melted.
- Stir in about 1 teaspoon of coconut oil or shortening until the coating is fully smooth and fluid.
- Repeat with the white and black candy melts in separate bowls so you have three colors ready for dipping.
- Remove a few chilled cake balls from the fridge at a time, keeping the rest cold.
- Dip about 1/2 inch of a lollipop stick into the melted candy coating.
- Insert the dipped end of the stick into the center of a cake ball, pushing it about halfway through.
- Repeat with all the cake balls, then chill again for about 15 minutes so the candy “glue” sets.
- Hold one cake pop by the stick and dip the cake ball straight down into the melted candy coating.
- Gently lift it out and tap the stick on the edge of the bowl while rotating the pop so excess coating drips off.
- Keep the pop upside down for a moment so the coating settles into a smooth shell.
- Place the stick upright in a Styrofoam block or a box with holes so the pop can stand and set. Repeat with the remaining pops.
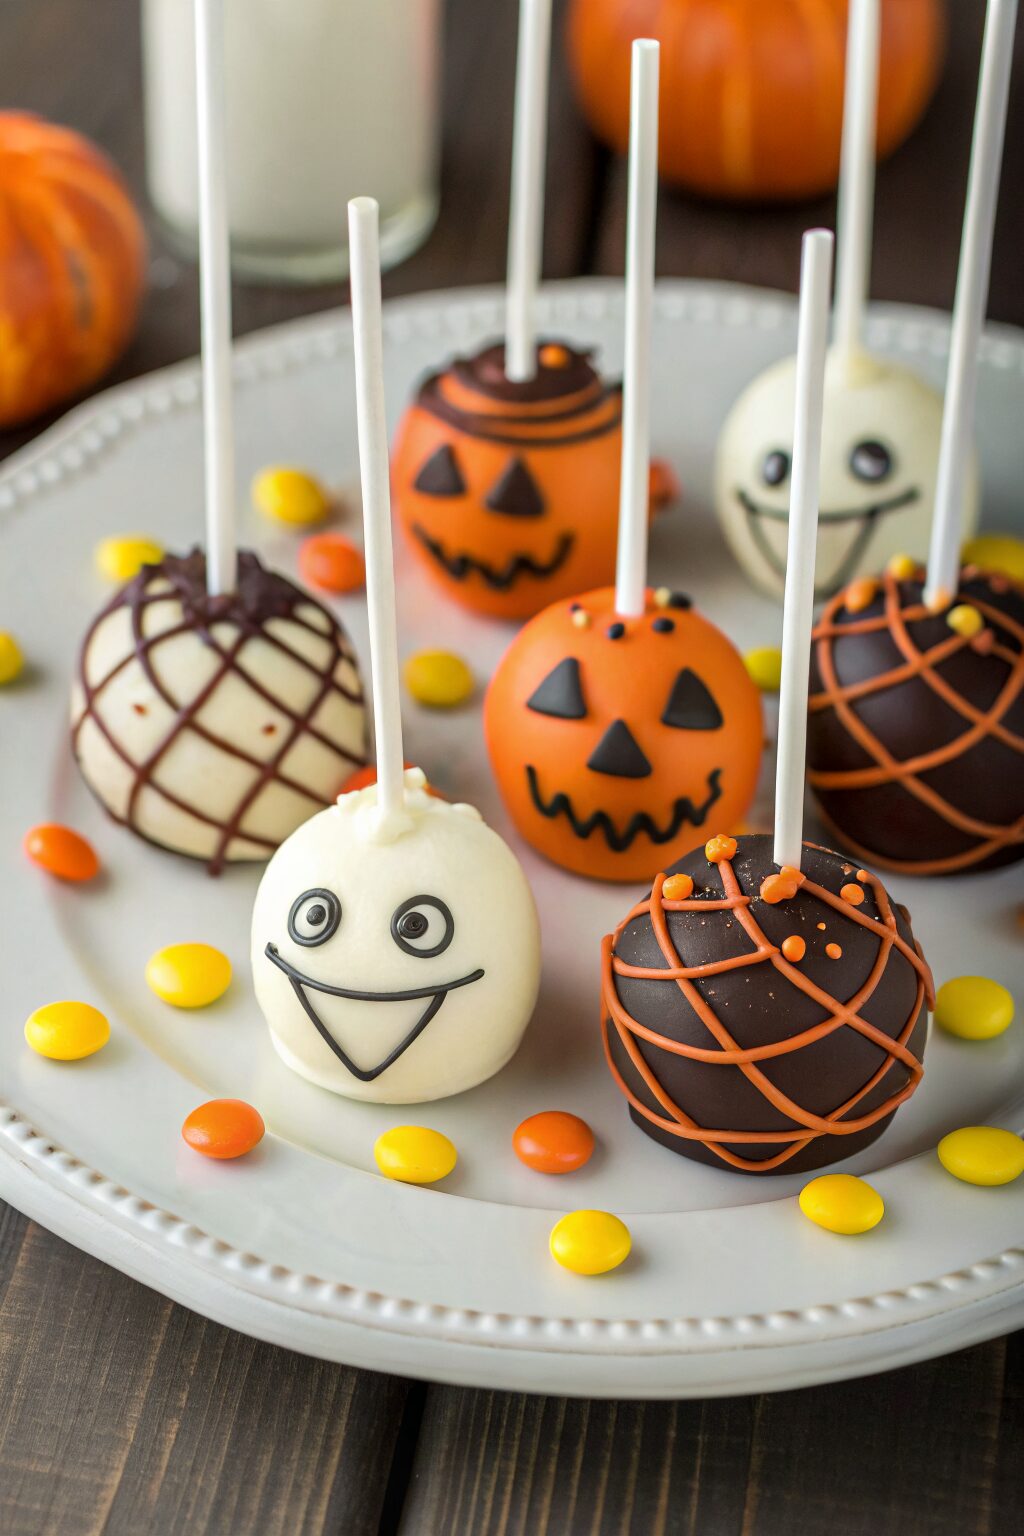
- For Ghost Cake Pops: Use white-coated pops as the base. While the coating is still slightly tacky, press on two candy eyeballs, then use black gel icing to draw a small oval mouth. Let them stand until fully set.
- For Pumpkin Cake Pops: Use orange-coated pops as the base. While still tacky, press a mini chocolate chip on top as a stem. Draw curved vertical lines with darker orange or brown icing to mimic pumpkin ridges, and add tiny green leaves if desired.
- For Mummy Cake Pops: Start with white-coated pops and let the first layer set. Melt a small amount of white candy melts, place in a piping bag or zip-top bag, and snip a tiny corner. Pipe thin zigzag lines across each pop to look like bandages, then add two candy eyeballs peeking out between the lines.
- Dip some pops in black candy melts and sprinkle crushed chocolate cookies on top for a graveyard effect.
- Press bone or bat sprinkles into the still-tacky coating for extra Halloween decoration.
- Use red gel icing to add small “blood” drips on a few pops if you like spooky treats.
- Let all decorated cake pops stand until the coating is completely firm, about 20 to 30 minutes.
Notes
Approximate for 1 cake pop (about 1 of 30): 160–190 calories; fat 8–10 g; saturated fat 4–6 g; carbohydrates 22–26 g; fiber 1 g; sugars 16–20 g; protein 2–3 g; sodium 150–230 mg. Values will vary based on cake mix, frosting, candy melt brands, decorations, and exact size of each pop.
Leave a Reply