
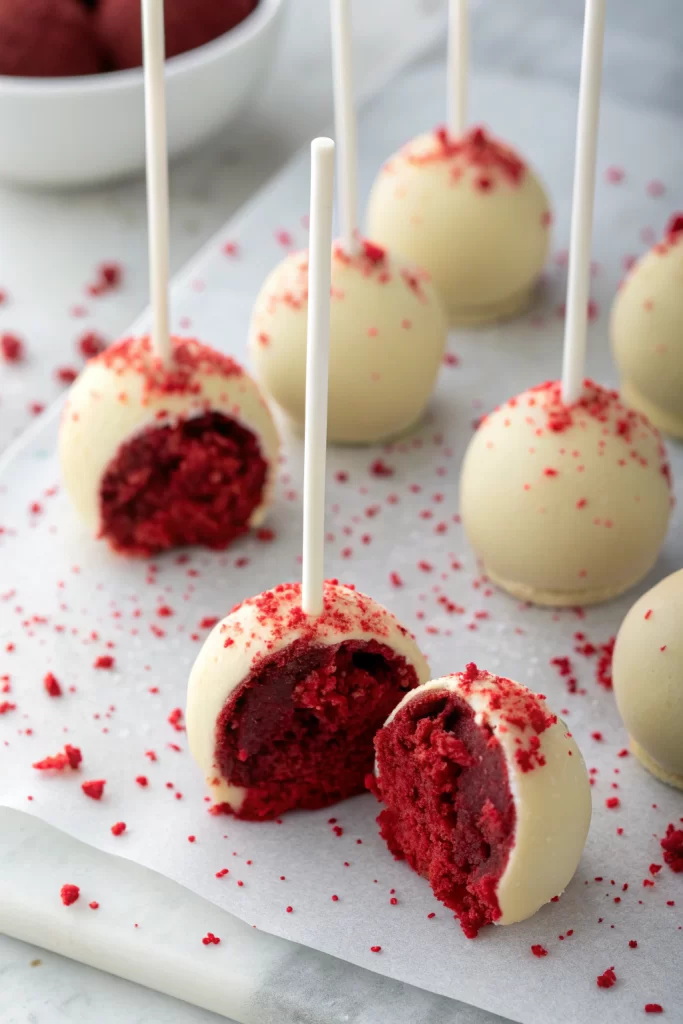
Red Velvet Cake Pops Recipe delivers rich cocoa flavor, tangy cream cheese frosting, and a crisp chocolate shell in one perfect bite, and it comes together in about 1 hour with store-bought shortcuts. This dessert works for parties, bake sales, holidays, or anytime you want red velvet without baking and frosting a whole cake. I still remember hiding a few of these in the back of my fridge so my kids didn’t eat the entire batch before I could photograph them.
Why Red Velvet Cake Pops Recipe Is Worth It
Red velvet cake pops pack all the flavor of classic red velvet cake into a portable, mess-free treat. You get moist, tender cake, creamy tang from the frosting, and a snappy chocolate coating in every bite. They look fancy on a dessert table, yet the method stays simple enough for beginners.
You can use a boxed red velvet cake mix and canned cream cheese frosting, or go fully from scratch if you feel extra. The recipe scales easily, so you can make a small batch for movie night or a big batch for parties and holidays. Kids love decorating them with sprinkles, and adults appreciate that one pop hits the sweet spot without feeling heavy.
“These red velvet cake pops disappeared from our party table in minutes. The centers tasted soft and rich, the chocolate shell snapped perfectly, and everyone asked where we ordered them from. Nobody believed I made them in my own kitchen with a cake mix and a bag of candy melts.”
Ingredients You Need
Cake & Frosting
- 1 box red velvet cake mix (about 15.25 oz)
- Any major brand works; choose one labeled “moist” for best texture.
- Ingredients listed on the cake mix box
- Usually eggs, oil, and water or milk.
- 1/2 to 3/4 cup cream cheese frosting
- Use canned frosting for speed, or homemade if you prefer stronger cream cheese flavor.
- Start with 1/2 cup and add more only if the mixture feels dry.
Coating & Decorations
- 12 oz red candy melts or red-colored vanilla melting wafers
- Candy melts coat more smoothly than regular chocolate chips.
- 8 oz white candy melts or white almond bark
- Use this for drizzle or a second color.
- 1–2 tablespoons refined coconut oil or vegetable shortening
- Helps thin the coating for smoother dipping.
- Sprinkles, sanding sugar, or crushed freeze-dried berries
- Choose colors that match your event or holiday.
Equipment
- 9×13-inch baking pan (or similar size)
- Large mixing bowl
- Forks or clean hands for crumbling cake
- Measuring cups and spoons
- Cookie scoop (1 tablespoon or 1.5 tablespoon size)
- Baking sheet lined with parchment paper
- Lollipop sticks (about 6-inch length)
- Microwave-safe bowls for melting candy
- Styrofoam block or a cardboard box with holes
- This holds the pops upright while the coating sets.
Pantry Shortcuts & Notes
- Use pre-baked bakery red velvet cake if you have leftovers; just skip the baking step.
- Swap cream cheese frosting with vanilla frosting plus a teaspoon of lemon juice for a similar tang.
- Use chocolate melting wafers instead of red if you prefer a chocolate shell with red sprinkles.
Quick Tips & substitutions
- Chill the rolled cake balls for at least 20–30 minutes so they hold their shape on the sticks.
- Use only enough frosting to bind the crumbs; stop when the mixture feels like soft cookie dough.
- Add 1–2 teaspoons of milk if the mixture feels too dry and crumbly, even after adding frosting.
- Thin thick candy melts with 1 teaspoon of coconut oil at a time until the coating flows smoothly.
- Dip the tip of each lollipop stick into melted coating before inserting it into a cake ball to anchor it.
- Keep half the cake balls in the fridge while you dip the other half so they stay firm.
- Use gluten-free red velvet cake mix and gluten-free frosting for a gluten-free version.
- Swap dairy ingredients with vegan cake mix, plant-based milk, and vegan cream cheese frosting for a dairy-free option.
How to Make Red Velvet Cake Pops Recipe
Step 1: Bake the Red Velvet Cake
Preheat your oven to the temperature on the cake mix box. Grease a 9×13-inch pan or line it with parchment for easy cleanup. Mix the red velvet cake batter according to the package directions, then spread it evenly in the pan. Bake until a toothpick in the center comes out clean, then cool the cake completely.
Step 2: Crumble the Cake
Once the cake cools, cut it into large chunks and place them in a big mixing bowl. Use clean hands or a fork to break the cake into fine, even crumbs. Rub any larger pieces between your fingers so the texture stays uniform. This step helps the frosting mix in smoothly and prevents lumps.
Step 3: Mix with Frosting
Add 1/2 cup cream cheese frosting to the crumbs. Use your hands or a sturdy spatula to work the frosting into the crumbs until the mixture feels like soft, moldable dough. Squeeze a bit in your hand; it should hold together without cracking or feeling wet. Add a tablespoon or two more frosting only if the mixture feels dry and crumbly.
Step 4: Shape the Cake Balls
Use a small cookie scoop to portion the mixture into even balls, about 1 to 1.5 tablespoons each. Roll each portion between your palms until smooth and round. Place the balls on a parchment-lined baking sheet, leaving a little space between them. Chill the tray in the fridge for 20–30 minutes, or in the freezer for 10–15 minutes.
Step 5: Prep the Coating and Sticks
Place red candy melts in a microwave-safe bowl. Microwave in 20–30 second bursts, stirring after each, until the candy melts almost completely. Stir until smooth, then mix in 1–2 teaspoons of coconut oil if the coating looks thick. You want a texture similar to warm honey, not frosting.
Dip about 1/2 inch of each lollipop stick into the melted coating. Insert the dipped end into the center of a chilled cake ball, about halfway through. The small ring of coating at the base of the stick helps secure the ball. Chill the pops for another 10 minutes so the coating at the base sets firmly.
Step 6: Dip the Cake Pops
Rewarm the coating briefly if it thickened, stirring until smooth again. Hold a cake pop by the stick and dip the ball straight down into the melted coating, then lift it out and gently tap the stick on the edge of the bowl. Rotate the stick as you tap so excess coating drips off evenly. Aim for a thin, even shell so it sets quickly and stays smooth.
Stick the dipped pop upright into a Styrofoam block or a cardboard box with small holes. Add sprinkles right away while the coating still feels wet. Repeat with the remaining pops, reheating and thinning the coating as needed. Work in small batches so the coating stays fluid and the pops stay chilled.
Step 7: Add Drizzles and Decorations
Melt the white candy melts in a separate bowl using the same short-burst method. Transfer the melted white coating to a small piping bag or a zip-top bag with a tiny corner snipped off. Drizzle over the set red pops in quick zigzags or circles. Add extra sprinkles or crushed freeze-dried berries if you want more texture and color.
Let the decorated pops stand at room temperature until the coating hardens completely. This usually takes 10–15 minutes, depending on your kitchen temperature. Once set, arrange them on a platter, in jars filled with sugar, or in a cake pop stand. Step back and admire your work before everyone devours them.
Recipe Variations
- Gluten-free: Use gluten-free red velvet cake mix and gluten-free frosting; check candy melts for gluten-free labeling.
- Vegan: Choose vegan red velvet cake mix, plant-based milk, neutral oil, and vegan cream cheese frosting; use dairy-free candy melts.
- Low sugar: Use sugar-free cake mix and reduced-sugar frosting, then coat with sugar-free chocolate melts.
- Chocolate shell twist: Use dark or milk chocolate melting wafers instead of red candy melts, then finish with red sprinkles.
- Stuffed centers: Press a mini marshmallow, chocolate chip cluster, or tiny caramel square into the center of each ball before rolling.
- Flavor boost: Add 1 teaspoon vanilla extract or a few drops of butter flavor to the cake mixture for extra depth.
Ways to Serve Red Velvet Cake Pops Recipe
- Arrange them upright in a foam block wrapped with gift paper for party tables.
- Pack them individually in treat bags with ribbons for party favors or bake sales.
- Serve them on a dessert board with mini brownies, cookies, and fruit.
- Add them to holiday dessert boxes alongside fudge and truffles.
- Bring them to school events or office gatherings as an easy, shareable dessert.
Storage Success
Store red velvet cake pops in an airtight container at room temperature for up to 3 days if your kitchen stays cool. If your home runs warm or you used a lot of cream cheese frosting, keep them in the fridge for up to 5 days. Let chilled pops sit at room temperature for 10–15 minutes before serving so the centers soften. Freeze undipped cake balls for up to 2 months, then thaw in the fridge and dip when you need a quick dessert.
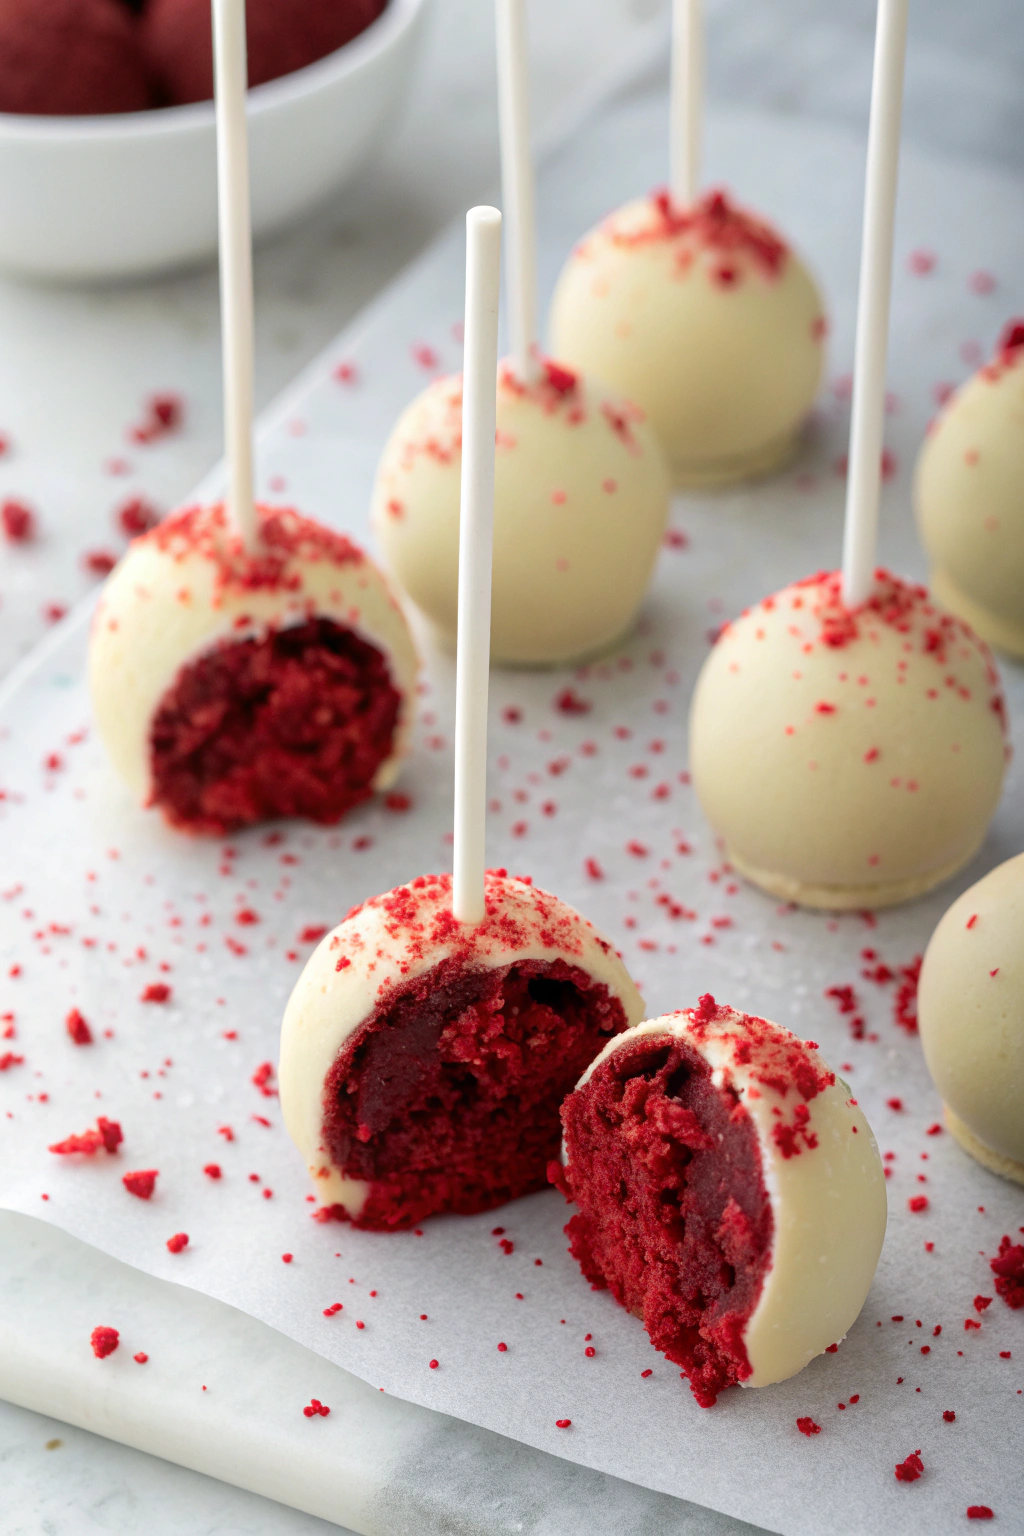
Red Velvet Cake Pops Recipe
Ingredients
Instructions
- Preheat the oven to 350°F (175°C). Grease and line an 8x8-inch baking pan with parchment paper.
- In a medium bowl, whisk together flour, cocoa powder, baking soda, and salt.
- In a large bowl, whisk sugar, buttermilk, vegetable oil, egg, vanilla, vinegar, and red food coloring until smooth.
- Add the dry ingredients to the wet ingredients and mix just until combined.
- Pour the batter into the prepared pan and bake for 22–28 minutes, or until a toothpick inserted in the center comes out clean.
- Allow the cake to cool completely in the pan on a wire rack.
- In a medium bowl, beat the cream cheese and butter together until smooth and creamy.
- Add powdered sugar and vanilla and beat until smooth. Set aside.
- Once the cake is completely cool, crumble it into a large bowl using your hands until you have fine crumbs.
- Add frosting a few spoonfuls at a time, mixing with your hands until the mixture holds together like a soft dough when pressed. You may not need all of the frosting.
- Line a baking sheet with parchment paper.
- Scoop out about 1 tablespoon of the cake mixture and roll it into a smooth ball. Place on the prepared baking sheet.
- Repeat with the remaining mixture to make about 24 cake balls.
- Chill the cake balls in the refrigerator for at least 1 hour, or in the freezer for 20–30 minutes, until firm.
- Melt the candy melts or white chocolate according to package directions, adding shortening or coconut oil if needed for a thinner, smoother consistency.
- Dip the tip of a lollipop stick about 1/2 inch into the melted coating, then insert it halfway into a chilled cake ball. Repeat with remaining sticks and cake balls.
- Return the cake pops to the refrigerator for 10–15 minutes to set the sticks.
- Holding a cake pop by the stick, dip it fully into the melted coating, gently tapping off the excess while turning the stick for an even layer.
- Immediately add sprinkles if using, then place the cake pop upright in a styrofoam block or a stand to set.
- Repeat with remaining cake pops, reheating or thinning the coating as needed. Allow to set completely at room temperature before serving.
Notes
Approximate per 1 cake pop (1/24 of recipe): 150 calories; fat 8 g; saturated fat 4 g; carbohydrates 18 g; fiber 0 g; sugars 14 g; protein 2 g; sodium 95 mg. Values are estimates and will vary based on exact ingredients, coatings, and portion size.
Leave a Reply