
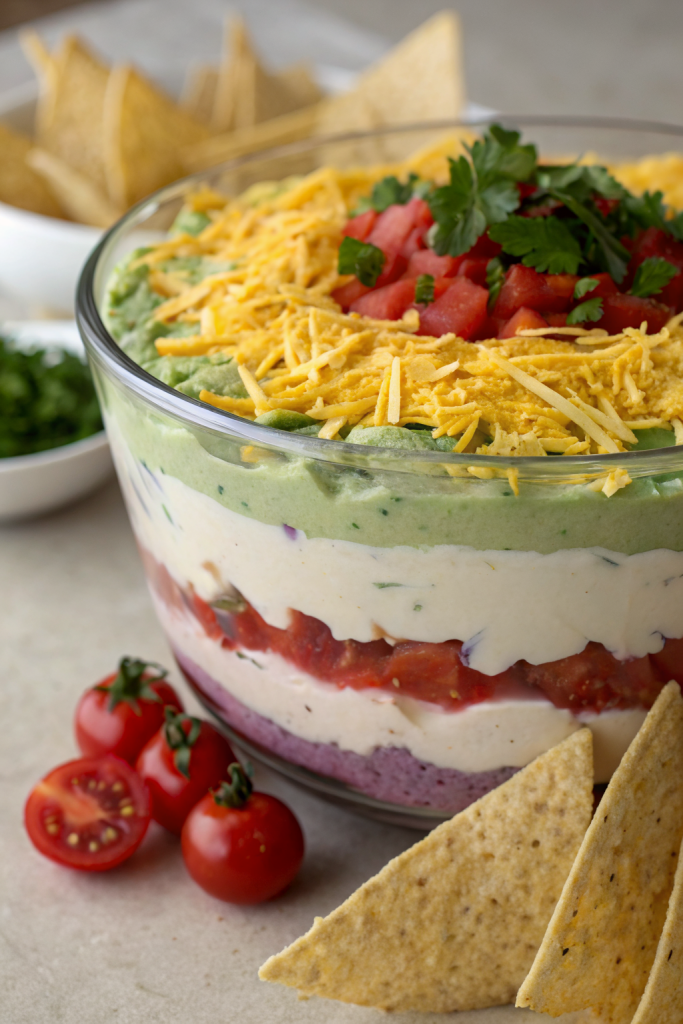
Taco Dip with Salsa tastes like a loaded taco party in a bowl: creamy, cheesy, zesty, and a little bit spicy if you want it that way. It works perfectly for busy families, game day snackers, and anyone who wants a crowd-pleasing appetizer on the table in about 20 minutes. I have made some version of this taco dip since college, and my friends still text me for the “original” recipe every football season.
Why You Should Try This Taco Dip with Salsa
This layered taco dip with salsa hits all the best textures at once: cool and creamy, chunky and fresh, plus a little crunch from toppings. You get classic taco flavor without standing over a skillet filling shells.
It also scales easily, so you can feed two people on the couch or a whole party without extra stress. You can keep it mild for kids or crank up the heat with spicy salsa and jalapeños for the spice lovers.
“This taco dip with salsa disappeared in 10 minutes at our party, and people scraped the dish clean for the last scoop. ★★★★★”
Ingredients You’ll Need
Base layer
- 8 ounces cream cheese, softened
- Use full-fat for the richest flavor. Whipped cream cheese spreads easier if you feel impatient.
- 1 cup sour cream
- Greek yogurt works if you want extra protein and a little tang.
- 2 tablespoons taco seasoning
- Use a packet or 2 tablespoons of homemade seasoning. Choose low-sodium if your salsa tastes salty.
- 1 teaspoon lime juice
- Bottled lime juice works fine, but fresh lime tastes brighter.
Salsa and veggie layer
- 1 to 1½ cups thick salsa
- Choose a chunky salsa so the dip does not turn watery. I like a restaurant-style jarred salsa or fresh deli salsa.
- Mild, medium, or hot all work. Match the heat to your crowd.
- 1 cup shredded lettuce
- Use iceberg or romaine for crunch. Bagged shredded lettuce saves time.
- 1 cup diced tomatoes
- Roma or grape tomatoes hold their shape well and do not water out as quickly.
- ¼ cup finely diced red onion
- Green onions also work if you want a milder bite.
Cheese and toppings
- 1½ cups shredded cheddar or Mexican blend cheese
- Pre-shredded cheese works fine here and saves time.
- ½ cup sliced black olives
- Skip if your people hate olives, or swap with extra jalapeños.
- ¼ cup pickled jalapeño slices, chopped
- Use fresh jalapeños if you like more crunch and heat.
- ¼ cup chopped fresh cilantro
- If cilantro tastes soapy to you, use chopped parsley or skip it.
Optional protein layer
You can keep this taco dip with salsa vegetarian or add a hearty layer.
- ½ to 1 pound ground beef, turkey, or plant-based crumbles
- Brown in a skillet with 1 tablespoon taco seasoning and a splash of water. Let it cool before layering.
- ½ cup refried beans or black beans, drained and rinsed
- Canned beans keep this quick and budget friendly.
Equipment
- 8×8 or 9×9 inch baking dish, or a shallow pie dish
- Medium mixing bowl
- Hand mixer or sturdy spatula
- Cutting board and knife
- Measuring cups and spoons
- Spoon or offset spatula for spreading layers
- Plastic wrap or lid for chilling and storage
Tips & Tricks
- Soften cream cheese fully so it mixes smooth with sour cream and taco seasoning.
- Use thick salsa or drain extra liquid through a fine strainer to avoid a watery dip.
- Chill the cream cheese layer for 10 to 15 minutes before adding salsa if you want super clean layers.
- Cool any cooked meat completely so it does not melt the cream cheese base.
- Layer lettuce and tomatoes close to serving time to keep them crisp.
- Keep the heat level flexible with mild salsa in the dip and extra jalapeños on the side.
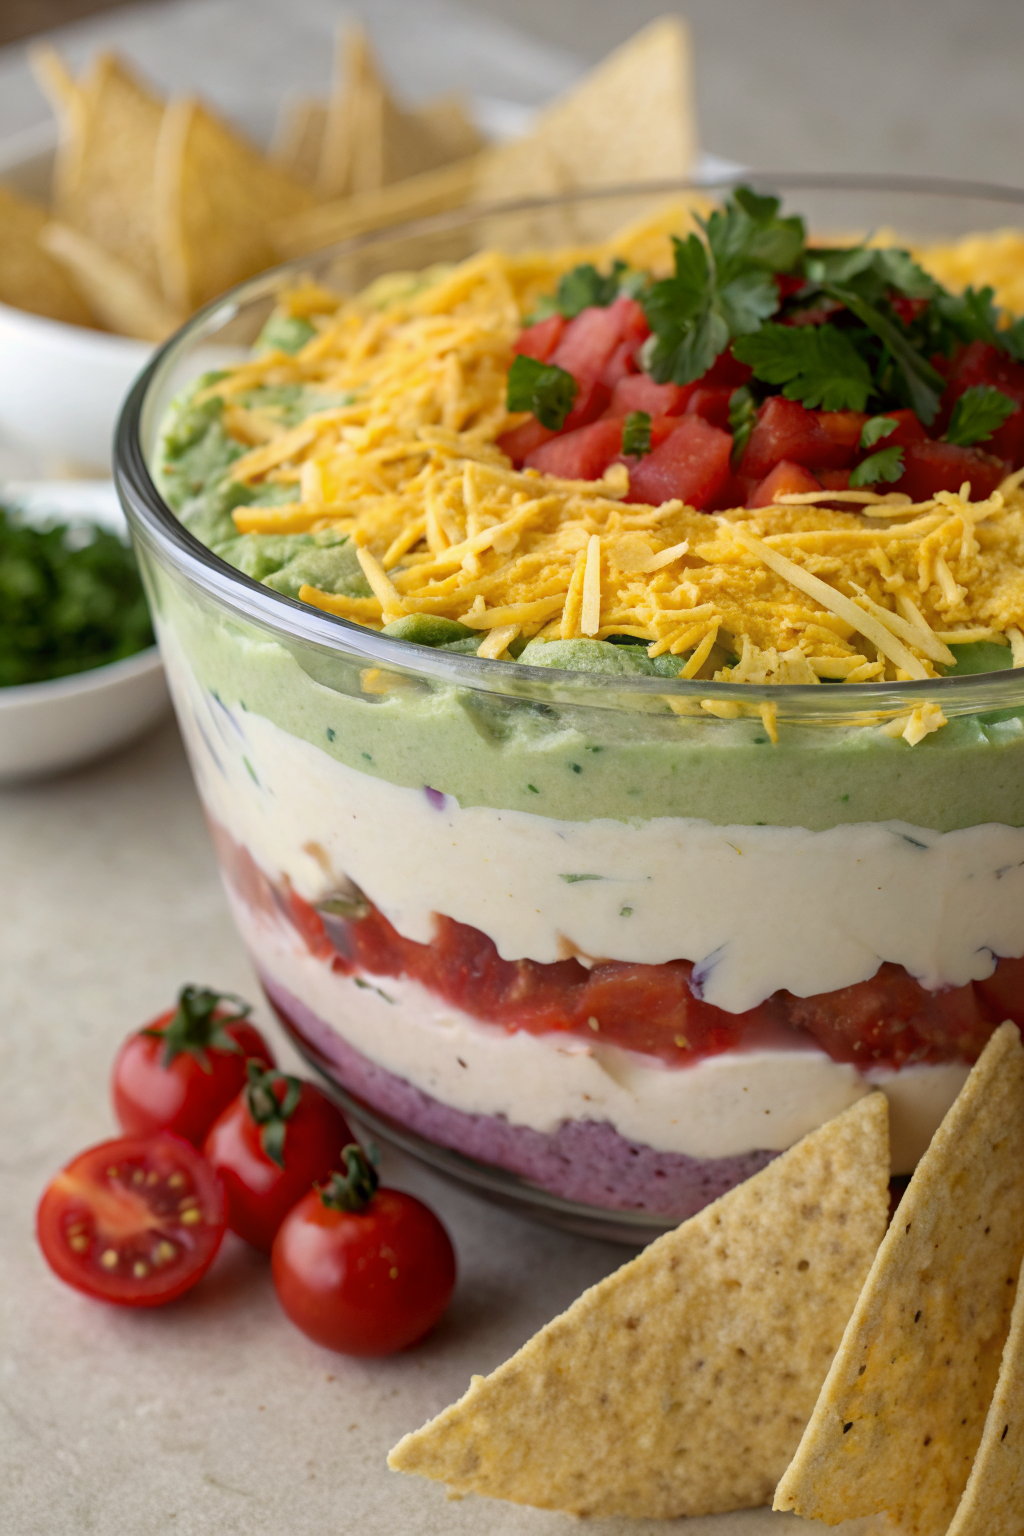
- Use a clear glass dish so guests can see the layers, which always impresses people more than it should.
- Serve with sturdy tortilla chips so they do not break under the weight of the dip.
- Double the recipe in a 9×13 pan for parties and potlucks.
- Stir leftover taco dip with salsa into cooked pasta or rice for a quick next-day lunch.
How to Make Taco Dip with Salsa
Mix the creamy taco base
- Add softened cream cheese, sour cream, taco seasoning, and lime juice to a medium bowl.
- Beat with a hand mixer or stir with a spatula until the mixture turns smooth and fluffy.
- Taste and adjust with a pinch of salt or extra taco seasoning if you want stronger flavor.
Spread the first layer
- Spoon the creamy taco mixture into your serving dish.
- Spread it into an even layer, pushing it all the way to the edges.
- Chill the dish in the fridge for about 10 minutes while you prep toppings, especially if your kitchen feels warm.
Add beans and meat (optional)
- If you use refried beans, spread a thin layer over the chilled cream cheese mixture.
- If you use black beans, scatter them evenly over the surface.
- Sprinkle cooled, seasoned ground beef or turkey over the beans in an even layer.
Spoon on the salsa
- Gently spoon salsa over the top of the previous layer.
- Spread it carefully so you do not drag the cream cheese or beans into the salsa.
- Use just enough salsa to cover the surface without flooding it, usually about 1 to 1½ cups.
Add cheese and fresh toppings
- Sprinkle shredded cheese evenly over the salsa layer.
- Top with shredded lettuce, then tomatoes, then red onion.
- Scatter olives, jalapeños, and cilantro over the top so every scoop gets a little bit of everything.
Chill and serve
- Cover the dish with plastic wrap and chill for at least 30 minutes so the flavors mingle.
- Serve the taco dip with salsa straight from the fridge with tortilla chips, veggie sticks, or crackers.
- Keep the dish on a bowl of ice at outdoor gatherings if the weather feels hot, and stir the edges back in occasionally so nothing dries out.
What to Serve with Taco Dip with Salsa
This taco dip with salsa pairs perfectly with sturdy tortilla chips, pita chips, or crunchy corn chips. Add carrot sticks, celery sticks, bell pepper strips, and cucumber rounds for a lighter option that still scoops well. You can round out the snack table with quesadillas, cheese nachos, or simple cheese and crackers. Offer cold drinks like sparkling water, lemonade, iced tea, or fruit punch to balance the spice.
Storage Options
- Cover leftovers tightly and store taco dip with salsa in the fridge for up to 3 days.
- Keep lettuce and tomatoes separate if you plan ahead, then add them fresh each time for best texture.
- Skip freezing this dip, since cream cheese and sour cream change texture and turn grainy after thawing.
- Eat leftovers cold, or warm small portions gently in the microwave until just warm and use them as a topping for rice, baked potatoes, or scrambled eggs.
Taco Dip with Salsa
Ingredients
Instructions
- Add softened cream cheese, sour cream, taco seasoning, and lime juice to a medium bowl.
- Beat with a hand mixer or stir with a spatula until the mixture is smooth and fluffy. Taste and adjust seasoning if desired.
- Spoon the creamy taco mixture into an 8x8- or 9x9-inch dish or shallow pie dish.
- Spread into an even layer all the way to the edges. Chill for about 10 minutes while you prep the toppings.
- If using refried beans, spread a thin layer over the chilled cream cheese mixture.
- If using black beans, scatter them evenly over the surface.
- Sprinkle cooled, seasoned ground beef, turkey, or plant-based crumbles over the beans in an even layer.
- Gently spoon the thick salsa over the top of the previous layer.
- Spread carefully so you do not disturb the cream cheese or bean layer, using just enough salsa to cover the surface.
- Sprinkle shredded cheese evenly over the salsa layer.
- Top with shredded lettuce, then tomatoes, then red onion.
- Scatter olives, jalapeños, and cilantro over the top so each scoop gets a bit of everything.
- Cover the dish with plastic wrap and chill for at least 30 minutes so the flavors blend.
- Serve straight from the fridge with sturdy tortilla chips, veggie sticks, or crackers.
Notes
Approximate per serving (about 1/12 of recipe, without optional meat or beans): 210 calories; fat 17 g; saturated fat 9 g; carbohydrates 7 g; fiber 1 g; sugars 3 g; protein 6 g; sodium 430 mg. Adding seasoned ground meat and beans will increase protein, calories, and sodium. Values will vary based on brands, optional toppings, and portion size.
Leave a Reply