
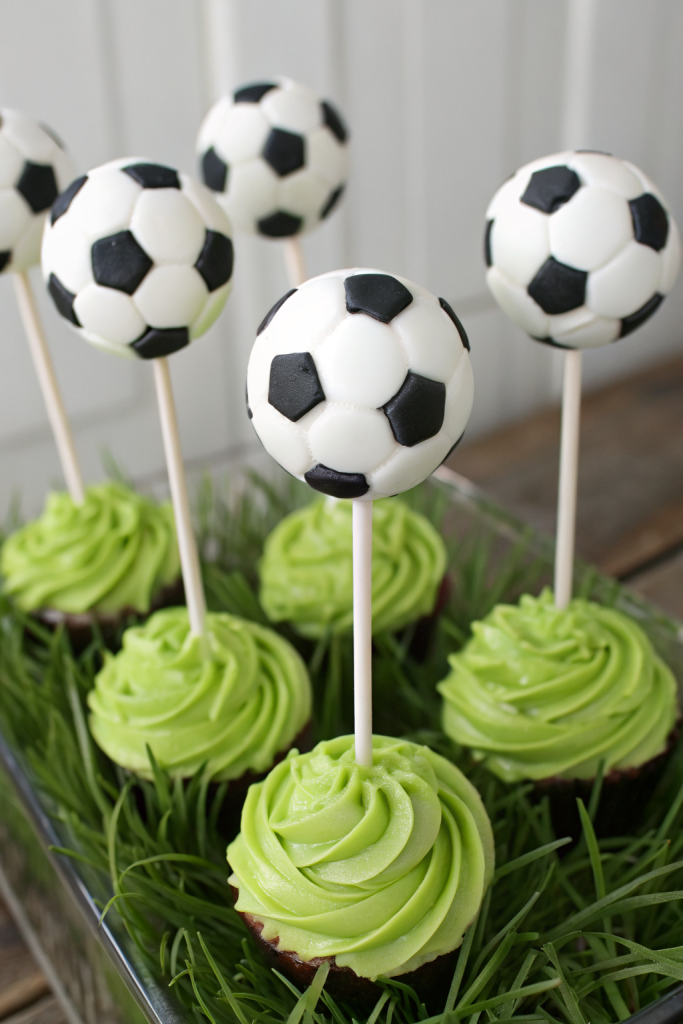
Soccer Cakepops Recipe tastes like a bite of birthday cake and frosting in one fudgy, chocolate-coated ball, perfect for game days or soccer-themed parties and ready in about 2 hours including chilling. This recipe works for busy parents, coaches, and anyone who wants a fun dessert that kids and adults both cheer for. I tested these for my nephew’s weekend tournament, and the tray disappeared faster than the orange slices at halftime.
Why Make This Soccer Cakepops Recipe at Home
Homemade soccer cakepops taste fresher, look cuter, and cost less than custom bakery orders. You control the sweetness, the cake flavor, and the chocolate quality, so every bite hits exactly how you like it.
You also decorate them to match team colors or favorite players. Kids love helping with the dipping and drizzling, and you walk into the party looking like the dessert MVP.
“These soccer cakepops vanished before kickoff and even the coach asked for the recipe. ★★★★★”
Ingredients You Need
Cake & Frosting Base
You can use homemade cake and frosting or pantry shortcuts like boxed mix and canned frosting. I often use a box mix on busy weeks and save my energy for decorating.
- 1 box vanilla, yellow, or chocolate cake mix (plus eggs, oil, and water listed on the box)
- 1 cup frosting, any flavor that matches your cake
- Great options: vanilla buttercream, chocolate frosting, or cream cheese frosting
- Canned frosting works well; I like Pillsbury or Betty Crocker for consistent texture
If you prefer scratch cake, use any standard 9×13 cake recipe. Bake it fully, cool it completely, then continue with the same steps.
Coating & Decoration
These ingredients turn simple cake balls into soccer cakepops. Use good quality coating so you get a smooth shell that sets firmly.
- 2 cups white candy melts or white chocolate wafers
- I like Ghirardelli melting wafers or Wilton candy melts
- 1 cup dark or black candy melts
- If you cannot find black, use dark chocolate and black gel food coloring
- 2 teaspoons refined coconut oil or vegetable shortening
- This thins the coating for smoother dipping
- Black edible food marker or black gel icing in a fine-tip piping bag
- Optional: green sanding sugar or shredded coconut tinted green for “grass”
Sticks & Support
- 30 to 36 lollipop sticks (6 inch works best)
- Large block of styrofoam or a cakepop stand
- Parchment paper or silicone baking mat
Equipment List
- 9×13 baking pan (if baking cake)
- Large mixing bowl
- Hand mixer or stand mixer (optional but helpful)
- Measuring cups and spoons
- Small microwave-safe bowls for melting candy
- Cookie scoop (1 tablespoon or 1.5 tablespoon size)
- Baking sheet
- Small offset spatula or spoon
- Toothpicks for touchups
Tips & Mistakes
- Roll cake balls tightly so they stay on the stick and do not crack.
- Chill the cake balls long enough; soft centers slide off the sticks during dipping.
- Dip the stick in melted coating before inserting so it “glues” into the cake ball.
- Keep the coating warm and fluid; thick coating causes rough, lumpy pops.
- Work in small batches; keep extra cake balls in the fridge while you dip a few at a time.
- Avoid adding too much frosting; stop when the mixture feels like moldable cookie dough, not mush.
- Do not rush the cooling time; let the coating set fully before drawing the soccer lines.
- Use a light touch with the edible marker or gel; heavy pressure cracks the coating.
- If cracks appear, patch them with a tiny bit of melted coating and smooth with a toothpick.
- Store them upright in a stand so they keep their round shape and clean design.
How to Make Soccer Cakepops Recipe
Step 1: Bake and Cool the Cake
Prepare the cake mix according to the package directions in a 9×13 pan. Bake until a toothpick comes out clean and the top springs back when you touch it. Let the cake cool completely at room temperature before you crumble it.
If you rush this step, the warm cake melts the frosting and turns the mixture soupy. Cool cake gives you that perfect truffle-like texture inside the soccer cakepops.
Step 2: Crumble the Cake
Once the cake cools, cut off any browned or very crisp edges. Those edges taste great but make the mixture chunky, so I usually snack on them while I work.
Crumble the soft center of the cake into a large bowl using clean hands. Aim for fine crumbs with no big chunks so the frosting mixes in evenly.
Step 3: Mix with Frosting
Add about 3/4 cup frosting to the crumbs and mix with a spoon or your hands. Check the texture and add more frosting a tablespoon at a time until the mixture feels like soft modeling clay.
You want it moist enough to hold shape but not sticky or greasy. If you add too much frosting, mix in a bit more cake crumb if you saved some.
Step 4: Shape the Cake Balls
Use a cookie scoop to portion the mixture into even balls, about 1 to 1.5 tablespoons each. Roll each portion between your palms until it looks smooth and round.
Place the balls on a parchment-lined baking sheet. You should get about 30 to 36 cake balls, depending on size.
Step 5: Chill the Cake Balls
Place the baking sheet in the fridge for at least 1 hour or in the freezer for 20 to 30 minutes. Chilled cake balls hold their shape better and make dipping easier.
I usually chill them while I clean up and set up the dipping station. Cold centers plus warm coating give you that crisp shell and soft interior.
Step 6: Attach the Sticks
Melt about 1/4 cup of the white candy melts in a small bowl with a tiny bit of coconut oil. Heat in 20 to 30 second bursts in the microwave and stir until smooth.
Dip the tip of each lollipop stick about 1/2 inch into the melted coating. Insert the coated tip into a chilled cake ball, about halfway through the center.
Repeat with all cake balls, then chill again for 10 to 15 minutes so the coating around the stick sets firmly. This step keeps the soccer cakepops from sliding off during dipping.
Step 7: Melt the White Coating
Place the remaining white candy melts in a microwave-safe bowl with 1 teaspoon coconut oil. Heat in short bursts, stirring between each, until the mixture turns smooth and fluid.
If the coating looks thick, stir in a tiny bit more coconut oil until it flows like warm syrup. Keep the bowl over a mug of hot water or reheat briefly as needed so it stays workable.
Step 8: Dip the Cakepops
Hold a cakepop by the stick and dip it straight down into the melted white coating. Submerge the ball completely, then lift it out and gently tap the stick on the side of the bowl while you rotate the pop.
Let the excess drip off so you get a thin, even shell. Stick the pop upright into the styrofoam block or stand so it can set without touching anything.
Repeat with all cakepops, reheating the coating as needed. Let them sit at room temperature until the white coating hardens and looks matte.
Step 9: Add Soccer Details
You have two options for the black soccer pattern: candy melts or edible marker / gel. I use candy melts when I want a bold, raised pattern and a marker when I want a quick, easy design.
Option A: Piped Candy Melts
Melt the black candy melts with a tiny bit of coconut oil until smooth. Transfer the melted candy to a piping bag fitted with a small round tip or use a zip-top bag with a tiny corner snipped off.
Pipe a small pentagon on the top center of the cakepop. Then pipe lines radiating from the corners of the pentagon down the sides and add smaller shapes between them to mimic a soccer ball pattern.
Option B: Edible Marker or Gel
If you use an edible marker, wait until the white coating sets completely. Draw a small black pentagon on top, then sketch lines and shapes around the ball.
If you use black gel icing, pipe thin lines and small pentagons with a fine tip. Work gently so you do not press too hard and crack the shell.
Step 10: Optional Grass Base
If you want a “field” look, dip the bottom of each soccer cakepop in a little extra white coating. Immediately dip or roll the base in green sanding sugar or green-tinted shredded coconut.
This gives each pop a grassy edge that looks great on a party platter. Kids usually eat that part first.
Step 11: Let Everything Set
Place all decorated cakepops back into the stand and let them sit until the black details dry and firm up. This usually takes 20 to 30 minutes at room temperature.
Once set, the soccer pattern stays clean and smudge free. At this point you can transfer them to treat bags or arrange them on a serving tray.
Variations I've Tried
- Chocolate lovers version: Use chocolate cake, chocolate frosting, and dip in white coating as usual. The dark interior looks striking when someone bites into the soccer cakepop.
- Funfetti soccer cakepops: Bake a funfetti cake mix and use vanilla frosting. The colorful sprinkles inside make a fun surprise for kids.
- Team color drizzle: After the white coating sets, drizzle colored candy melts in team colors over the top before you add the black soccer lines. This works well for school teams and birthday parties.
- Gluten free option: Use a gluten free cake mix and check that your candy melts and decorations list gluten free on the label. The texture stays very close to the classic version.
How to Serve Soccer Cakepops Recipe
Serve soccer cakepops at room temperature so the centers taste soft and fudgy and the coating has a pleasant snap. Arrange them upright in a cakepop stand, a foam block wrapped in tissue paper, or a small bucket filled with rice or beans. You can also wrap each pop in a small cellophane bag with a ribbon in team colors for party favors. Pair them with fruit trays, veggie sticks, and juice boxes for a kid-friendly snack table that looks like a mini concession stand.
How to store
- Room temperature: Keep decorated soccer cakepops at cool room temperature for up to 2 days in a stand or airtight container. Avoid direct sunlight or heat so the coating does not soften.
- Fridge: Store in an airtight container in the refrigerator for 5 to 7 days. Bring them out 20 minutes before serving so the centers soften slightly.
- Freezer: Freeze undecorated cake balls on a tray, then transfer to a freezer bag for up to 2 months. Thaw in the fridge, then dip and decorate as usual.
- Reheating / refreshing: You do not need to reheat cakepops, but if they come straight from the fridge, let them sit at room temperature until the centers lose the chill and taste tender again.
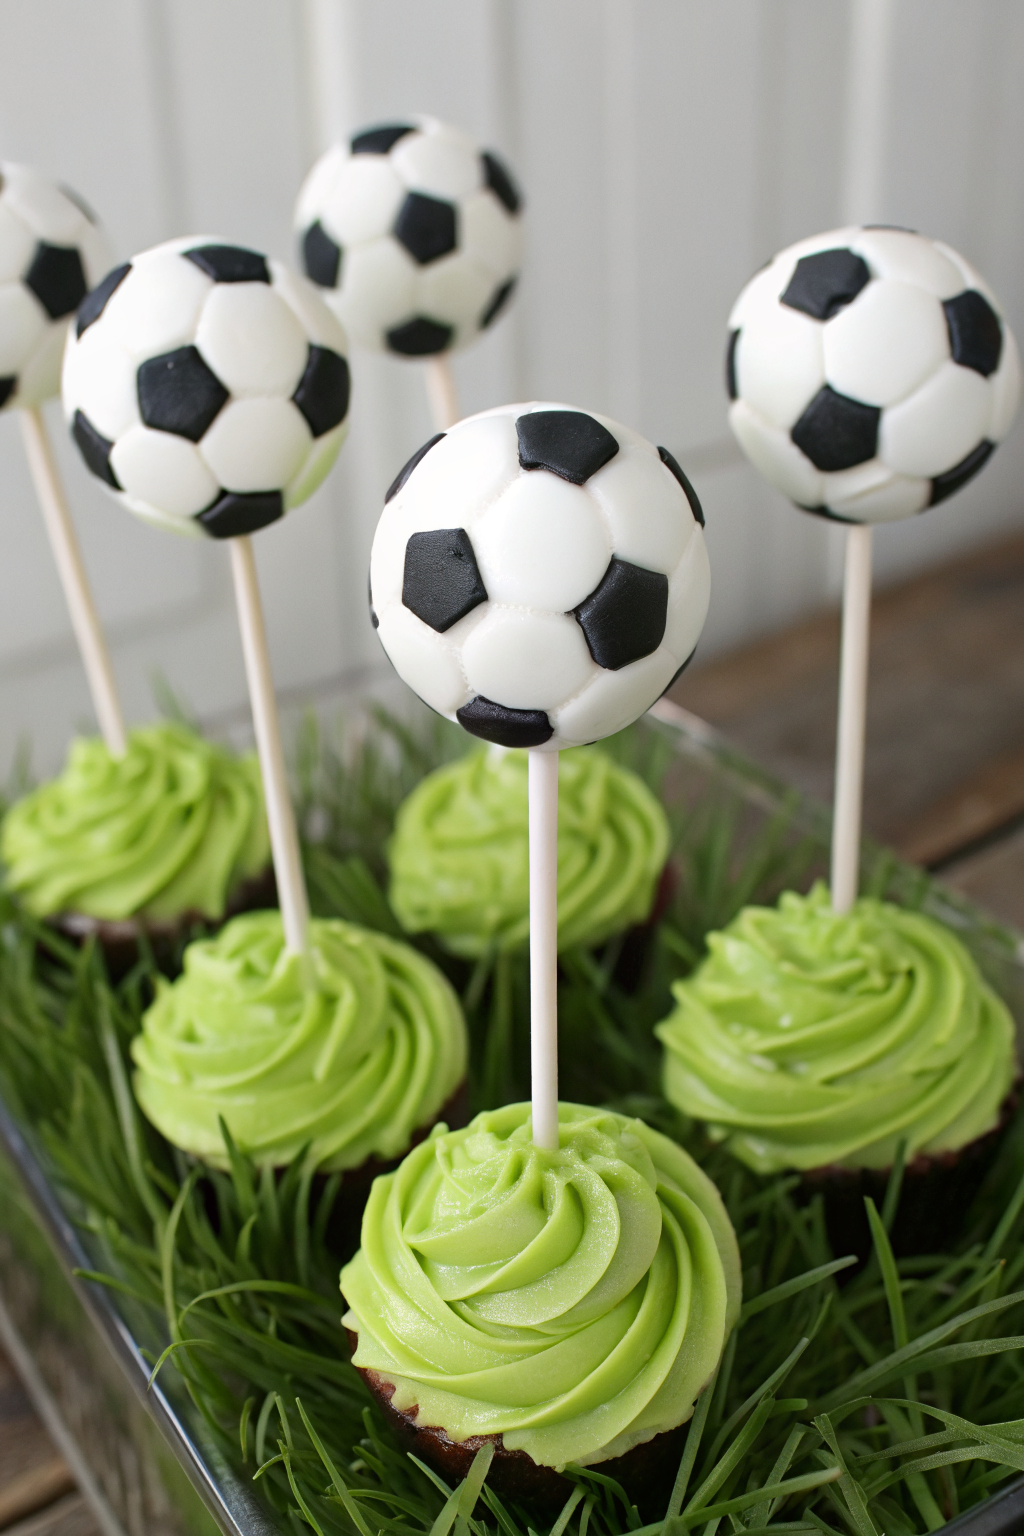
Soccer Cakepops Recipe
Ingredients
Instructions
- Preheat the oven and prepare the cake mix according to the package directions.
- Pour the batter into a greased baking pan and bake as directed until a toothpick inserted in the center comes out clean.
- Let the cake cool completely in the pan on a wire rack.
- Once the cake is completely cool, crumble it into a large mixing bowl using your hands or a fork.
- Add frosting a few spoonfuls at a time, mixing with your hands until the mixture holds together like a moist dough and can be rolled into balls. You may not need all of the frosting.
- Roll the mixture into 1-inch balls and place them on a parchment-lined baking sheet.
- Chill the cake balls in the refrigerator for at least 1 hour, or in the freezer for 20–30 minutes, until firm.
- Melt the white candy melts or white chocolate in a microwave-safe bowl in 20–30 second bursts, stirring between each, until smooth. If the coating is too thick, stir in vegetable shortening or coconut oil a little at a time until thin enough for dipping.
- Dip the tip of a lollipop stick into the melted coating, then insert it halfway into a chilled cake ball. Repeat with all cake balls.
- Place the cake pops back in the fridge for 10–15 minutes to set the sticks.
- Dip each cake pop into the melted coating, turning to coat evenly and gently tapping off excess. Stand the pops upright in a styrofoam block or a box with holes to set.
- Once the coating is set, use black decorating gel or an edible food marker to draw pentagon shapes and connecting lines to resemble a soccer ball pattern.
- Allow the decorations to dry completely before serving or packaging.
Notes
Approximate per 1 cakepop (1 of 24): 150–170 calories; fat 8 g; saturated fat 4–5 g; carbohydrates 20–22 g; fiber 0–1 g; sugars 15–17 g; protein 1–2 g; sodium 120–180 mg. Values will vary based on cake mix, frosting, candy coating brands, and portion size.
Leave a Reply