

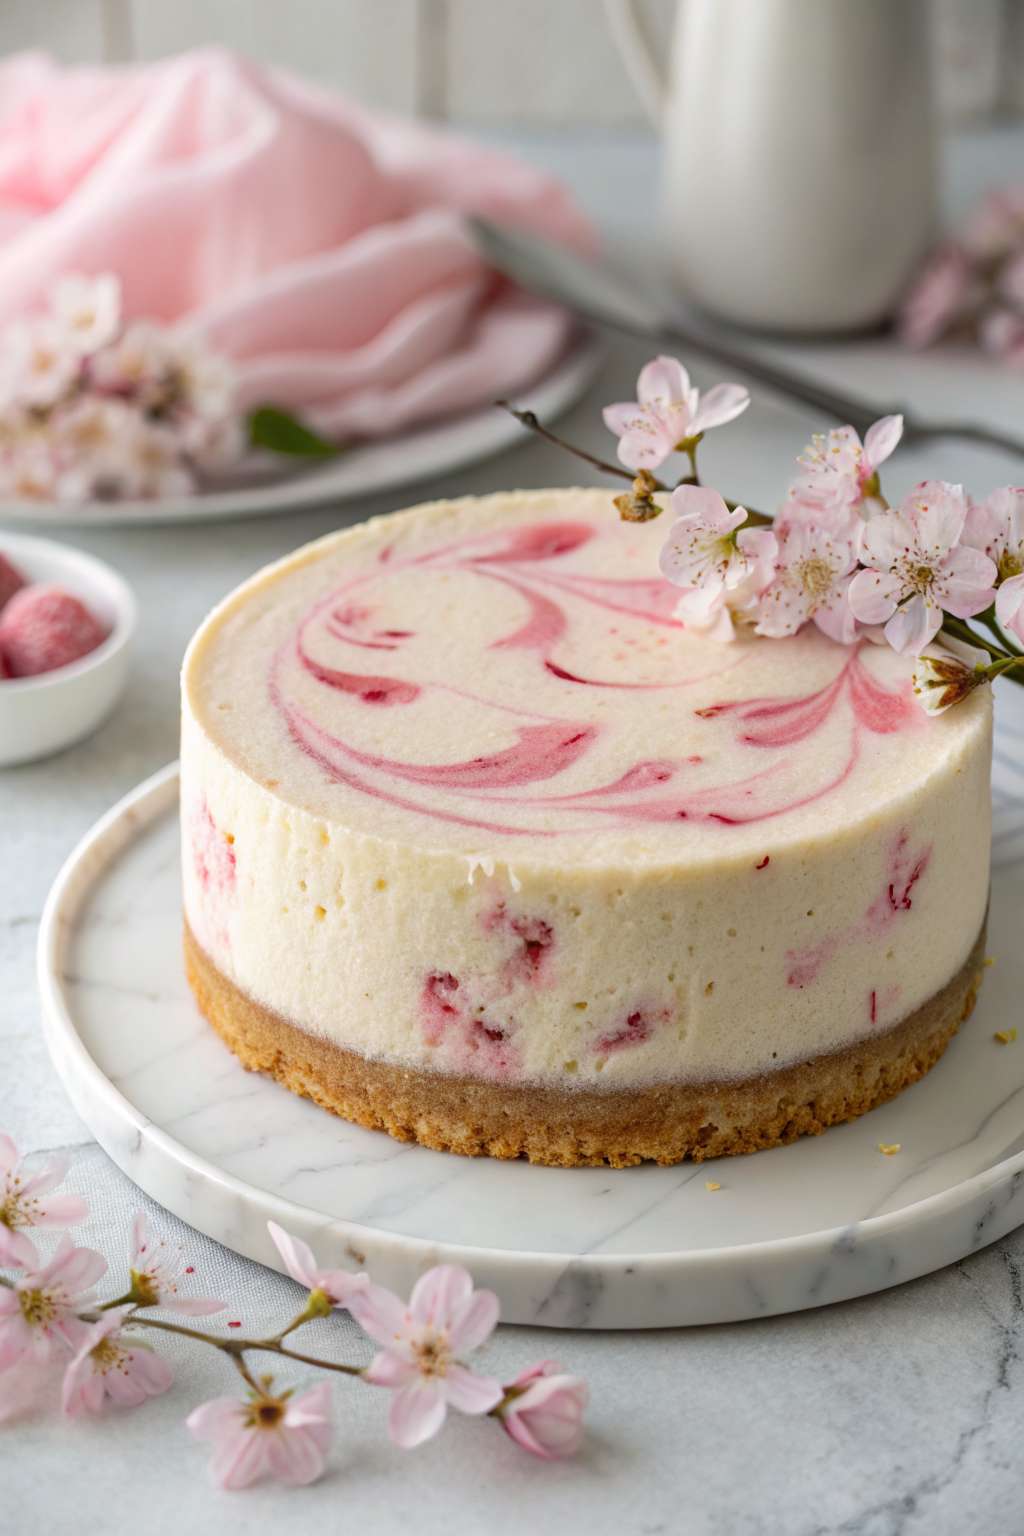
Cherry Blossom Japanese Sakura Cheesecake Recipe tastes like a cloud of creamy vanilla cheesecake kissed with floral cherry blossom and a hint of tangy yogurt, perfect for spring dessert lovers. It suits anyone who wants a showstopper dessert that looks like a sakura tree in full bloom and takes about 1 hour of hands-on time plus chilling. I tested this version for a spring potluck with my neighbors, and not a single crumb survived.
Why Make This Cherry Blossom Japanese Sakura Cheesecake Recipe at Home
You control the flavor strength of the sakura, so the cheesecake tastes gently floral instead of like a bottle of perfume. You also skip artificial coloring and use pretty pink from sakura syrup or a touch of beet powder.
Homemade sakura cheesecake costs far less than a slice at a fancy café. You also get to decorate it with petals and jelly exactly how you like, which turns dessert into a fun little art project.
“This Cherry Blossom Japanese Sakura Cheesecake Recipe tastes like a soft spring breeze in cheesecake form, and it looks like it came from a high-end Tokyo café. ★★★★★”
Ingredients You Need
Base crust
- 1 ½ cups graham cracker crumbs
- Use digestive biscuits or vanilla cookies if you prefer a less sweet crust.
- 5 tablespoons unsalted butter, melted
- Salted butter works too; skip extra salt if you use it.
- 2 tablespoons sugar
- Pinch of fine sea salt
Sakura cheesecake filling
- 16 ounces cream cheese, full fat, softened
- I like Philadelphia or a similar brick-style brand for best texture.
- ½ cup granulated sugar
- ½ cup plain Greek yogurt or sour cream
- Greek yogurt gives a lighter tang, sour cream gives richer flavor.
- ½ cup heavy cream
- 2 large eggs, room temperature
- 1 teaspoon pure vanilla extract
- 1 to 2 tablespoons sakura syrup or sakura extract
- Start with 1 tablespoon, taste, then add more if you want stronger cherry blossom flavor.
- Use food-grade sakura essence or syrup from Japanese markets or online.
- 1 to 2 teaspoons lemon juice
- This brightens the floral notes and keeps the cheesecake from tasting flat.
- 1 tablespoon cornstarch
- This helps prevent cracks and keeps the texture velvety.
- Tiny pinch of salt
Sakura jelly topping
- ¾ cup water
- ¼ cup sakura syrup
- Use the same brand you used in the filling for consistent flavor.
- 1 teaspoon lemon juice
- 1 tablespoon sugar (optional, adjust to taste)
- 2 teaspoons powdered gelatin
- Use unflavored gelatin; bloom it properly for a clear jelly.
Decoration
- Edible salted sakura blossoms, rinsed and soaked to remove extra salt
- You can find these in Japanese specialty stores or online.
- A few fresh strawberries or raspberries, sliced thin
- Optional: a pinch of beet powder or pink gel food coloring to tint the jelly or filling lightly
Equipment list
- 8 or 9 inch springform pan
- Parchment paper
- Mixing bowls
- Hand mixer or stand mixer
- Rubber spatula
- Measuring cups and spoons
- Small saucepan
- Heatproof jug or bowl for gelatin
- Baking sheet
- Roasting pan or deep baking dish if you choose a water bath
- Aluminum foil
- Cooling rack
Tips & Mistakes
- Line the bottom of the springform pan with parchment so the crust releases cleanly and slices look neat.
- Press the crust firmly with the bottom of a glass so it sets evenly and does not crumble when you cut it.
- Soften the cream cheese fully at room temperature so it blends smooth and does not form lumps.
- Mix the filling on low to medium speed so you do not whip in too much air, which can cause cracks.
- Add eggs one at a time and mix just until combined so the texture stays silky, not rubbery.
- Taste the filling before baking and adjust sakura syrup and lemon juice so the floral note stays gentle.
- Wrap the outside of the pan with foil if you use a water bath so water does not leak into the crust.
- Bake until the edges set and the center still jiggles slightly so the cheesecake stays creamy.
- Cool the cheesecake slowly in the oven with the door cracked to reduce cracking from sudden temperature change.
- Chill at least 6 hours, preferably overnight, so the sakura flavor develops and the texture firms up.
- Let the cheesecake chill completely before you pour the jelly topping so layers stay distinct.
- Bloom gelatin in cold water first so it dissolves smoothly and the jelly stays clear.
- Do not pour hot jelly over the cheesecake; cool it to room temperature so it does not melt the top.
- Rinse salted sakura blossoms well and soak them for 10 to 15 minutes so they taste delicate, not overly salty.
- Slice with a hot, clean knife and wipe between cuts so the layers look sharp and pretty.
How to Make Cherry Blossom Japanese Sakura Cheesecake Recipe
Prep the pan and crust
- Line the bottom of your springform pan with parchment and lightly grease the sides.
- Stir graham cracker crumbs, sugar, and salt in a bowl.
- Pour in melted butter and mix until the crumbs feel like wet sand and hold together when you pinch them.
- Press the mixture firmly into the bottom of the pan, smoothing it into an even layer.
- Chill the crust in the fridge while you mix the filling, or bake it at 325°F for 8 minutes if you like a crunchier base, then cool.
Mix the sakura cheesecake filling
- Beat softened cream cheese with sugar on medium speed until it turns smooth and creamy, about 2 minutes.
- Scrape the bowl, then add yogurt or sour cream, heavy cream, vanilla, sakura syrup, lemon juice, cornstarch, and salt.
- Mix on low until everything blends and the batter looks silky.
- Taste a small spoonful and adjust sakura syrup or lemon juice if you want more floral or more brightness.
Add the eggs
- Add eggs one at a time, mixing on low just until each egg disappears into the batter.
- Scrape the bowl and fold gently with a spatula to pop any big air pockets.
- If you want a pale pink cheesecake, stir in a tiny pinch of beet powder or a drop of pink gel coloring.
Bake the cheesecake
- Heat the oven to 300°F.
- Wrap the outside of the springform pan tightly with foil if you plan to bake it in a water bath.
- Pour the sakura cheesecake batter over the chilled crust and tap the pan gently on the counter to release bubbles.
- Place the pan on a baking sheet, or set it inside a larger roasting pan and pour hot water around it halfway up the sides.
- Bake 45 to 60 minutes, depending on your oven and pan size, until the edges look set and the center still wobbles slightly when you nudge the pan.
Cool and chill
- Turn off the oven, crack the door slightly, and let the cheesecake sit inside for 30 minutes.
- Move the pan to a cooling rack and cool to room temperature.
- Run a thin knife around the edge to loosen the sides.
- Cover the pan and chill in the fridge at least 6 hours, or overnight for best texture and flavor.
Prepare the sakura jelly topping
- Sprinkle gelatin over 2 tablespoons of cold water in a small bowl and let it sit 5 minutes to bloom.
- Heat water, sakura syrup, sugar, and lemon juice in a small saucepan until the mixture steams and the sugar dissolves.
- Remove from heat and stir in the bloomed gelatin until it dissolves completely.
- Let the mixture cool to room temperature; it should feel slightly thick but still pourable.
Decorate and add the jelly
- Remove the chilled cheesecake from the fridge and arrange soaked sakura blossoms and thin strawberry or raspberry slices on top.
- Slowly pour the cooled sakura jelly over the surface, covering the decorations but not overflowing the pan.
- Tilt the pan gently to level the jelly.
- Chill again for at least 2 hours until the jelly sets firm and clear.
Unmold and slice
- Release the springform ring and lift it off carefully.
- Slide a thin knife between the crust and the parchment if you want to move the cheesecake to a serving plate.
- Warm a sharp knife under hot water, dry it, and slice clean wedges, wiping the blade between cuts.
Variations I've Tried
-
Matcha swirl sakura cheesecake
Swirl a few spoonfuls of matcha cheesecake batter into the top layer before baking. The green and pink marbling looks like a spring garden and tastes amazing with the floral note. -
No bake sakura cheesecake
Skip the eggs and cornstarch, increase the yogurt and whipped cream, and set the filling in the fridge instead of the oven. This version tastes lighter and works well when you do not want to heat up the kitchen. -
Sakura strawberry cheesecake
Fold diced fresh strawberries into the filling and add extra lemon juice. The fruit adds juicy pops of sweetness that balance the floral flavor. -
Mini sakura cheesecakes
Bake the crust and filling in lined muffin tins for 15 to 18 minutes. These little cheesecakes make portion control easier and travel well for picnics under actual cherry blossoms.
How to Serve Cherry Blossom Japanese Sakura Cheesecake Recipe
Serve slices cold or slightly cool so the texture stays creamy and the sakura flavor tastes clear. Add a small dollop of whipped cream on the side and a few extra berries for color. Pair the cheesecake with hot green tea, jasmine tea, or a light floral herbal tea for a cozy café vibe at home. If you serve it at a party, cut smaller wedges since the cheesecake tastes rich and guests often come back for seconds.
How to store
- Store the cheesecake covered in the fridge for up to 4 days; keep it in an airtight container so it does not pick up fridge odors.
- Chill slices on a flat tray first, then wrap them individually if you want easy grab-and-go desserts.
- Freeze whole or sliced cheesecake without the jelly topping for up to 2 months; wrap tightly in plastic, then foil.
- Thaw frozen cheesecake overnight in the fridge, then add fresh jelly and decorations.
- Serve chilled straight from the fridge; avoid microwaving since heat can melt the jelly and change the creamy texture.
Cherry Blossom Japanese Sakura Cheesecake Recipe
Ingredients
Instructions
- Preheat the oven to 320°F (160°C). Grease an 8-inch round cake pan with butter and line the bottom and sides with parchment paper.
- Wrap the outside of the pan with aluminum foil to prevent water from seeping in during the water bath.
- In a heatproof bowl set over a pot of gently simmering water, combine cream cheese, butter, milk, and 1/3 cup sugar. Stir until smooth and just warm, then remove from heat and let cool slightly.
- Whisk in the egg yolks one at a time until fully incorporated.
- Add vanilla extract, sakura extract or syrup, and salt, and whisk until smooth.
- Sift cake flour and cornstarch over the mixture and whisk gently until no lumps remain. Set aside.
- In a clean mixing bowl, beat the egg whites with cream of tartar (if using) on medium speed until foamy.
- Gradually add 3 tablespoons sugar while beating, and continue to beat until soft to medium peaks form. Do not overbeat.
- Fold one-third of the meringue gently into the cream cheese batter to lighten it, using a spatula.
- Carefully fold in the remaining meringue in two additions, taking care not to deflate the mixture.
- Pour the batter into the prepared pan and tap lightly on the counter to release large air bubbles.
- Place the pan in a larger baking dish and pour hot water into the outer dish to come halfway up the sides of the cake pan, creating a water bath.
- Bake at 320°F (160°C) for 20 minutes, then reduce the temperature to 300°F (150°C) and bake for an additional 35–40 minutes, or until the top is lightly golden and the center is just set with a slight jiggle.
- Turn off the oven, crack the door slightly, and let the cheesecake sit inside for 10–15 minutes to prevent sudden temperature shock.
- Remove the pan from the water bath, cool to room temperature, then refrigerate for at least 2 hours before adding the jelly topping.
- Sprinkle gelatin over 1 tablespoon cold water in a small bowl and let bloom for 5–10 minutes.
- In a small saucepan, heat 1 cup water and 1 tablespoon sugar over low heat until the sugar dissolves. Do not boil.
- Remove from heat, stir in the bloomed gelatin until completely dissolved, then add sakura syrup or cherry blossom flavoring.
- Let the mixture cool to room temperature until it thickens slightly but is still pourable.
- If using pickled sakura blossoms, gently press the soaked and patted-dry blossoms on top of the chilled cheesecake in a decorative pattern.
- Slowly pour the cooled sakura jelly mixture over the surface of the cheesecake, just enough to cover the top in a thin, even layer.
- Refrigerate for at least 2–3 hours, or until the jelly is fully set and the cheesecake is well chilled.
- To serve, run a thin knife around the edges of the pan, release the cake, slice with a warm, clean knife, and serve chilled.
Notes
Approximate per serving (1/8 of cake): 260–290 calories; fat 19 g; saturated fat 11 g; carbohydrates 20 g; fiber 0 g; sugars 17 g; protein 6 g; sodium 210 mg. Values are estimates and will vary based on specific ingredients, sakura products used, and portion size.
Leave a Reply