
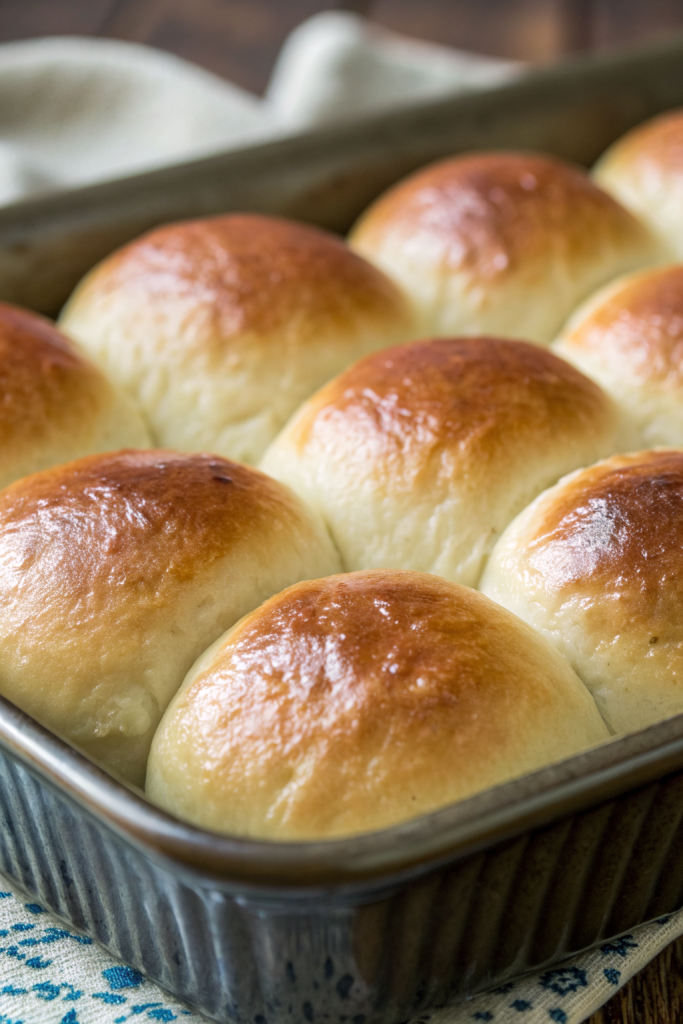
Garlic Butter Bread Rolls Recipe tastes like soft, fluffy little clouds soaked in garlicky, herby butter with just enough chew to keep things interesting. It works perfectly for busy home cooks who want bakery-style rolls on the table in about 2 hours total, including rising and baking time. I have baked some version of these rolls for more than a decade, and my family now measures holidays by how many trays come out of the oven.
Why Make This Garlic Butter Bread Rolls Recipe at Home
Homemade garlic butter bread rolls taste fresher, softer, and richer than anything in a bag from the store. You control the garlic level, the salt, and the herbs, so the rolls match your taste instead of a factory formula.
You also stretch your grocery budget, since a pan of rolls costs less than a bakery box and feeds more people. The house smells like a cozy little bakery, which might be the best part of the whole recipe.
“These garlic butter bread rolls disappeared in minutes and tasted like a fancy steakhouse basket, but better because they came out of my own oven. ★★★★★”
Ingredients You Need
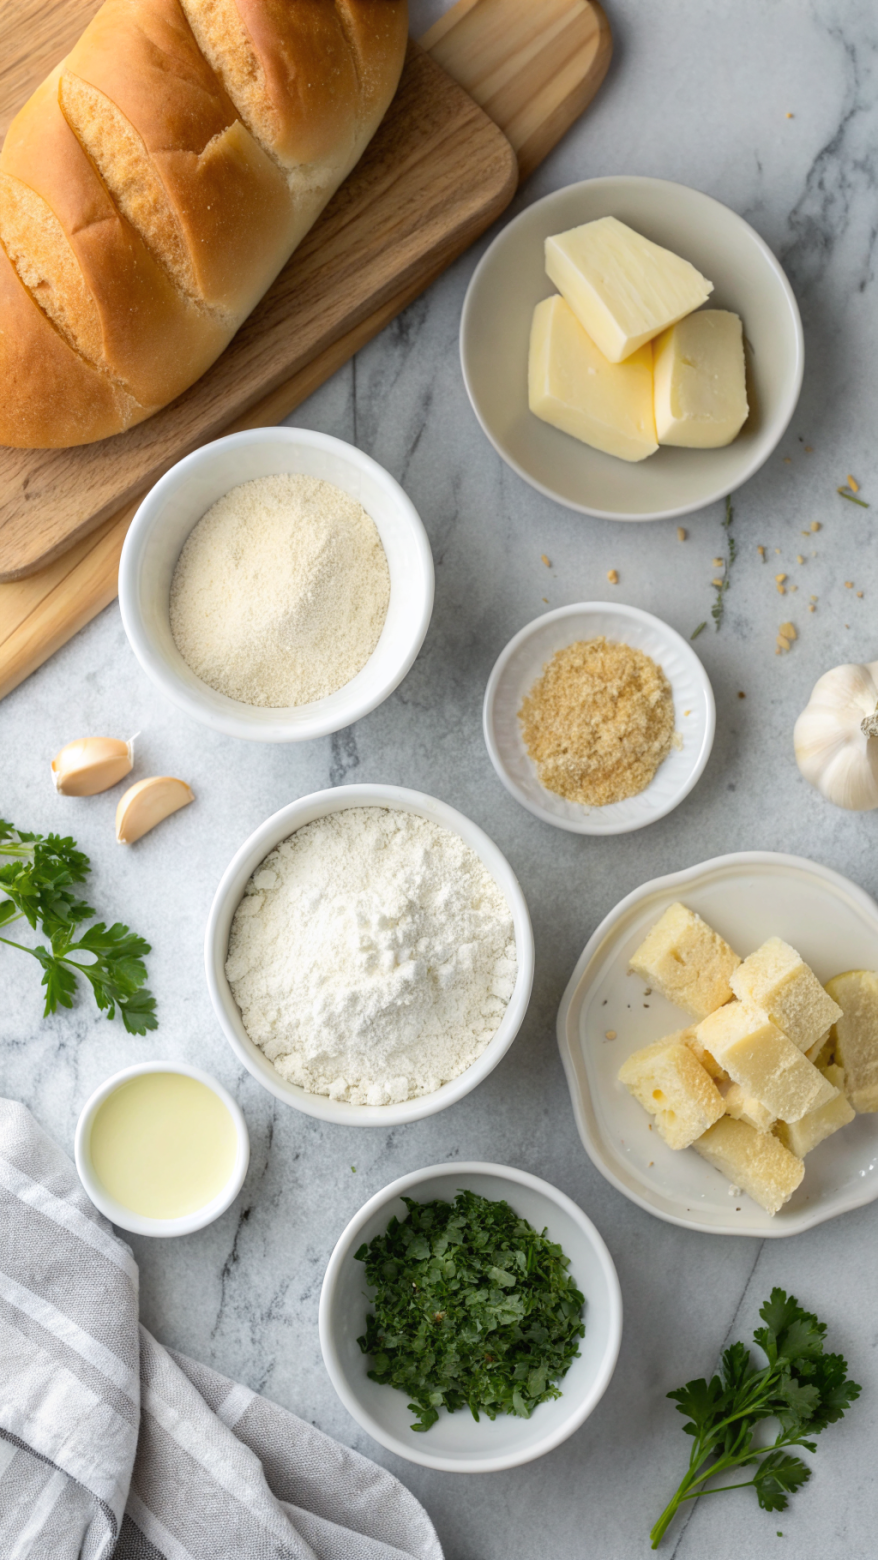
Dough ingredients
-
Warm milk: 1 cup (240 ml), about 105–110°F
- Use whole milk for the softest crumb. You can use 2% if needed, but avoid skim because it tastes flat.
-
Warm water: 1/4 cup (60 ml)
- This lightens the dough so it does not feel too rich. Use filtered water if your tap water tastes strong.
-
Active dry yeast: 2 1/4 teaspoons (one standard packet)
- You can swap with instant yeast in the same amount. If you use instant yeast, you can mix it right into the flour, but I still like to bloom it to check that it lives its best life.
-
Granulated sugar: 3 tablespoons
- Sugar feeds the yeast and helps browning. You can use honey in the same amount for a slightly deeper flavor.
-
Egg: 1 large, room temperature
- A room temperature egg blends better into the dough. If you forget to pull it out, place it in a bowl of warm water for 5 minutes.
-
Unsalted butter, melted and cooled: 4 tablespoons (1/4 cup)
- Use real butter, not margarine. If you only have salted butter, reduce the added salt by a small pinch.
-
All-purpose flour: 3 to 3 1/4 cups (360–390 g)
- Start with 3 cups, then add more by tablespoons until the dough feels soft and slightly tacky but not sticky. You can use bread flour for a chewier roll, but add an extra tablespoon of milk if the dough feels stiff.
-
Fine sea salt: 1 1/4 teaspoons
- Table salt tastes sharper, so use just 1 teaspoon if you use that.
Garlic butter topping
-
Unsalted butter, melted: 5 tablespoons
- Use good quality butter since this flavor hits you first. European-style butter tastes extra rich if you want to spoil yourself.
-
Fresh garlic, very finely minced or grated: 3–4 cloves
- Use a microplane for tiny pieces that melt into the butter. Garlic powder works in a pinch: use 1 to 1 1/2 teaspoons.
-
Fresh parsley, finely chopped: 2 tablespoons
- Dried parsley works too: use 2 teaspoons. You can also mix in a little fresh basil or chives.
-
Salt: a pinch or two, to taste
- Taste the garlic butter and adjust so it tastes slightly salty, since it seasons the whole roll surface.
-
Grated Parmesan cheese (optional but amazing): 2–3 tablespoons
- Use real Parmesan or Grana Padano. Pre-grated works, but freshly grated melts more smoothly.
Pantry shortcuts and substitutions
- Use pre-minced garlic in oil if you feel short on time. Dry it slightly with a paper towel so it does not splash in the butter.
- Use garlic powder and dried Italian seasoning when you do not have fresh herbs.
- Use pre-shredded mozzarella on top for cheesy garlic rolls if your crew loves cheese.
Equipment list
- Large mixing bowl
- Small bowl or measuring cup for blooming yeast
- Wooden spoon or dough hook and stand mixer
- Kitchen scale (optional, but helps with consistent flour amounts)
- 9×13 inch baking pan or two 8×8 pans
- Plastic wrap or clean kitchen towel
- Pastry brush or spoon for garlic butter
- Sharp knife or bench scraper
- Cooling rack
Tips & Mistakes
- Use milk and water that feel warm like a hot bath, not hot like coffee, so you keep the yeast alive.
- Bloom the yeast until it looks foamy; if it stays flat, toss it and grab a fresh packet so the dough rises properly.
- Add flour slowly and stop when the dough feels soft and slightly tacky; too much flour gives dense, heavy rolls.
- Knead until the dough feels smooth and stretchy; under-kneaded dough tears easily and does not rise well.
- Oil the bowl lightly so the dough releases easily; dry bowls cause sticking and rough handling.
- Shape rolls the same size so they bake evenly; random sizes give you some underbaked and some overbaked pieces.
- Brush garlic butter right after baking so the rolls soak it up; if you wait too long, the butter just sits on top.
- Cool the rolls slightly before covering; trapping steam under foil makes the tops soggy.
- Avoid too much raw garlic in the butter; it can taste harsh, so stick to the amounts and adjust next time if needed.
- Do not crowd the oven with other dishes; rolls like even heat and can brown unevenly if you overload the oven.
How to Make Garlic Butter Bread Rolls Recipe
Step 1: Bloom the yeast
Pour the warm milk and warm water into a small bowl or measuring cup. Stir in the sugar until it dissolves, then sprinkle the yeast over the top. Wait 5–10 minutes until the mixture looks foamy and creamy on top.
Step 2: Mix the dough
Add 3 cups of flour and the salt to a large mixing bowl. Whisk them together so the salt spreads evenly. Add the egg and melted butter to the bloomed yeast mixture, stir, then pour everything into the flour.
Stir with a wooden spoon until a shaggy dough forms. If the dough feels very sticky and clings to your fingers, add more flour 1 tablespoon at a time. Stop when the dough feels soft, slightly tacky, and pulls away from the sides of the bowl.
Step 3: Knead until smooth
Turn the dough out onto a lightly floured surface. Knead by hand for about 8–10 minutes until the dough feels smooth, stretchy, and elastic. If you use a stand mixer, knead with a dough hook on medium-low for about 6–7 minutes.
Test the dough by stretching a small piece between your fingers. If you can stretch it thin without tearing quickly, you built enough gluten. If it tears right away, knead for a couple more minutes.
Step 4: Let the dough rise
Lightly oil a clean bowl and place the dough inside. Turn the dough once so it coats in a thin layer of oil. Cover the bowl with plastic wrap or a clean kitchen towel.
Set the bowl in a warm, draft-free spot. Let the dough rise for about 60–75 minutes, until it doubles in size and feels puffy when you poke it gently.
Step 5: Prepare the pan and divide the dough
Grease a 9×13 inch baking pan with butter or neutral oil. Punch down the risen dough gently to release extra air. Turn it onto a lightly floured surface and pat it into a rough rectangle.
Use a bench scraper or sharp knife to divide the dough into 12 equal pieces for large rolls or 15 pieces for slightly smaller ones. Weigh each piece if you want perfect bakery-style rolls.
Step 6: Shape the rolls
Take one piece of dough and pull the edges toward the center, like a little pouch. Pinch the seams together, then flip the ball seam-side down. Cup your hand over the ball and roll it on the counter in small circles until the top looks smooth and tight.
Place each roll in the prepared pan, spacing them evenly. They should sit close but not touch yet, since they still rise again.
Step 7: Second rise
Cover the pan loosely with plastic wrap or a clean towel. Let the rolls rise in a warm spot for 25–35 minutes, until they puff and nearly touch each other. They should look light and airy, not dense.
While they rise, preheat your oven to 375°F (190°C). This gives the oven time to heat evenly.
Step 8: Mix the garlic butter
While the rolls rise or bake, prepare the garlic butter. In a small bowl, mix the melted butter, minced garlic, chopped parsley, salt, and Parmesan if you use it. Taste a tiny bit and adjust the salt or herbs.
If the garlic tastes very sharp, let the mixture sit for 5–10 minutes so the flavors mellow. The butter should stay pourable so it brushes easily over the hot rolls.
Step 9: Bake the rolls
Place the pan of risen rolls in the preheated oven. Bake for 16–20 minutes, until the tops look golden brown and the center rolls feel set. If your oven runs hot, check at 15 minutes so they do not overbrown.
If the tops brown too quickly, tent the pan loosely with foil for the last few minutes. The rolls finish baking while the color stays under control.
Step 10: Brush with garlic butter
Remove the pan from the oven and set it on a cooling rack. Immediately brush the hot rolls generously with the garlic butter, making sure to hit the sides and edges. The rolls soak up the butter and the garlic and herbs cling to the surface.
If you like extra flavor, drizzle any remaining butter over the tops. Let the rolls cool for at least 5–10 minutes so they set slightly before you pull them apart.
Variations I've Tried
- Cheesy garlic rolls: Sprinkle shredded mozzarella and a little Parmesan over the rolls during the last 5 minutes of baking. The cheese melts and bubbles into a stretchy, golden top.
- Herb and garlic pull-apart rolls: Roll the dough into small balls, dip each in garlic butter, then pack them into a loaf pan. They bake into a fun tear-and-share loaf that kids love.
- Whole wheat garlic butter rolls: Swap 1 cup of all-purpose flour with whole wheat flour. Add an extra tablespoon or two of milk so the dough stays soft.
- Extra garlicky version: Add 1 teaspoon garlic powder to the dough along with the flour, then keep the regular garlic butter on top. This version tastes like garlic bread in roll form.
- Vegan garlic rolls: Use plant milk, vegan butter, and skip the egg. Add 1 extra tablespoon of oil to the dough to keep it soft and tender.
How to Serve
Serve these garlic butter bread rolls warm, when the centers feel soft and the tops still shine from the butter. Pair them with pasta, soup, roasted chicken, or a big salad for a cozy dinner. They also taste amazing as sliders with turkey, chicken, or veggie patties. I often set a basket of them in the middle of the table and watch everyone reach for seconds before they even touch the main dish.
How to store
- Room temperature: Keep cooled rolls in an airtight container or zip bag at room temperature for up to 2 days.
- Refrigerator: Store in an airtight container in the fridge for up to 4 days; the fridge slows staling but can dry them slightly.
- Freezer: Freeze cooled rolls in a freezer bag with as much air pressed out as possible for up to 2 months; label the bag with the date.
- Reheat in oven: Wrap rolls in foil and warm at 325°F (165°C) for 8–10 minutes from room temp, or 12–15 minutes from frozen; brush with a little extra melted butter after heating.
- Reheat in microwave: Wrap one or two rolls in a slightly damp paper towel and heat for 15–20 seconds; eat right away so they stay soft.
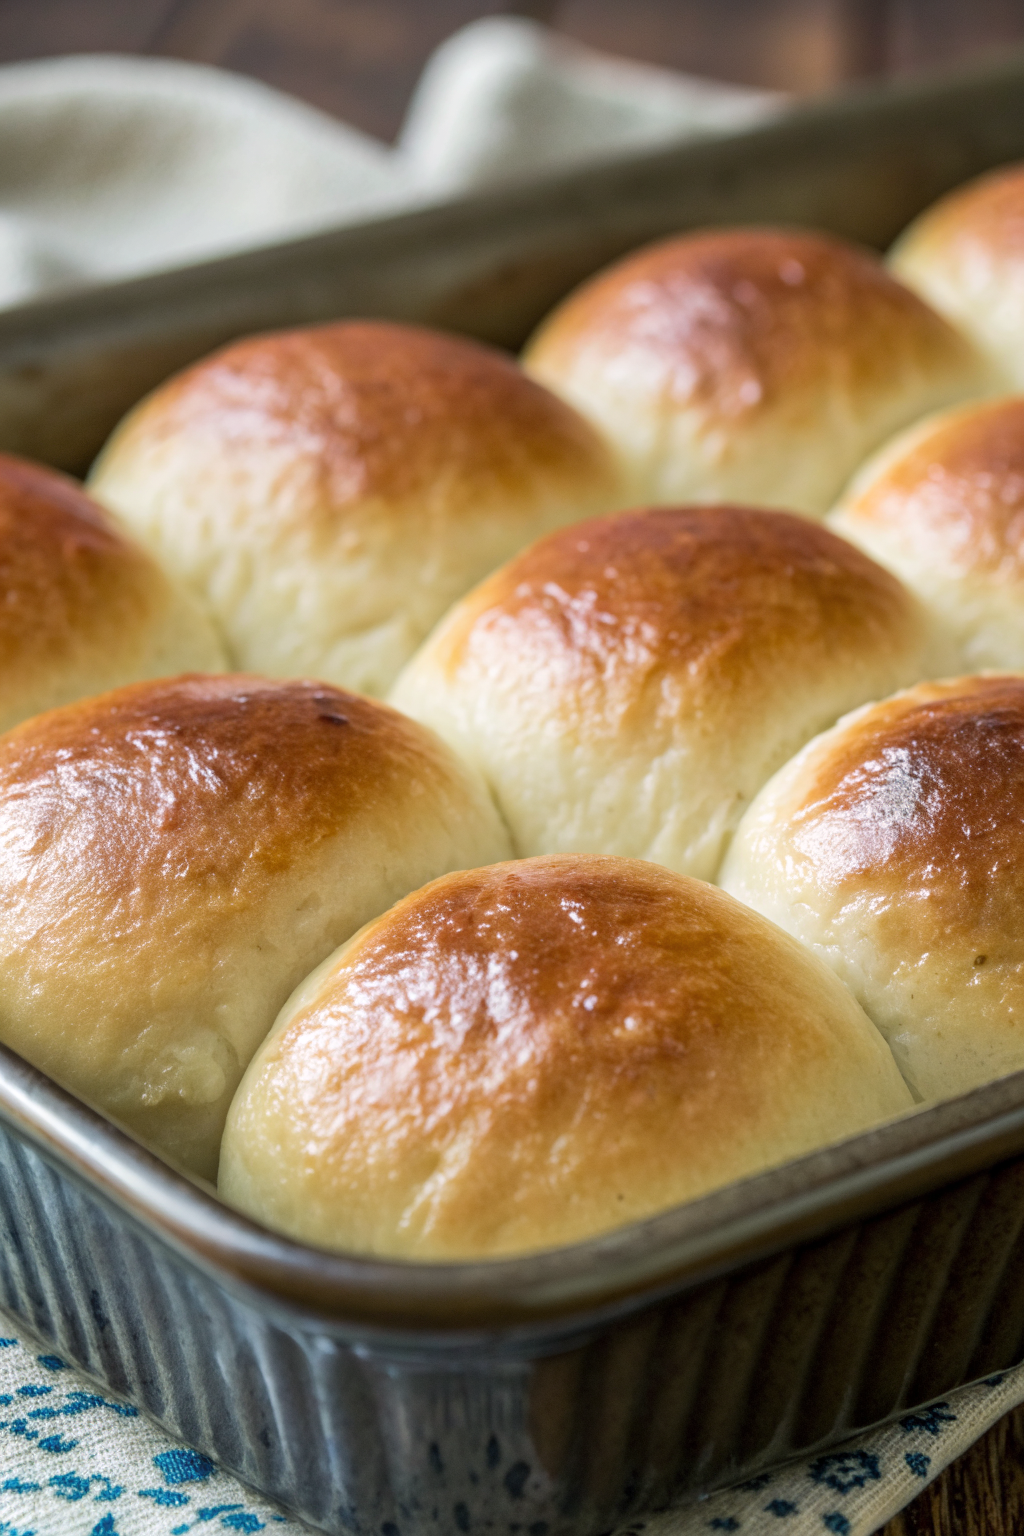
Garlic Butter Bread Rolls Recipe
Ingredients
Instructions
- Pour the warm milk and warm water into a small bowl or measuring cup. Stir in the sugar until dissolved, then sprinkle the yeast over the top. Let sit 5–10 minutes until the mixture looks foamy and creamy on top.
- In a large mixing bowl, whisk together 3 cups of flour and the fine sea salt. Add the egg and melted, cooled butter to the bloomed yeast mixture and stir to combine, then pour this wet mixture into the flour.
- Stir with a wooden spoon until a shaggy dough forms. If the dough feels very sticky and clings to your fingers, add more flour 1 tablespoon at a time until it feels soft, slightly tacky, and pulls away from the sides of the bowl.
- Turn the dough out onto a lightly floured surface and knead by hand for about 8–10 minutes, until smooth, stretchy, and elastic. Alternatively, knead in a stand mixer with a dough hook on medium-low for 6–7 minutes. The dough should stretch thin without tearing quickly.
- Lightly oil a clean bowl and place the dough inside, turning once to coat it in a thin layer of oil. Cover the bowl with plastic wrap or a clean kitchen towel and let rise in a warm, draft-free spot for 60–75 minutes, until doubled in size and puffy.
- Grease a 9×13-inch baking pan with butter or neutral oil. Gently punch down the risen dough to release excess air, then turn it onto a lightly floured surface and pat into a rough rectangle. Divide into 12 equal pieces for large rolls or 15 for smaller rolls.
- Shape each piece by pulling the edges toward the center to form a pouch, pinching the seams together, then placing seam-side down. Cup your hand over the dough ball and roll it in small circles on the counter until the top is smooth and tight. Arrange the rolls in the prepared pan, spaced evenly so they are close but not touching.
- Cover the pan loosely with plastic wrap or a clean towel and let the rolls rise in a warm spot for 25–35 minutes, until puffed and nearly touching. Meanwhile, preheat the oven to 375°F (190°C).
- While the rolls rise or bake, prepare the garlic butter. In a small bowl, stir together the melted butter, minced garlic, chopped parsley, salt to taste, and Parmesan if using. Let sit a few minutes if the garlic tastes very sharp.
- Bake the risen rolls at 375°F (190°C) for 16–20 minutes, until the tops are golden brown and the center rolls feel set. If they brown too quickly, tent loosely with foil for the last few minutes of baking.
- Remove the pan from the oven and place on a cooling rack. Immediately brush the hot rolls generously with the garlic butter, coating the tops and sides. Drizzle any remaining butter over the rolls. Let cool 5–10 minutes before serving.
Notes
Approximate per 1 roll (1/12 of recipe, made with 3 cups flour and Parmesan): 220 calories; fat 11 g; saturated fat 7 g; carbohydrates 25 g; fiber 1 g; sugars 4 g; protein 5 g; sodium 260 mg. Values are estimates and will vary based on exact ingredients, brands, and portion size.