
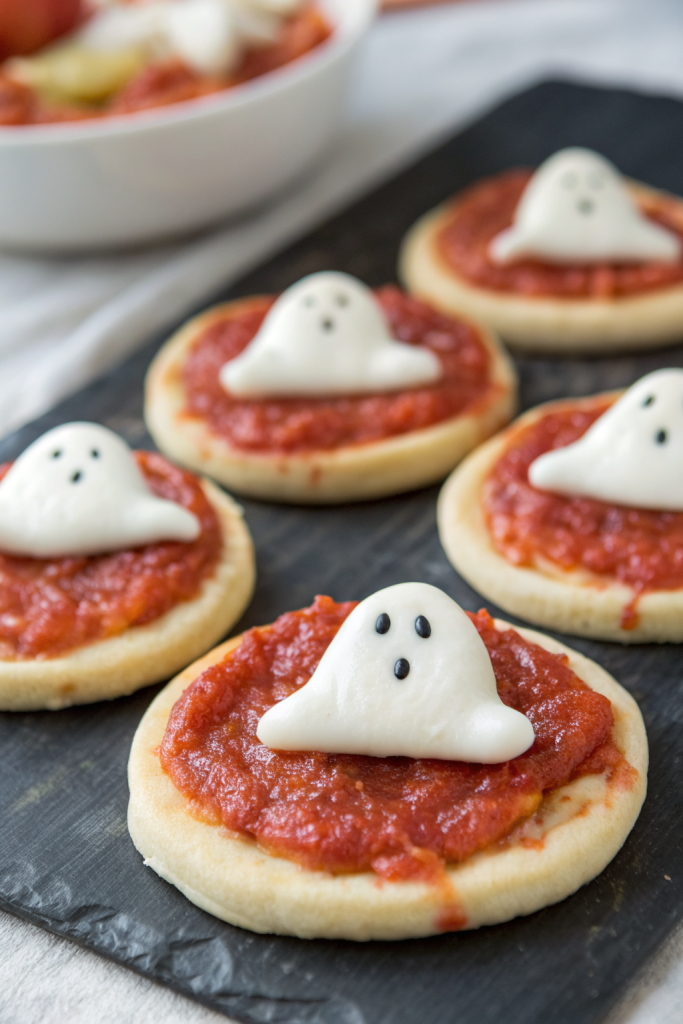
Mini Ghost Pizzas Recipe hits that perfect combo of crispy, cheesy, and just-spooky-enough to thrill kids and adults in about 25 minutes from start to finish. This one works for busy parents, Halloween party hosts, or anyone who wants a fun snack that tastes like a classic cheese pizza in a cute costume. I tested these with my nieces last October, and they now request “ghost pizza night” in July, so consider yourself warned.
Why Make This Mini Ghost Pizzas Recipe at Home
You control everything: the crust, the cheese, the sauce, and how spooky or silly each ghost looks. Store-bought Halloween snacks usually taste like cardboard, but these mini pizzas taste like real pizza with a crispy base, rich tomato sauce, and melty mozzarella.
You also pull this recipe off with simple ingredients and minimal prep. Kids can help cut ghost shapes and place olive “eyes,” which turns dinner into a craft project that you can actually eat.
“These Mini Ghost Pizzas disappeared from the party platter faster than the candy, and everyone asked for the recipe ★★★★★”
Ingredients You Need
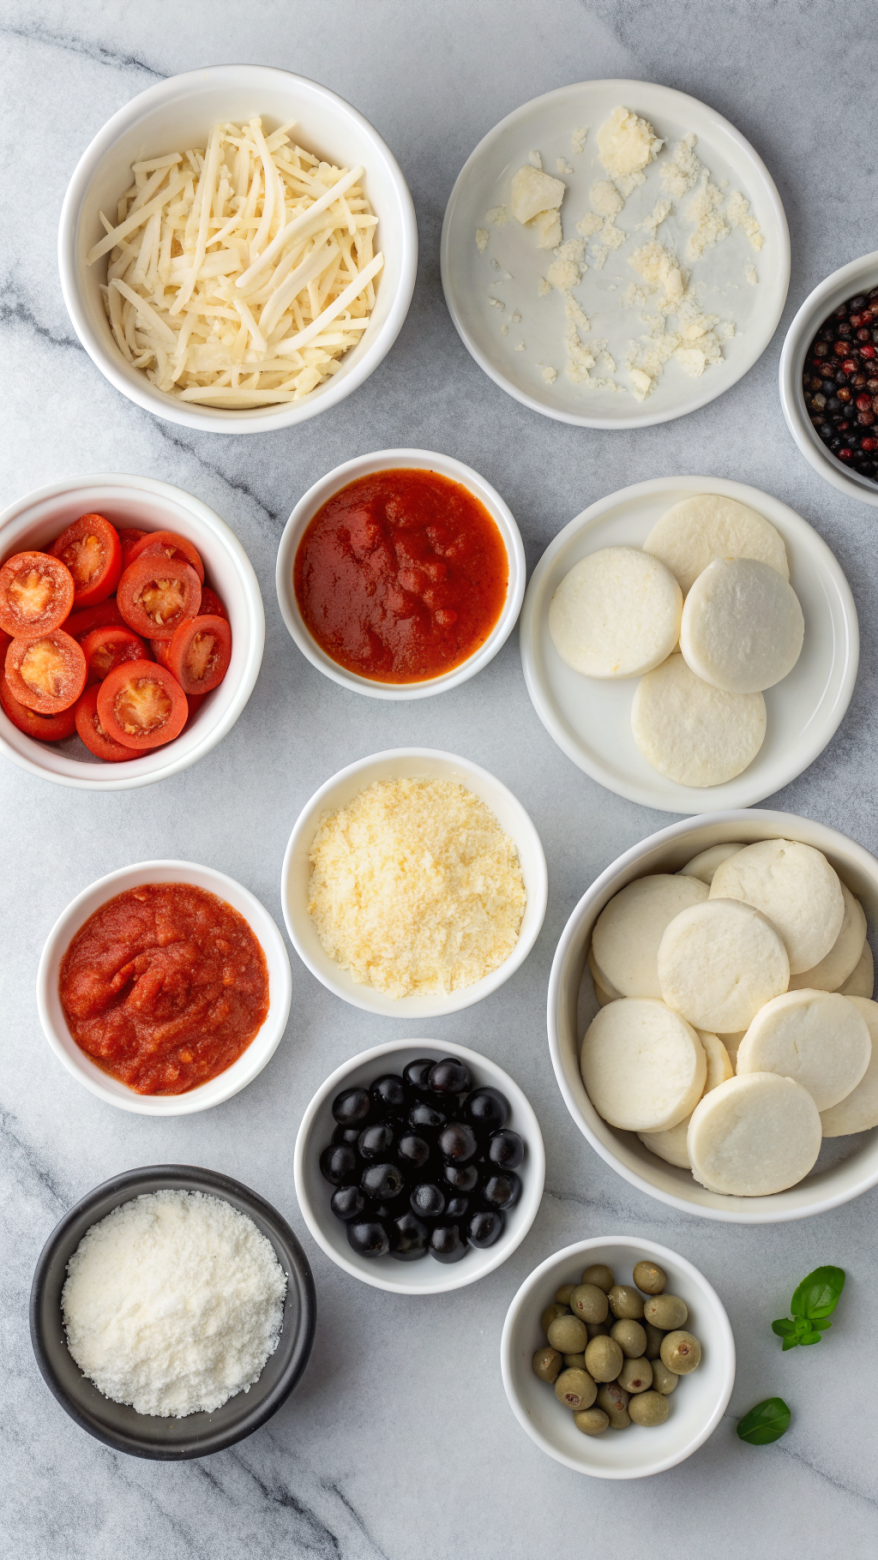
Base & Sauce
-
4 small flour tortillas, naan rounds, or mini pitas
- Tortillas crisp up the most.
- Naan gives a softer, chewier base.
- Mini pitas work well if you like a thicker crust.
-
1 cup pizza sauce or thick marinara
- Use your favorite jarred brand to save time.
- Choose a thicker sauce so it does not soak the crust.
- If your sauce tastes bland, stir in a pinch of salt, dried oregano, and garlic powder.
Cheese & Ghost Faces
-
8 slices low-moisture mozzarella cheese
- Pre-sliced sandwich mozzarella works great for cutting ghost shapes.
- Avoid fresh mozzarella balls since they release too much moisture.
-
16 slices black olives for “eyes”
- Use canned sliced olives for convenience.
- You can also use tiny dots of black bean, capers, or mini pepperoni pieces.
-
Optional: 8 tiny pieces red bell pepper or pepperoni for “mouths”
Seasoning
- 1 teaspoon dried Italian seasoning or oregano
- 1 teaspoon garlic powder
- 1 tablespoon olive oil
- Pinch of red pepper flakes if you like a little heat
- Salt and black pepper to taste
Pantry Shortcuts & Substitutions
- Use English muffins or bagels instead of tortillas for a more classic mini pizza vibe.
- Swap mozzarella slices with provolone if that is what you have; just cut the ghosts the same way.
- Use leftover homemade pizza dough and roll it thin; prebake the crusts 5 minutes so they crisp properly.
- Use marinara from a jar and stir in tomato paste for a thicker, richer sauce.
Equipment List
- Baking sheet
- Parchment paper or a light coating of oil for the pan
- Small ghost-shaped cookie cutter or a paring knife
- Spoon for spreading sauce
- Cooling rack (helps keep the bottoms crisp)
- Optional: kitchen shears for trimming cheese ghosts
Tips & Mistakes
- Preheat the oven fully so the crust crisps and the cheese melts at the same time.
- Brush the tortillas or bread lightly with olive oil so they brown instead of drying out.
- Do not overload with sauce or the crust turns soggy; aim for a thin, even layer.
- Cut the cheese ghosts a little thicker so they hold their shape instead of shrinking into blobs.
- Place the cheese ghosts on mostly baked crusts if you want very defined ghost shapes.
- Keep the olive “eyes” small; big pieces slide off and look more like sunglasses than spooky eyes.
- Space the mini pizzas on the baking sheet so hot air can circulate and crisp the edges.
- Let the pizzas cool 2 to 3 minutes before serving so the cheese sets and kids do not burn their mouths.
How to Make Mini Ghost Pizzas Recipe
Step 1: Prep the Oven and Pan
Preheat your oven to 425°F. Line a baking sheet with parchment or lightly oil it so the crust does not stick. Lay out your tortillas, naan, or mini pitas on the sheet in a single layer.
Step 2: Cut the Mozzarella Ghosts
Place the mozzarella slices on a cutting board. Use a small ghost cookie cutter to punch out ghost shapes, or trace a simple ghost outline with a paring knife. Cut two small eye holes in each ghost or leave them solid and add olive slices on top later.
Gather the cheese scraps and save them. You can sprinkle them on extra mini pizzas or melt them into scrambled eggs the next morning. Nothing goes to waste in a pizza kitchen.
Step 3: Season and Sauce the Bases
Brush each tortilla or bread base lightly with olive oil. Sprinkle with a little garlic powder and Italian seasoning. Spoon a thin layer of pizza sauce over each one and spread it almost to the edges.
Taste a tiny bit of your sauce and adjust with salt, pepper, or red pepper flakes if needed. A well-seasoned sauce makes these mini ghost pizzas taste like something from a pizzeria instead of a kids’ craft table. Keep the layer thin so the crust stays crisp.
Step 4: Parbake the Crusts
Place the sauced bases in the oven and bake for 5 to 6 minutes. You want the edges to look slightly dry and just starting to turn golden. This step helps the crust hold up under the cheese ghosts.
Take the pan out and keep the oven on. If any bases puff up, gently press them down with a spatula. You now have sturdy little pizza canvases.
Step 5: Add the Ghosts and Faces
Place one or two mozzarella ghosts on each mini pizza, depending on size. Arrange them so they float in the center with a little red sauce “background” around them. Press two olive slices or pieces into each ghost for eyes.
Add tiny bits of red bell pepper or pepperoni for mouths if you want them to look surprised or spooky. Keep toppings light so the ghosts stay visible. Think of it like decorating cookies, only with cheese and olives.
Step 6: Bake Until Melty and Slightly Puffy
Return the pan to the oven and bake for another 5 to 7 minutes. Watch closely near the end so the ghosts stay white and do not brown too much. The cheese should melt, puff slightly, and hug the sauce.
If you like a little color, let the edges of the ghosts pick up the faintest golden tint. Pull the pizzas from the oven and slide them onto a cooling rack. Cool 2 to 3 minutes so the cheese sets and the bottoms stay crisp.
Step 7: Finish and Serve
Sprinkle a pinch of extra Italian seasoning or red pepper flakes around the ghosts, not on their faces, so the design stays clear. Slice any larger mini pizzas in halves or quarters for easy snacking. Serve warm while the cheese still stretches.
If you pack them for a party platter, keep them in a warm oven at 200°F until guests arrive. The ghosts keep their shape nicely and still taste great at room temperature.
Variations I've Tried
Use mini pepperoni under the ghosts so they peek out like a red “shadow” around the cheese. Kids love the surprise extra layer of flavor. It also adds a little smoky, salty bite.
Swap the sauce for pesto and call them “slime swamp” ghost pizzas. The green background looks fun and still tastes amazing with mozzarella. Just go light on the pesto since it has a strong flavor.
Make veggie ghost pizzas with finely chopped bell pepper, mushrooms, and spinach under the cheese. The veggies soften under the mozzarella and add texture without stealing the spotlight. This trick works well if you want to sneak in more vegetables at a Halloween party.
Use gluten free tortillas or flatbreads if you need a gluten free option. Brush them with a bit more oil so they crisp nicely. Keep an eye on them since some gluten free bases brown faster.
How to Serve
Serve Mini Ghost Pizzas Recipe hot on a big platter with extra warm pizza sauce on the side for dipping. Add a tray of crunchy carrot sticks, cucumber slices, and apple wedges to balance the cheesy goodness. These mini pizzas work as a fun Halloween dinner, a party appetizer, or an after-school snack before trick-or-treating. Pair them with sparkling water, fruit punch, or hot apple cider for a cozy, kid friendly spread.
How to store
- Cool the mini ghost pizzas completely on a rack before storing so condensation does not make them soggy.
- Store leftovers in an airtight container in the fridge for up to 3 days.
- Freeze on a baking sheet until solid, then transfer to a freezer bag for up to 2 months.
- Reheat from the fridge in a 375°F oven or toaster oven for 6 to 8 minutes until hot and crisp.
- Reheat from frozen at 375°F for 10 to 12 minutes, or until the cheese melts and the crust feels crisp again.
- Avoid the microwave if possible since it turns the crust chewy; if you use it, finish in a hot skillet for a minute to bring back some crispness.
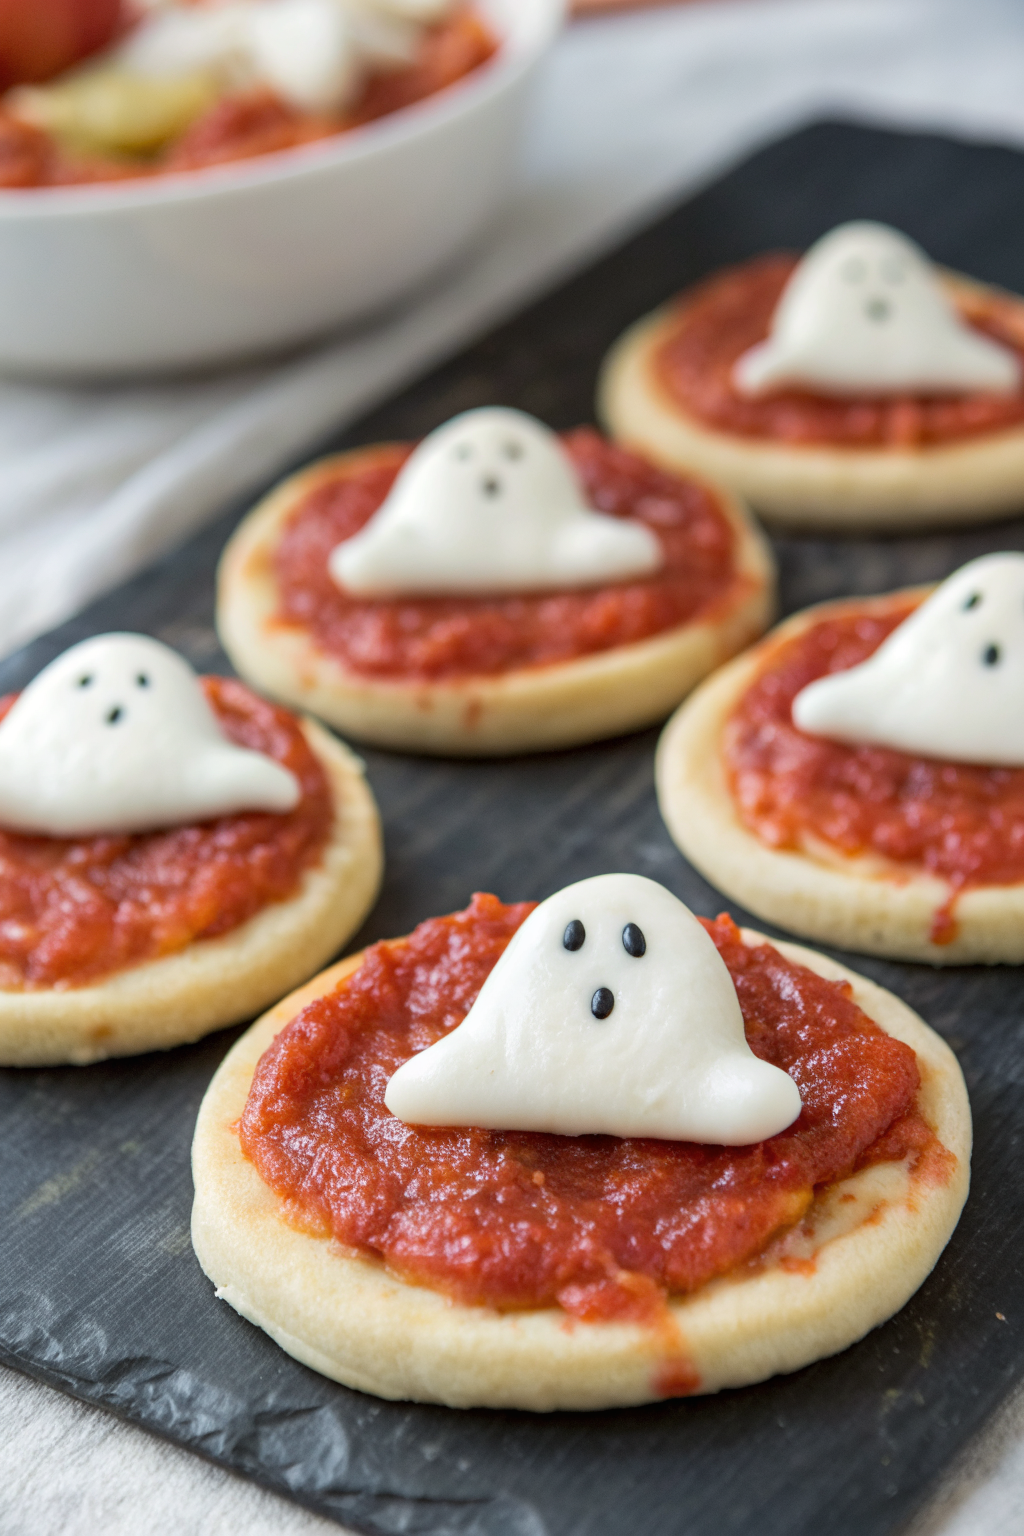
Mini Ghost Pizzas Recipe
Ingredients
Instructions
- Preheat the oven to 425°F. Line a baking sheet with parchment paper or lightly oil it, then arrange the tortillas, naan, or mini pitas in a single layer.
- Place the mozzarella slices on a cutting board and cut ghost shapes using a small ghost-shaped cookie cutter or a paring knife. Cut two small eye holes in each ghost if desired, and reserve the cheese scraps for another use.
- Brush each base lightly with olive oil, then sprinkle with garlic powder and Italian seasoning. Spread a thin, even layer of pizza sauce over each base, almost to the edges. Taste the sauce and adjust with salt, pepper, or red pepper flakes if needed.
- Bake the sauced bases for 5 to 6 minutes, until the edges look slightly dry and just begin to turn golden. Remove from the oven and gently press down any puffed areas with a spatula.
- Place one or two mozzarella ghosts on each mini pizza, arranging them in the center so some red sauce shows around them. Add two olive slices or pieces for eyes, and small bits of red bell pepper or pepperoni for mouths if using.
- Return the pan to the oven and bake for another 5 to 7 minutes, until the cheese is melted, slightly puffy, and just barely turning golden at the edges. Watch closely so the ghosts stay mostly white.
- Transfer the mini pizzas to a cooling rack and let cool for 2 to 3 minutes so the cheese sets and the bottoms stay crisp. Sprinkle a little extra Italian seasoning or red pepper flakes around the ghosts before serving, if desired.
Notes
Approximate per 1 mini pizza (1/8 of recipe, made with tortillas, sauce, mozzarella, olives, oil, and seasonings): 160–190 calories; fat 9 g; saturated fat 4 g; carbohydrates 15 g; fiber 1 g; sugars 2 g; protein 7 g; sodium 430 mg. Values will vary based on crust type, sauce brand, cheese thickness, and added toppings like pepperoni.