
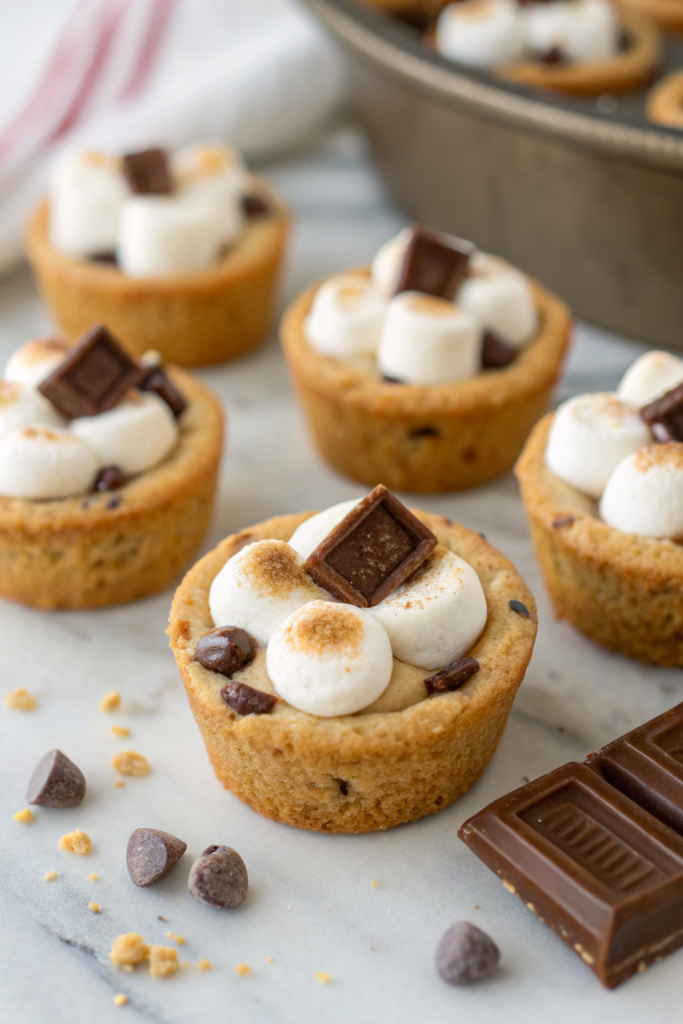
4 Ingredient S’Mores Cookie Cups Recipe tastes like a gooey campfire s’more crashed into a soft, chewy cookie and decided to stay forever. It works perfectly for busy parents, beginner bakers, or anyone who wants a fun dessert in about 20–25 minutes start to finish. I tested these during a Tuesday afternoon “I deserve a treat” moment, and my kids still talk about that batch like it changed dessert history.
Why 4 Ingredient S’Mores Cookie Cups Recipe Is Worth It
You get all the classic s’mores flavor without a campfire, sticky fingers, or chasing runaway marshmallows across the yard. The cookie cup base holds the chocolate and marshmallow in one neat bite, so you can serve them at parties, potlucks, or movie nights without crumbs everywhere.
This 4 Ingredient S’Mores Cookie Cups Recipe uses easy pantry shortcuts, so you skip long prep and complicated steps. You press, bake, fill, toast, and eat. Cleanup stays simple, the ingredient list stays short, and everyone thinks you worked way harder than you actually did.
“These 4 Ingredient S’Mores Cookie Cups disappeared in minutes at our game night and tasted like bakery-level treats without the bakery-level effort. ★★★★★”
Ingredients You Need
Cookie cup base (1st ingredient):
- 1 roll (16.5 oz) refrigerated chocolate chip cookie dough
- Use any standard brand you like.
- If the dough feels too firm, let it sit at room temp 5–10 minutes so it presses easily.
- If you prefer homemade, use about 2 cups of your favorite chocolate chip cookie dough.
Chocolate layer (2nd ingredient):
- 24–30 chocolate candy pieces, such as:
- Milk chocolate squares (Hershey-style bars, broken into rectangles)
- Chocolate kisses
- Mini peanut butter cups for a twist
- Use milk chocolate for classic s’mores flavor or semi-sweet if you like it less sweet.
Marshmallow layer (3rd ingredient):
- 12 large marshmallows, cut in half crosswise
- You can also use about 1 ½ cups mini marshmallows if that’s what you have.
- Name brand marshmallows usually melt more evenly, but store brands still work.
Graham crunch (4th ingredient):
- 3–4 graham crackers, crushed into crumbs
- Use cinnamon grahams if you like a tiny spice note.
- You can pulse them in a bag with a rolling pin or crush them by hand.
Equipment:
- Nonstick mini muffin pan (24-count works best)
- Nonstick spray or softened butter for greasing
- Small cookie scoop or tablespoon
- Sharp knife or kitchen scissors (to cut marshmallows)
- Cooling rack
- Optional: small offset spatula or butter knife to help pop the cookie cups out
Quick Tips & substitutions
- Grease the mini muffin pan well so the cookie cups pop out easily.
- Use a cookie scoop for even portions so all cups bake at the same rate.
- Chill the dough 10–15 minutes if it feels too sticky or spreads too much.
- Press the dough up the sides of each muffin cup to form a little well.
- Add the chocolate while the cookie cups stay warm so it melts slightly.
- Use mini marshmallows if you don’t want to cut large ones; just mound them on top.
- Swap chocolate bars with chocolate chips if needed; use about 1 tablespoon per cup.
- Use gluten-free cookie dough and gluten-free graham crackers for a gluten-free version.
- Use dairy-free chocolate and vegan marshmallows with a vegan cookie dough for a dairy-free or vegan option.
- Sprinkle extra graham crumbs on top right after baking so they stick to the melty marshmallow.
How to Make 4 Ingredient S’Mores Cookie Cups Recipe
Step 1: Prep the pan and dough
Preheat your oven to 350°F (175°C). Grease a 24-cup mini muffin pan with nonstick spray or a thin layer of butter, making sure you coat the sides and bottoms. Open the refrigerated chocolate chip cookie dough and scoop about 1 tablespoon of dough into each mini muffin cup.
Use your fingers or the back of a spoon to press the dough into the bottom and slightly up the sides of each cup. Aim for an even thickness so the cups bake evenly and don’t collapse. Leave a small well in the center of each dough portion, since that space holds the chocolate and marshmallow later.
Step 2: Bake the cookie cups
Place the pan on the middle rack and bake 10–12 minutes, until the edges look golden and the centers look set but still soft. The dough will puff up a bit in the middle, and that’s normal. As soon as you pull the pan out, use the back of a spoon or a small measuring spoon to gently press the centers down again to deepen the wells.
Work quickly while the cookie cups stay hot and pliable. If you wait too long, the cookie base firms up and doesn’t shape as easily. Let the cookie cups sit in the pan for about 3–4 minutes so they firm up just enough to hold the filling.
Step 3: Add the chocolate
While the cookie cups stay warm, press one piece of chocolate (or a chocolate kiss or mini peanut butter cup) into the center of each well. The warm cookie base softens the chocolate and helps it settle in. If you use chocolate chips, spoon about 1 tablespoon into each cup and nudge them down slightly.
You want the chocolate mostly covered by the marshmallow later, so it melts and stays gooey. If you like extra chocolate, tuck a few extra chips around the main piece. The heat from the cookie base keeps everything soft and melty.
Step 4: Add marshmallows and graham crumbs
Cut each large marshmallow in half crosswise so you have two squat cylinders. Place one marshmallow half, cut side down, on top of the chocolate in each cookie cup. Sprinkle a pinch of graham cracker crumbs over each marshmallow.
You can go light or heavy with the crumbs, depending on how much graham flavor you want. If you use mini marshmallows, pile a small mound on top of each chocolate-filled cup, then add graham crumbs over them. Keep the marshmallow layer under control so it doesn’t overflow too wildly in the oven.
Step 5: Toast the marshmallows
Return the pan to the oven and bake another 3–5 minutes, until the marshmallows puff and turn light golden on top. Watch them closely during this step, since marshmallows go from pale to very dark quickly. If your oven runs hot, start checking at the 2–3 minute mark.
If you want a deeper toast, switch the oven to broil on low and toast 30–60 seconds, watching the entire time. Pull the pan out as soon as the tops reach your favorite level of golden. Sprinkle any remaining graham crumbs over the hot marshmallows so they stick.
Step 6: Cool, loosen, and serve
Let the 4 Ingredient S’Mores Cookie Cups cool in the pan about 10 minutes. This short rest helps the cookie base firm up so the cups hold their shape when you remove them. Run a small offset spatula or butter knife around the edges of each cup to loosen them.
Gently lift each cookie cup out and transfer it to a cooling rack. Serve them slightly warm for maximum gooey marshmallow and soft chocolate. If you serve them later, you can warm them in the microwave for 8–10 seconds to bring back that just-baked texture.
Recipe Variations
- Gluten-free: Use gluten-free chocolate chip cookie dough and gluten-free graham crackers.
- Vegan: Use vegan cookie dough, dairy-free chocolate, and vegan marshmallows.
- Low sugar: Use sugar-free or reduced-sugar cookie dough, sugar-free chocolate, and low-sugar graham-style cookies.
- Peanut butter twist: Use mini peanut butter cups instead of chocolate squares and sprinkle crushed peanuts on top.
- Salted caramel: Add a small spoonful of caramel sauce under the marshmallow and finish with a tiny pinch of flaky sea salt.
- Extra chocolate: Stir mini chocolate chips into the cookie dough before baking for double chocolate s’mores cookie cups.
- Nutty crunch: Sprinkle chopped toasted pecans, almonds, or walnuts over the marshmallow with the graham crumbs.
- Holiday style: Use red and green sprinkles on top for winter holidays or pastel sprinkles for spring gatherings.
Ways to Serve 4 Ingredient S’Mores Cookie Cups Recipe
- Serve slightly warm with cold milk for a classic s’mores moment.
- Pack them in lunchboxes as a fun dessert surprise.
- Arrange them on a dessert platter with brownies and fruit for parties.
- Crumble one over vanilla ice cream for a s’mores sundae.
- Serve them at movie night instead of plain cookies or candy.
- Bring them to potlucks or bake sales; they usually vanish first.
Storage Success
Let the 4 Ingredient S’Mores Cookie Cups cool completely before you store them, so condensation doesn’t make them soggy. Place them in an airtight container in a single layer, or separate layers with parchment paper. They keep at room temperature for about 3 days and still taste great.
If you want to keep them longer, freeze them in a freezer-safe container up to 2 months. Thaw at room temperature, then warm each cookie cup in the microwave for about 10 seconds to revive the gooey center and soft cookie texture.
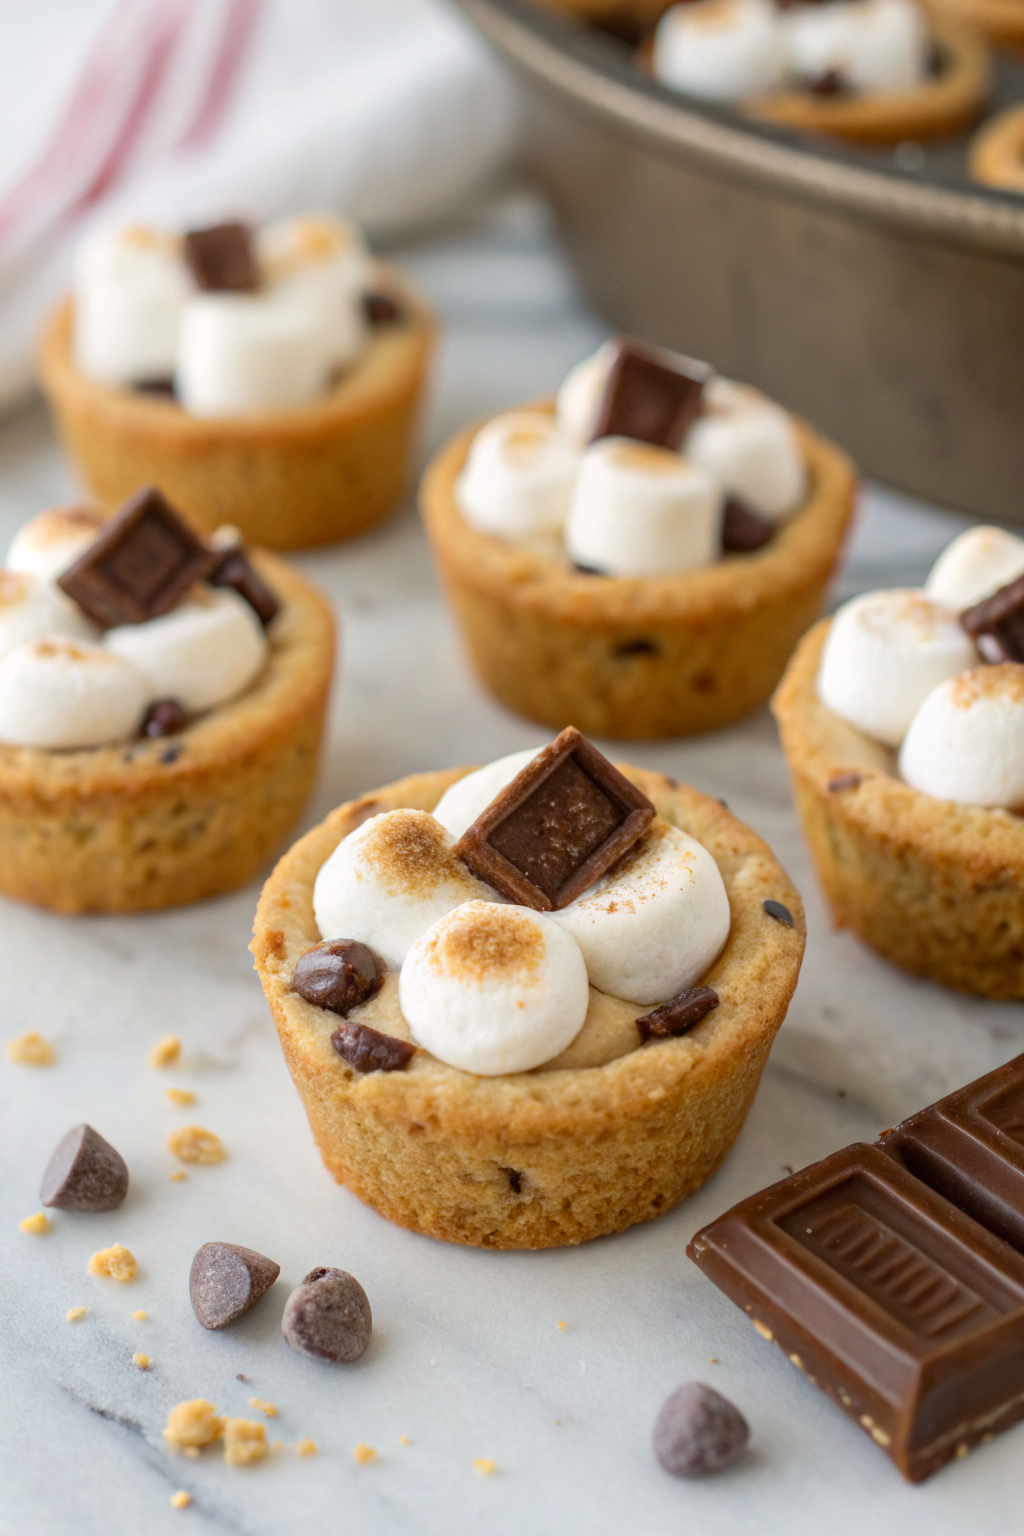
4 Ingredient S’Mores Cookie Cups
Ingredients
Instructions
- Preheat the oven to 350°F (175°C). Lightly grease a 24-cup mini muffin pan.
- Slice the sugar cookie dough into 24 equal pieces. Press each piece into the bottom and slightly up the sides of the mini muffin cups to form a shallow cup.
- Bake for 8–10 minutes, or until the cookie cups are lightly golden and puffed. Remove from the oven and immediately use the back of a spoon to gently press the centers down to maintain a cup shape.
- Place half a large marshmallow, cut-side down, into each cookie cup. Return to the oven and bake for 2–3 minutes, just until the marshmallows are puffed and lightly golden on top.
- Remove from the oven and immediately top each marshmallow with a piece of chocolate, pressing gently so it adheres. If using, sprinkle graham cracker crumbs over the tops.
- Let the cookie cups cool in the pan for about 10 minutes, then carefully loosen the edges with a small knife and transfer to a wire rack to cool slightly before serving warm or at room temperature.
Notes
Approximate per 1 cookie cup: 130 calories; fat 6 g; saturated fat 3.5 g; carbohydrates 18 g; fiber 0 g; sugars 13 g; protein 1 g; sodium 85 mg. Values will vary based on brands, add-ins, and portion size.
Leave a Reply